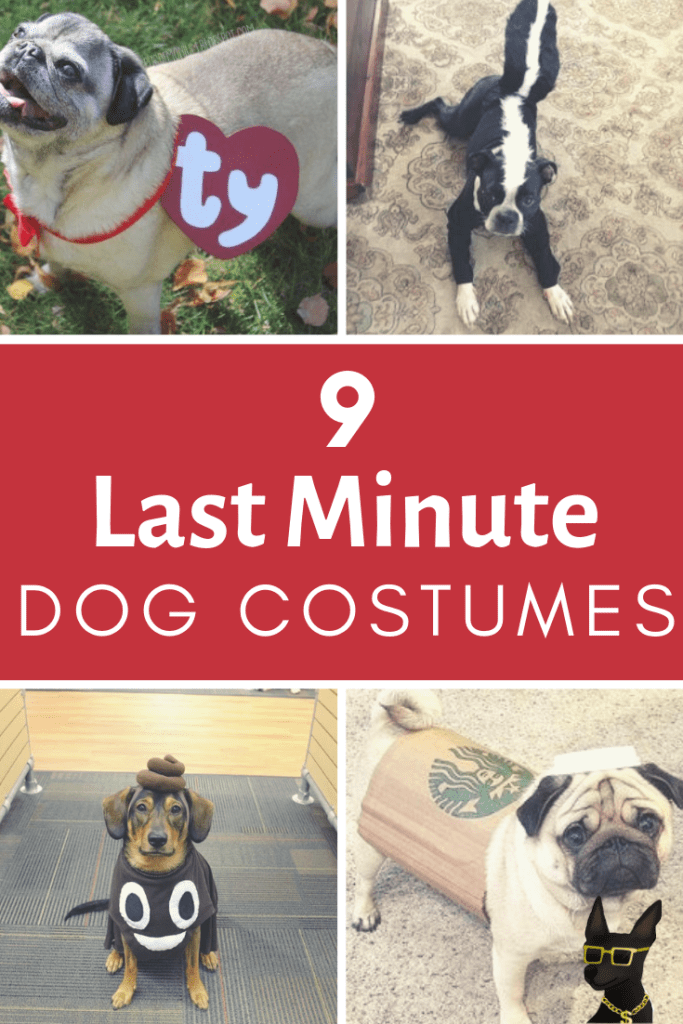
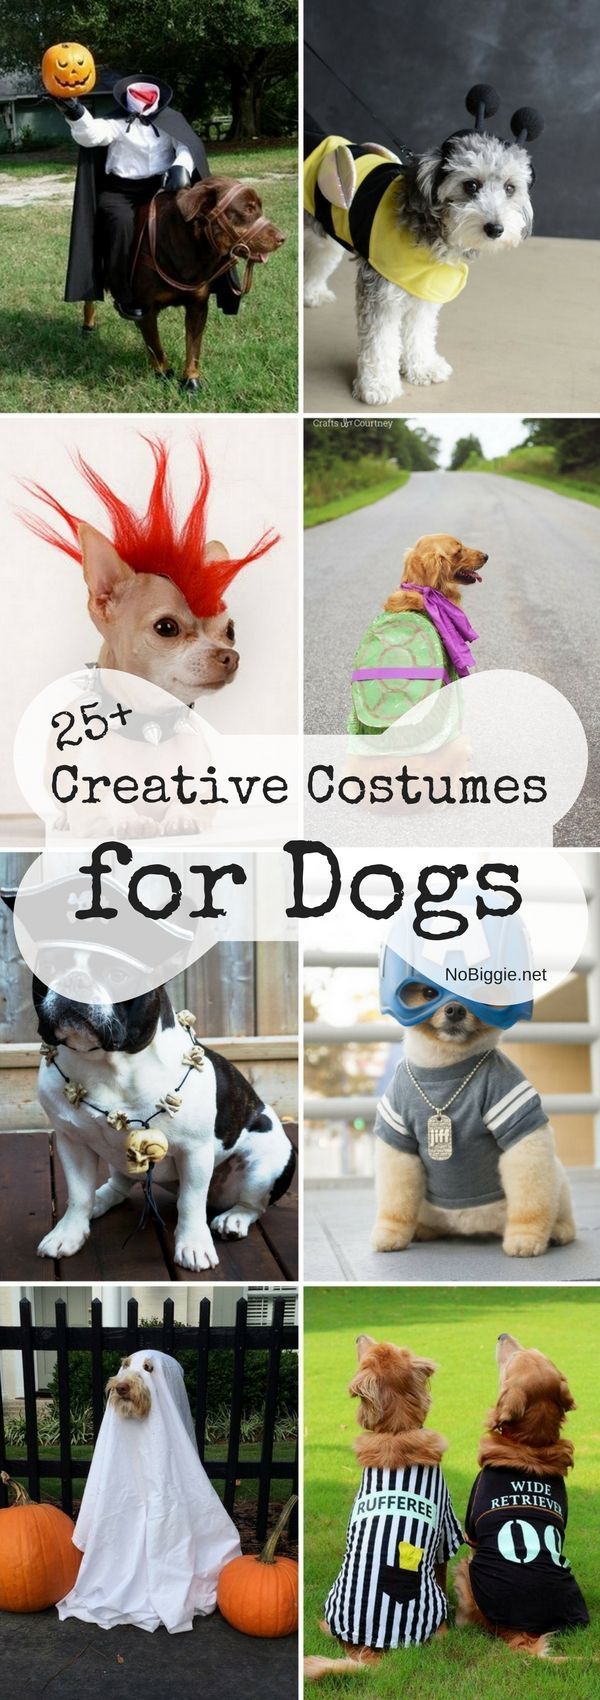
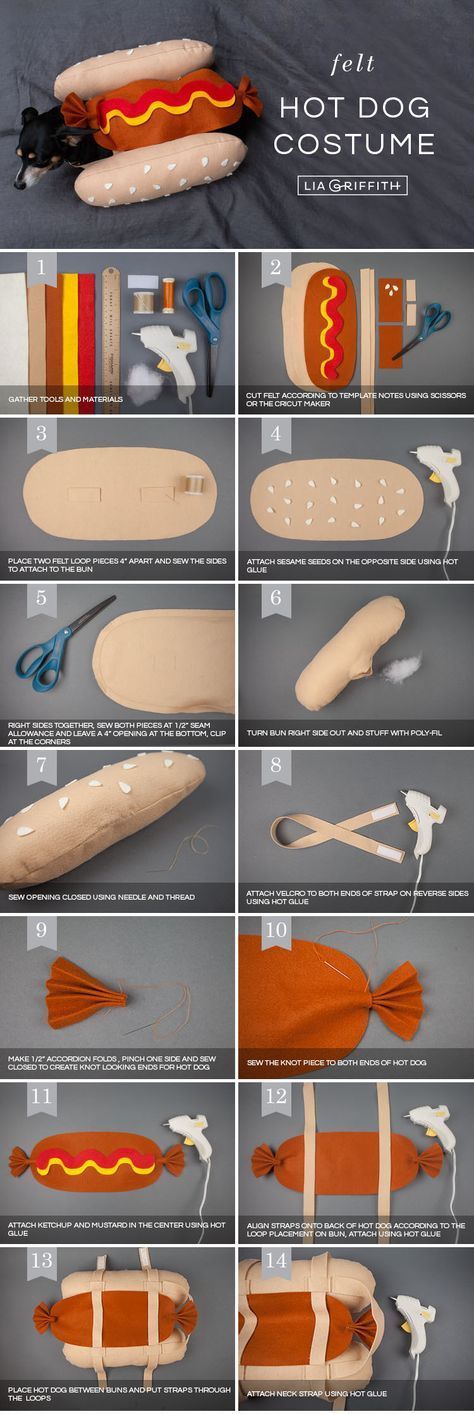
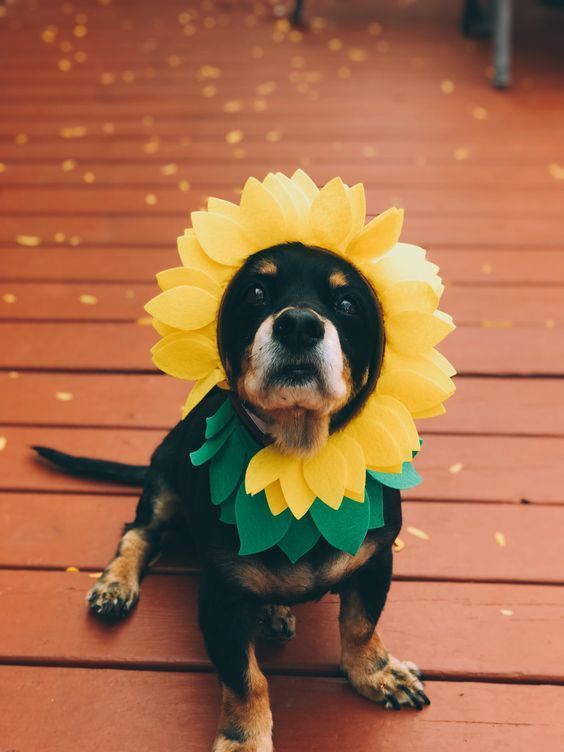
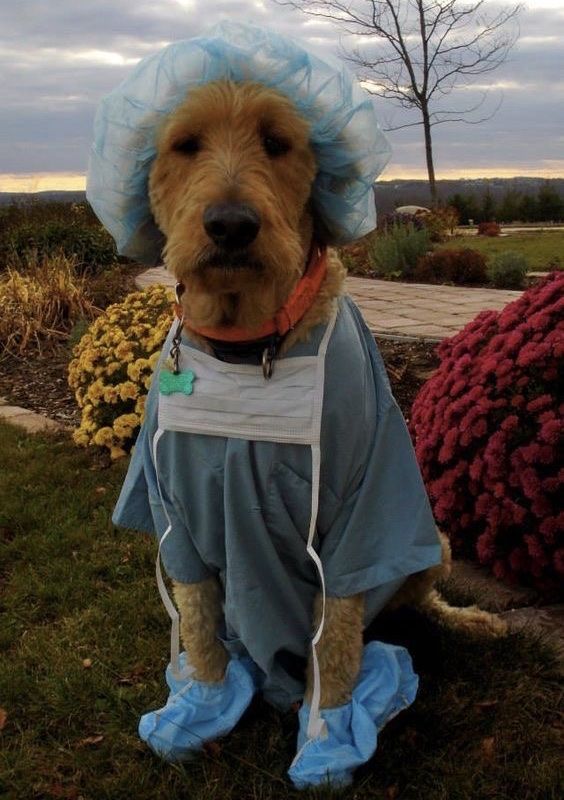
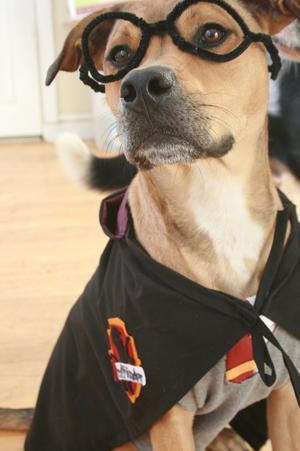
16 diy Dog costume ideas
Page 5 of 16
Doggo Prom King and Queen Pet Costumes

Oh. My. Goodness. Look at these adorable doggos in their Prom King and Queen dog costumes. Get the DIY to dress your pups like royalty, too! Oh. My. Goodness. Look at my adorable doggos in their Prom King and Queen dog costumes. Get the DIY to dress your pups like royalty, too! I don’t know why, but I really love dressing up my dogs. I’m sure some would say it’s because I never had children and maybe ‘they’ would be right. But maybe it’s because I just absolutely adore cute things and, honestly, what’s cuter than a pair of pups dressed up like the prom king and queen? And so when I got it in my head that the dogs were going to dress up as high school royalty, I realized I needed 2 things… a fancy dress and a fancy suit for the pups. Now finding these was not anywhere nearly as difficult as I had first anticipated. A quick search on Amazon and bing, bang, boom. I had just spent about 40 bucks and I was all smiles right before bed. That night as Rob was playing on his phone in bed, I was using my phone charging cable and a yardstick to measure my dogs to ensure their new fancy duds would fit. Now, unfortunately, the sizing for the dress was ALL WRONG. I measured once, twice, three times to be sure everybody was going to fit into their fancy duds but when Carly’s dress arrived in the mail… womp, womp. It didn’t fit. I quickly ordered the largest available size and sat on my hands waiting for it to arrive. Unfortunately, everything didn’t make it in enough time for us to actually Halloween in our outfits which is a shame because we were gonna wear these costumes to the vet’s Halloween party and WIN US SOME vet credits for best costume 🙂 I know that sounds a bit overconfident, but LOOK AT MY DOGS! We SO would have won 🙂 But having just received the final package for our little Halloween set up here at 8 p.m. last night (the night before Halloween) I decided that this whole post would wait until Halloween 2019. But as I sat in my office this morning editing the crown pics I decided even if it is HALLOWEEN DAY, I wanted to dress my pups up and share the results with you. Because they are freaking adorable 🙂 While I know it’s too late to put this together for this year, you’ve got a whole whopping 365 days to make it happen for next 🙂 So pin this puppy and let’s go! Hop on Amazon, order your duds and let’s make the accessories for a fab pair of DIY Prom King and Queen Pet Costumes. For this project you will need: Adhesive backed glitter craft foam (or glitter cardstock) Acrylic craft felt Elastic cord Free printable crown pattern file (PDF) – also as an SVG for smaller & SVG for larger crown Sharp scissors Wired 2.5′ glitter ribbon Heat transfer vinyl Dog fancy dress Dog fancy suit First up, those sashes are super easy to make. I found that the best ribbon for this is wired (so it keeps it shape) and is 2.5 inches wide. Anything wider and it’s too big for smaller dogs like Carly and they’ll trip over the darn thing when they try to walk. Using a cutting machine, or pre-made letters from the craft store, create your sayings for your sashes. Carly’s sash is 35′ and Ollie’s is 42′ long. Depending on how wide or narrow your pup’s chest is will determine how many letters you can get away with. Big boy up there had about 11′ of an area across his chest where the words would be easily identifiable (and not curved under his belly) but Carly only had about 7′. As such, Ollie got the full ‘prom king’ and Carly had to suffice with simply ‘queen’ which is more right than you could possibly know 🙂 Yaas! To apply them to your doggo don’t bother with glue. Simply wrap and where it fits well, but is still comfortable, pin it in place with a small safety pin. If the pin matches your ribbon in color, you’ll never even notice it! Now for those adorable crowns! I’ve actually made a grand total of 7 crowns and I’m finally happy with my process. Let’s make those right quick… First thing’s first, you’ll need to make the outer, glittery portion of the crown. You can tell from above it’s a totally simple cut out. I wound up using gliter craft foam, from the children’s crafting section to make my crowns. You have a few options when it comes to cutting your pieces out. I first tried using my Cricut Maker but the foam is so plush that the rollers sort of dig into the foam creating visible lines where the glitter is scrubbed away by the gear thingies in the machine. If you want to use a glittered cardstock instead of craft foam, I’d say go ahead and cut those SVG files with your machine if you have one. Here those guys are again: SVG for smaller & SVG for a larger crown. But if you don’t have a cutting machine, or if you just don’t want to bust it out, print off the free printable crown pattern file PDF, trim the shape out and use it as your pattern. This is the same size I used for Carly, which would technically would have worked for Ollie, too, but since he’s so much bigger than her, I wanted his crown to be a bit bigger, too. If you need larger, just use a copy machine to make it bigger. If using the PDF trace the pattern onto the backside of your glittered foam or cardstock (I’m actually using one of my foam cuts as my pattern because, why not? See how there are lines in it from the rollers inside the machine.) The shape is just a rectangle with triangles along the top. Cut those out with a pair of sharp scissors. Wrap