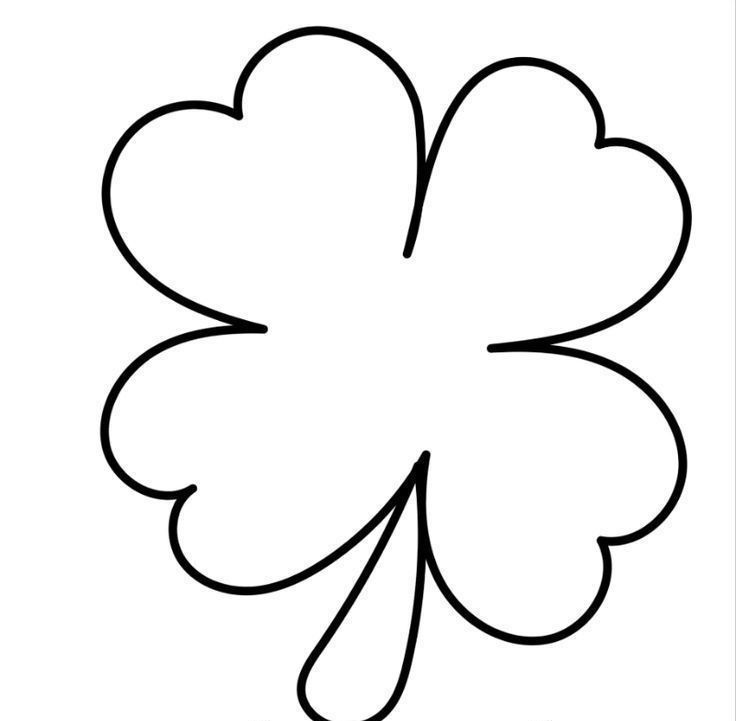
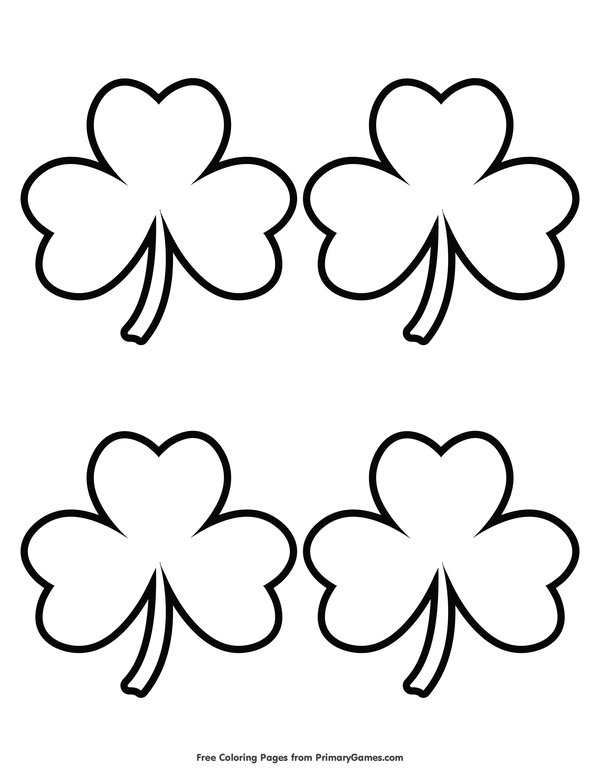
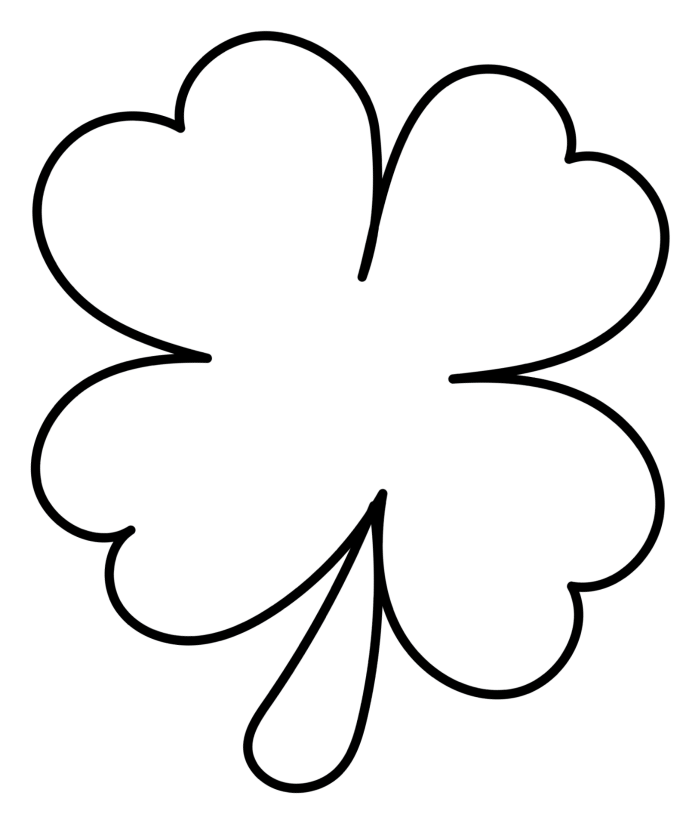
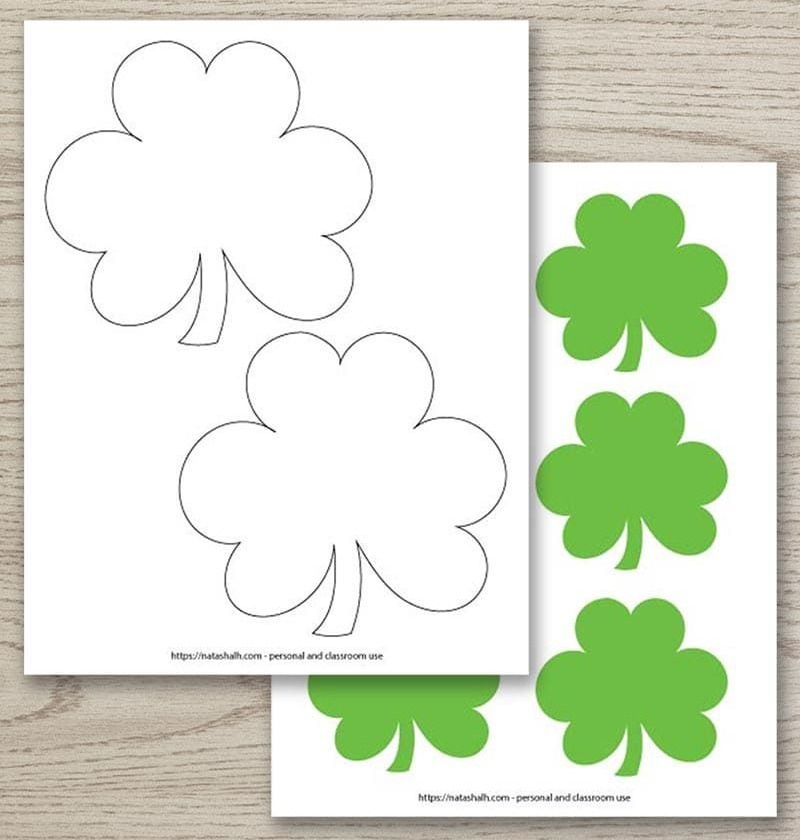
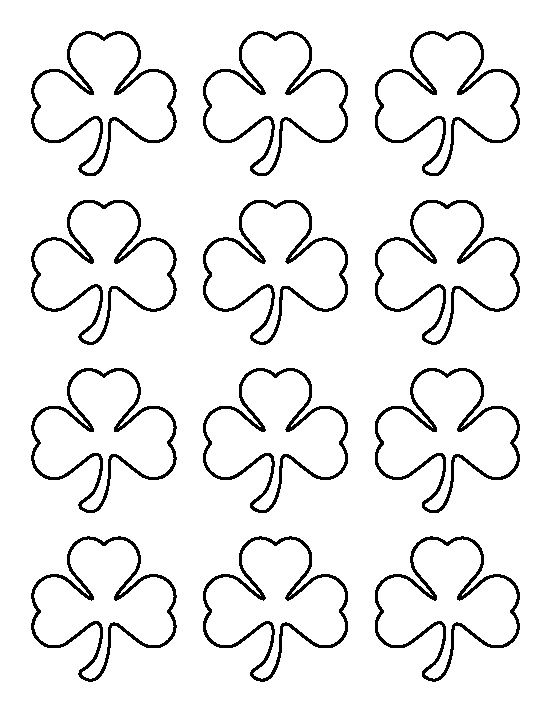
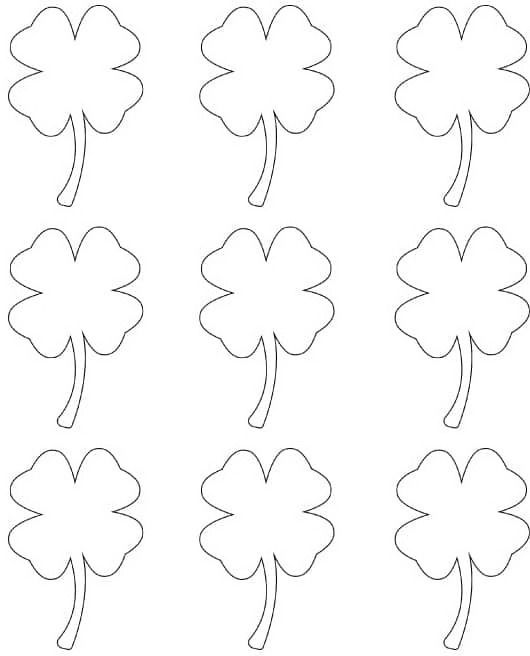
Shamrock template for St. Patricks Day crafts.

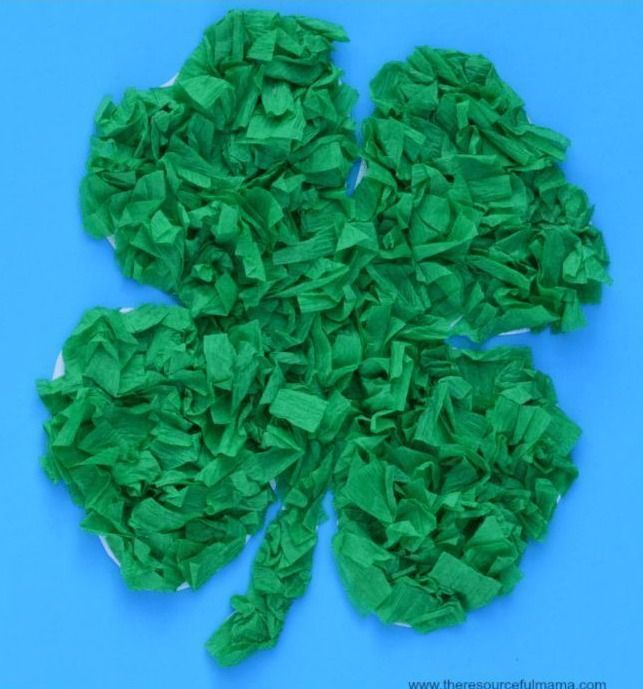
Torn Paper Shamrock
This is a super simple paper project for younger children that actually looks like something when they are done. You can adapt the idea to make a greeting card or decoration.
What You’ll Need:
- Green construction paper
- Large sheet of contrasting paper
- Pencil
- Glue
What to Do:
1. Tear green construction paper into small pieces. Half inch squares work pretty well, but you can go a little bigger if you’re working with a very young child.
2. Draw a large shamrock shape in the middle of the sheet of contrasting paper.
3. Spread glue around the inside of the design. Try to cover the entire surface of the shamrock so that covering it will be easier.
4. Put the torn green paper on the glue to create the shamrock design. Let the glue dry completely.
Variations:
- Drizzle a little glue on top of the torn paper and then sprinkle with glitter.
- Use this idea to create a greeting card for parents or grandparents.
- Use the torn paper idea to create a pot of gold, leprechaun, or other St. Patrick’s Day design.
Perler Shamrock Keychain
These little perler beads are a great way to keep kids busy for a good long time. This little shamrock keychain is just one little idea… turn them loose with the beads and the St. Patrick’s theme and they can create all kinds of “Irish” crafts! This one was created by my 7 year old daughter.
What You’ll Need:
- Green Perler Beads
- Perler Peg Board
- Perler Iron Sheet
- Iron and Ironing Board
- Jump Ring
- Keychain Ring
What to Do:
1. Working on a flat surface, create your shamrock design by placing beads one by one on a perler pegboard. For the shamrock in the picture, we used a plain hexagon shaped perler board.
This part is certainly open to interpretation. Your shamrock may take a slightly different shape.
2. Preheat a dry (no steam) household iron to the medium setting. Once you are satisfied with your design, move it to your ironing board. When carrying the bead design to the iron, be careful not to tip or bump the beads from the pegboard.
Cover the beads with ironing paper. Keeping the iron level, gently iron the beads in a circular motion for about 30 seconds to fuse the beads evenly.
NOTE: The ironing part should only be made by adults or kids that are old enough to handle an iron safely.
3. Once the design is cool, peel off the ironing paper. Lift your design from the pegboard and flip the design over onto your ironing surface. Cover it with the ironing paper and iron the other side to fuse it evenly.
4. Once your shamrock design has been fused, use a pair of pliers to open up a jump ring and poke it through the center of one of the beads in the stem of your shamrock. Close the jump ring around the bead and a keychain ring to complete the project.
Variations:
There are so many things that you can do with Perler beads! You can make virtually any design you want with the plain pegboards, but the company also makes a large variety of specially shaped pegboards.
Go to the next page to get more Shamrock Templates