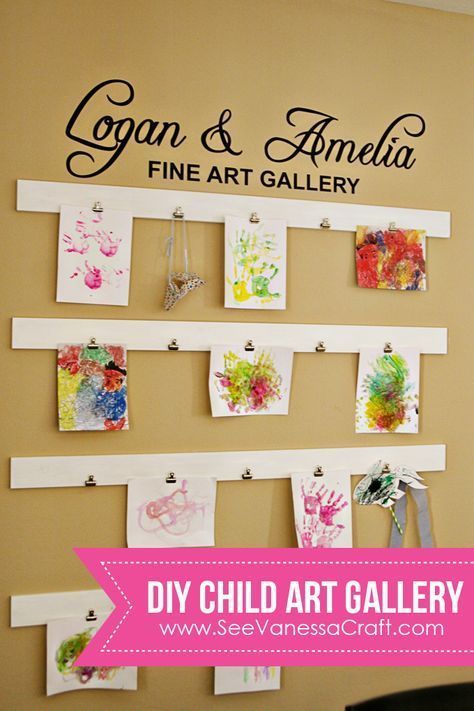
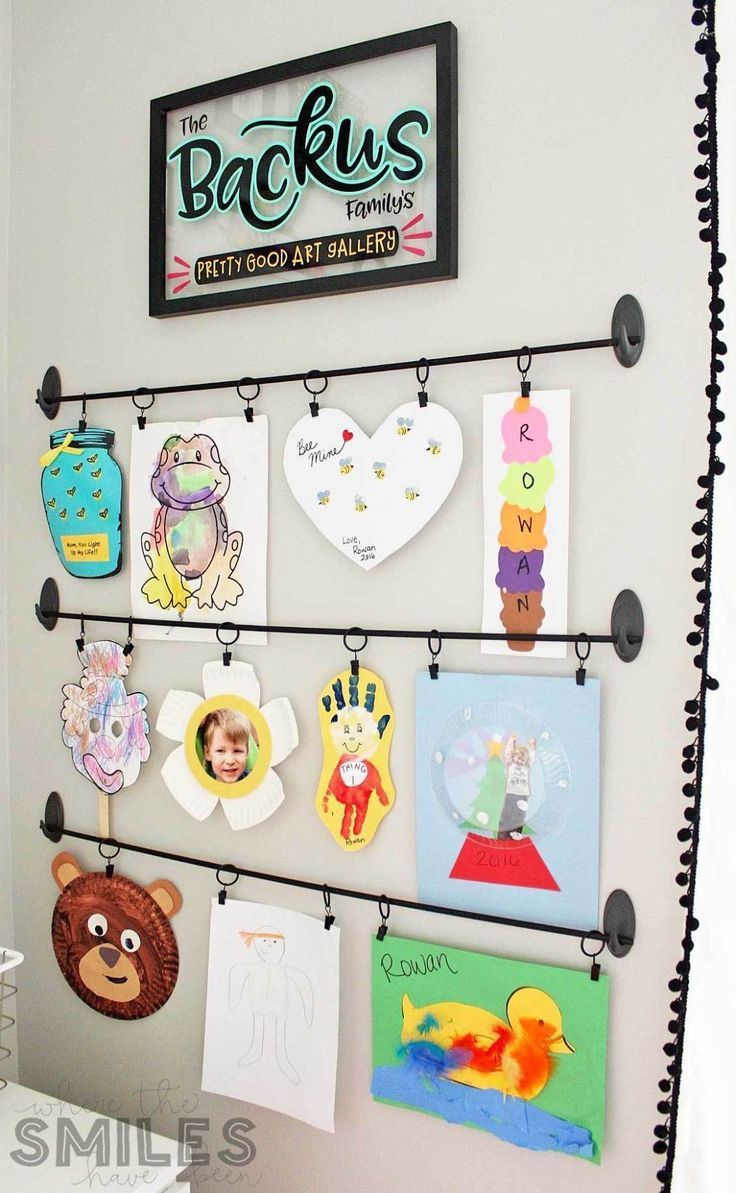
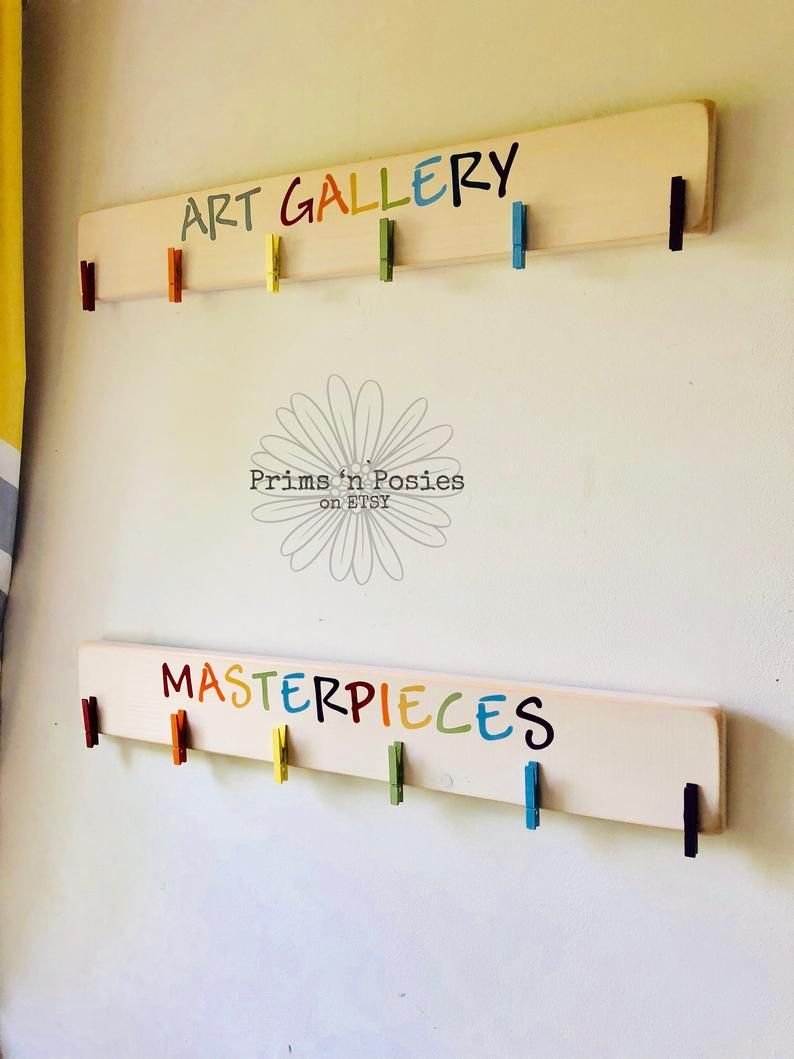
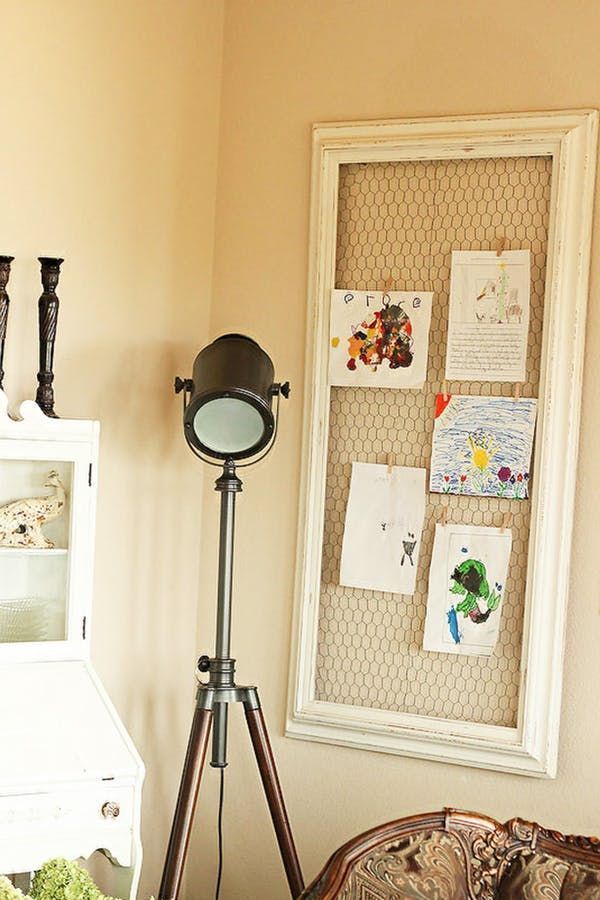
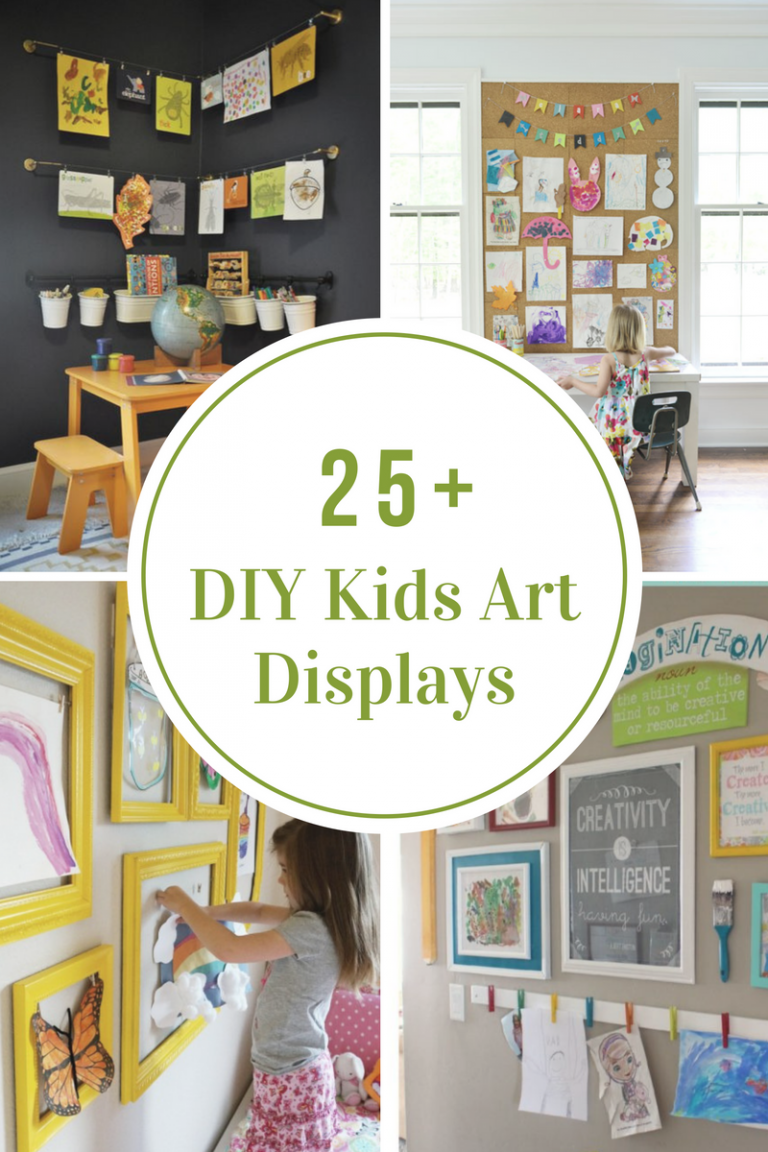
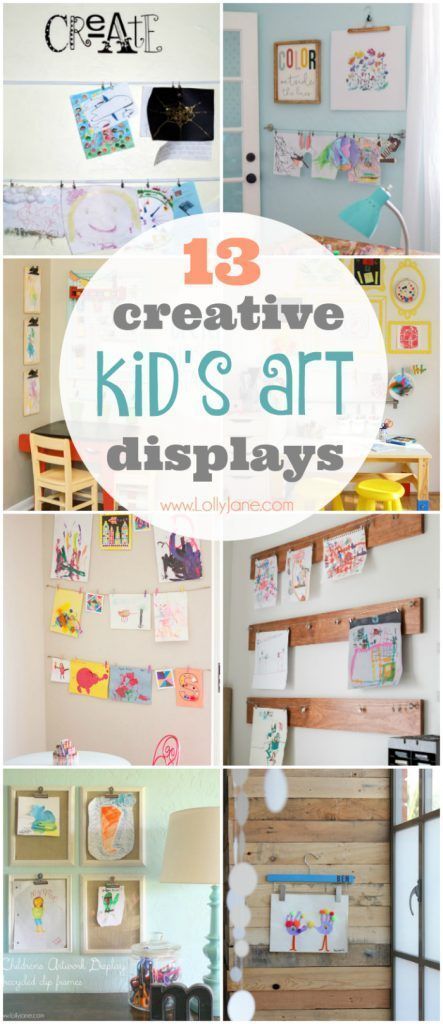
19 diy Art display ideas
Page 6 of 19
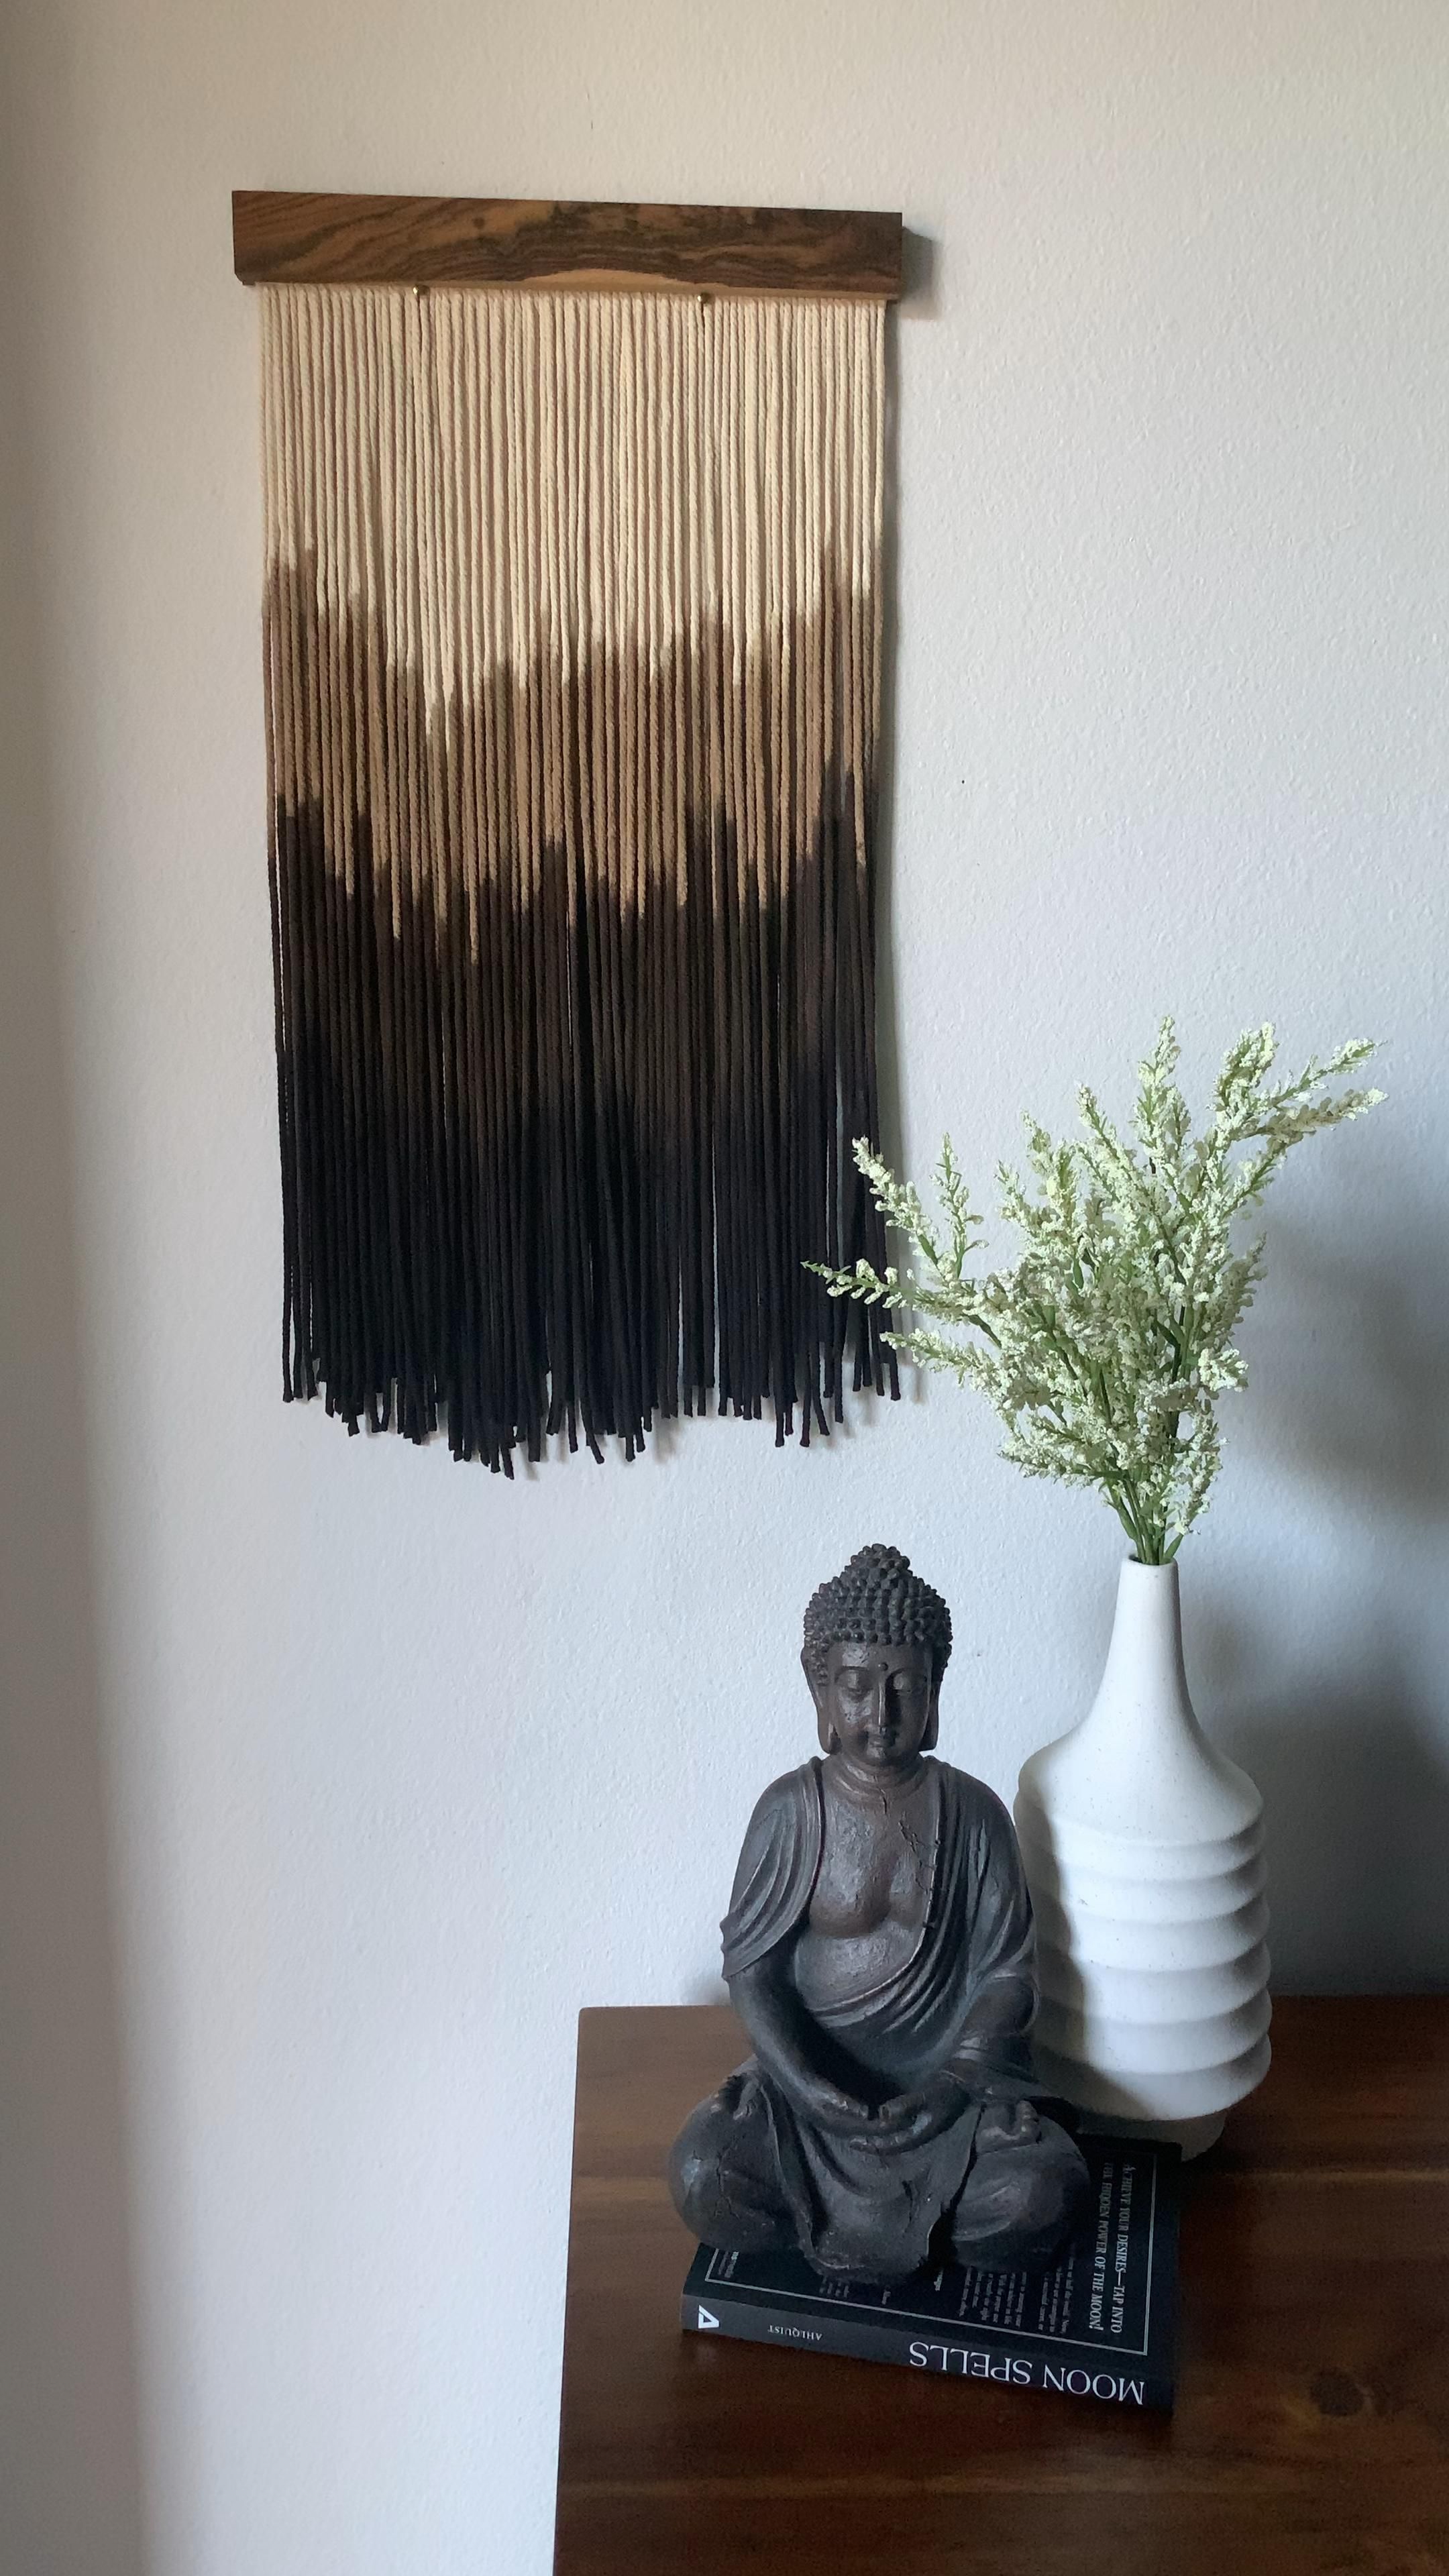
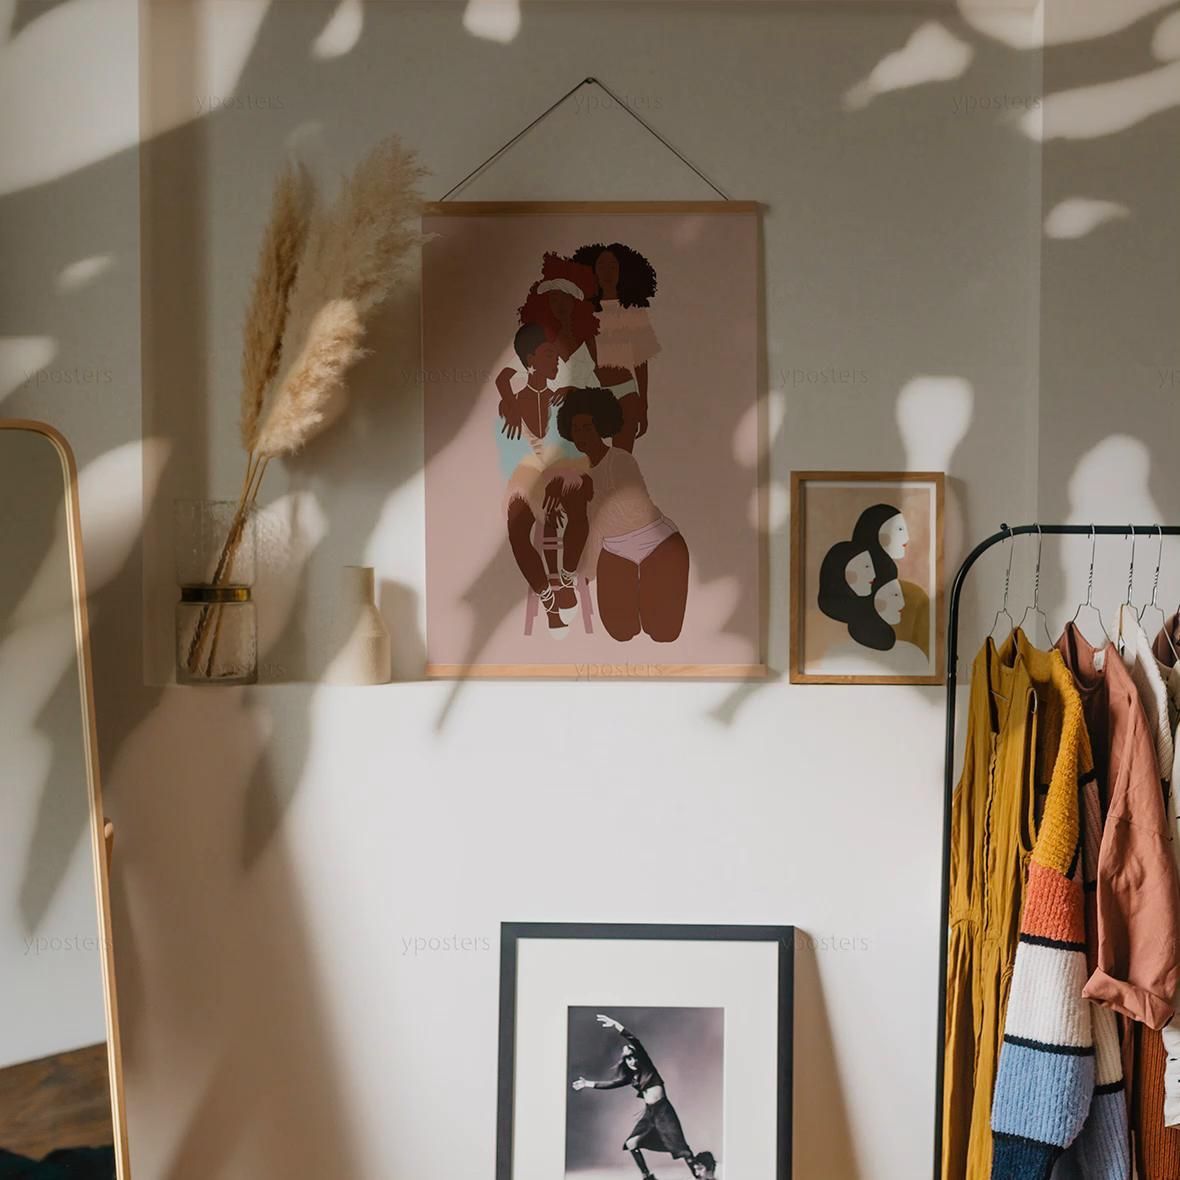
Hanging Photo Display Macrame

via: amzn.to
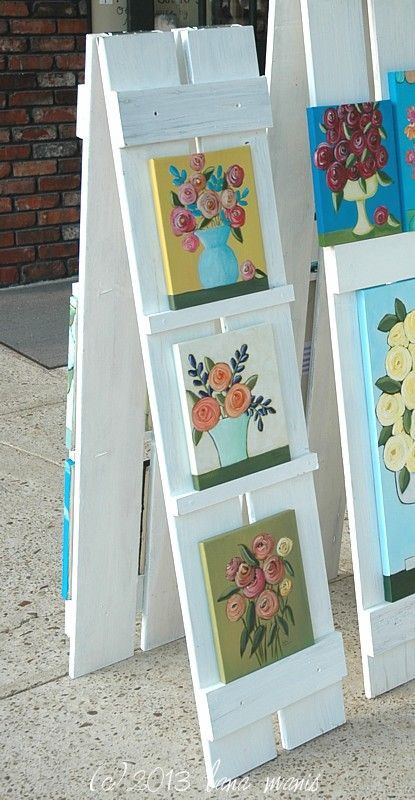
Saturday was the perfect day for a festival! It was sunny and warm, but not hot, and there was a light breeze blowing every now and then. My booth layout was a little different than I had planned. I didn’t get to use my full 10 x 10 space so I didn’t use all the props I normally use and I had to leave out 1 of my tables. I also had to make other adjustments and put my shutter easels closer together to make room for customers to cut across a corner of my space to go into the shop door beside my booth. Hopefully next year it’ll be different because I sure could have used that 3rd table that I usually have set up. I covered my two tables with cheap canvas drop cloths from Big Lots. They were perfect for an art booth! Since I wasn’t using Honeysuckle Lane as my business name, I didn’t have a banner so I improvised and used clothes pins to clip my used, disposable art palettes to the front of the table. What do you think? People walking by commented on it and said it was a fun way to decorate an art booth. And if you remember, I had to change what I was making for the festival. Because of arthritis pain in my fingers, I couldn’t embroider so I painted instead. I didn’t have any prop displays for art and I put the word out that I was looking for old used shutters. I had plantation shutters in mind, but these board and batten shutters were offered to me and I used them to make my easels. We didn’t see customers walking by with bags and bags of purchases… maybe they were enjoying the nice weather, food, music, and walking their dogs? However I did have sales and customers bought original art, prints, pillows (some I had made in the past and that had been in the shop behind my booth), and flower pins! Now that the Lavender Festival is over and I am going to take the summer off, I am listing remaining items in my Etsy shop. For now, I have listed silk ribbon pillows and a few original paintings, but check back through the month of June for the rest of the original artworks and prints to be listed. ~~~~~~~~~~~~~~~~~~~~~~~~~~~~~~~~~~~~~~~~~~~~~~~~~~~~~~~~~~~~~ Let’s back-track a little now and I’ll show you how I made the shutter easels. They cost me just over $2 each… can you believe that??? My sister’s former boss had the shutters and I was going to buy them from him, but he surprised us and brought them to her and said to give them to me… free of charge! I thought that was really sweet of him. 🙂 So, shutters: FREE. I needed paint… and I already had some on hand from a previous project so I considered that FREE as well. I needed slats to nail on the shutters to stand the artwork on and I found them in my husband’s scrap pile… FREE. The only cost I had was hinge sets and I got them at Walmart for $1.97 plus tax per set. I made 5 shutter easels so I guess you could say it cost me $10 plus tax which I thought was pretty good! Here are the (somewhat) step by step pics: 1: shutters in original state 2: cutting slats with the bandsaw (one of the few power saws I’m not chicken to use) 3: nail slats on shutters (forgot to take a photo) 4: paint shutters while being thankful that I can use my husband’s workshop for this 🙂 5: screw hinges on shutters — why measure when you can eyeball it? 😉 6: finished shutters I made these on Thursday and had to go set up on Friday. I only did one coat of paint because it was so humid and I was afraid a second coat wouldn’t dry in time. I am quite pleased with how they turned out. They weren’t perfect, but they had a cottage look to them that I liked! Thanks for stopping by… I’ll share some paintings later this week. Take care & God bless, Lana