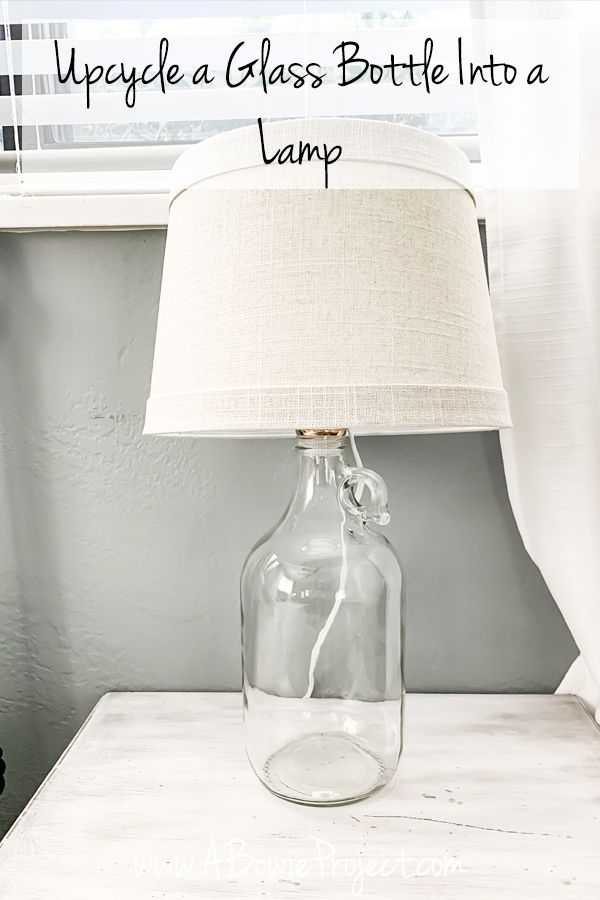
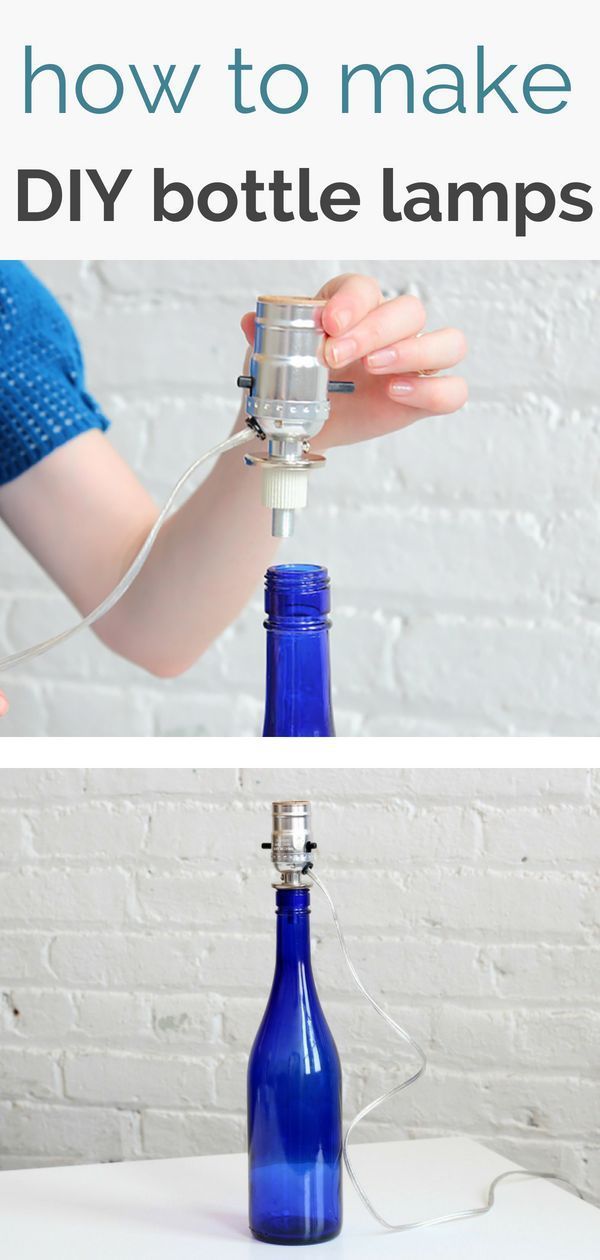
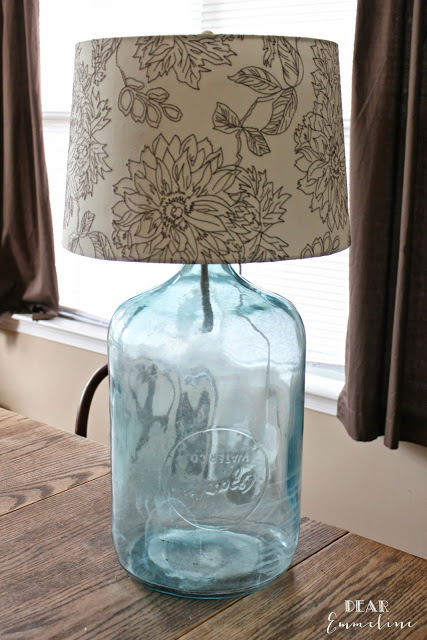
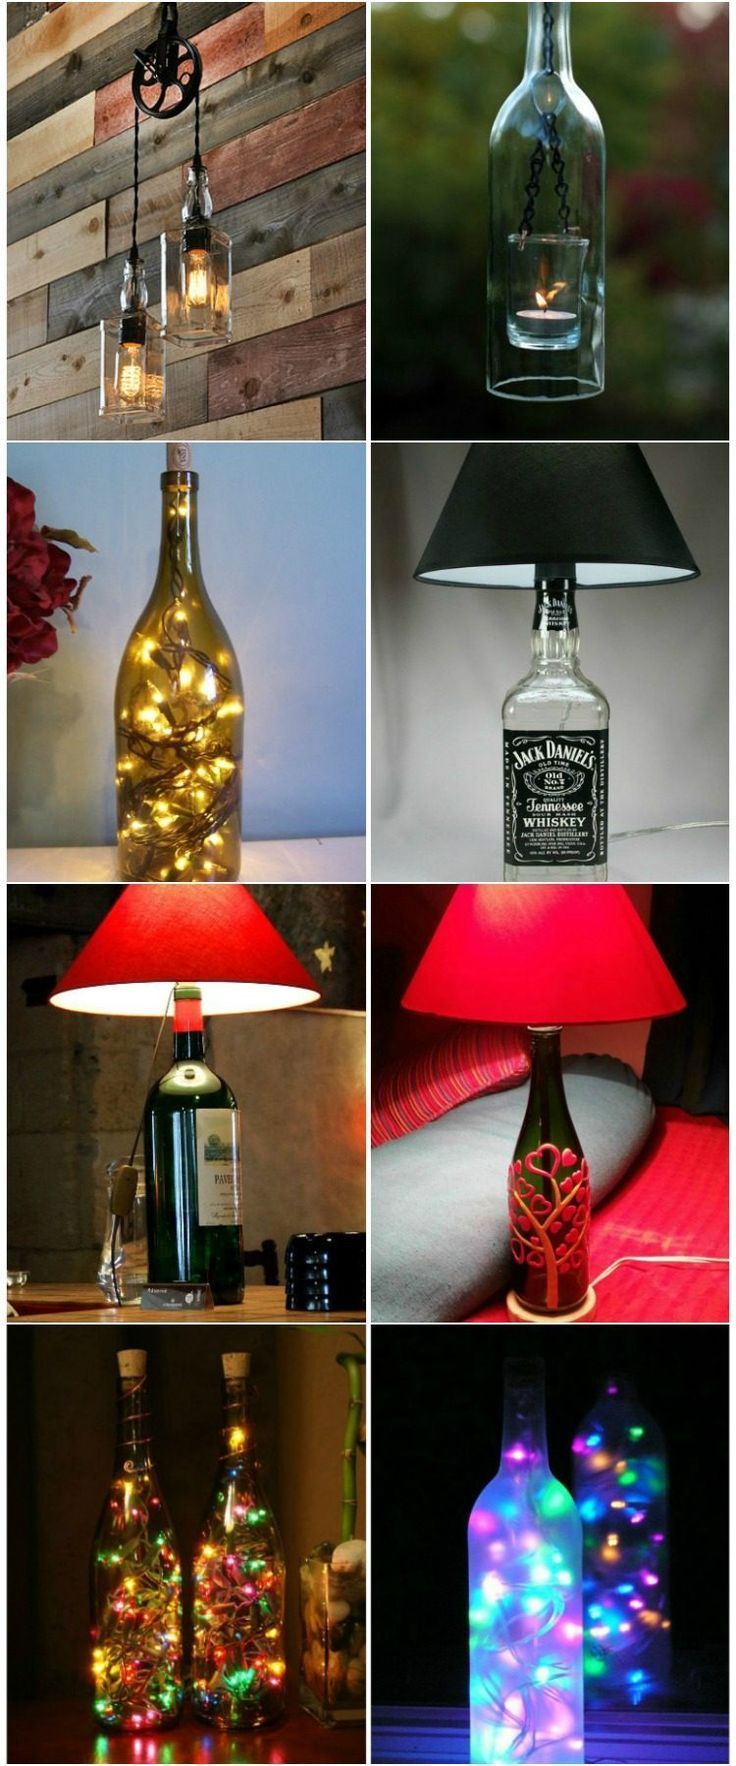
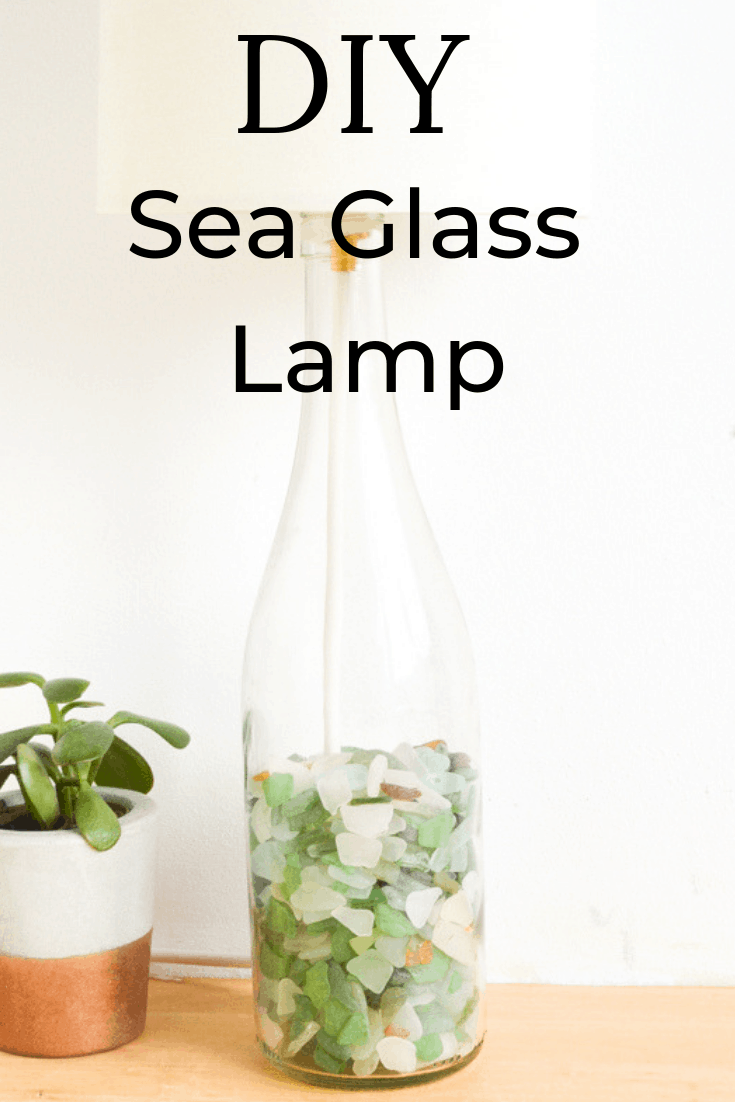
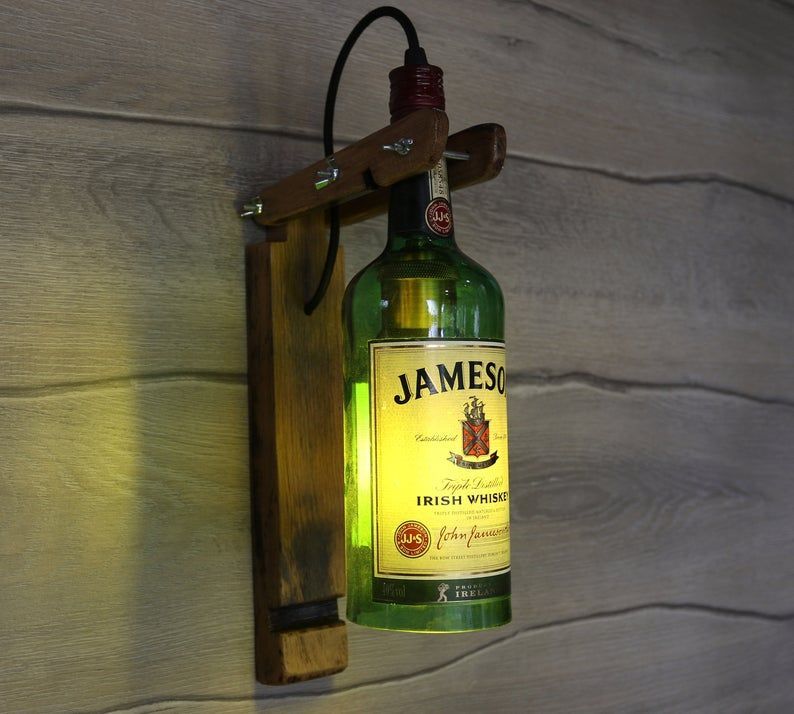
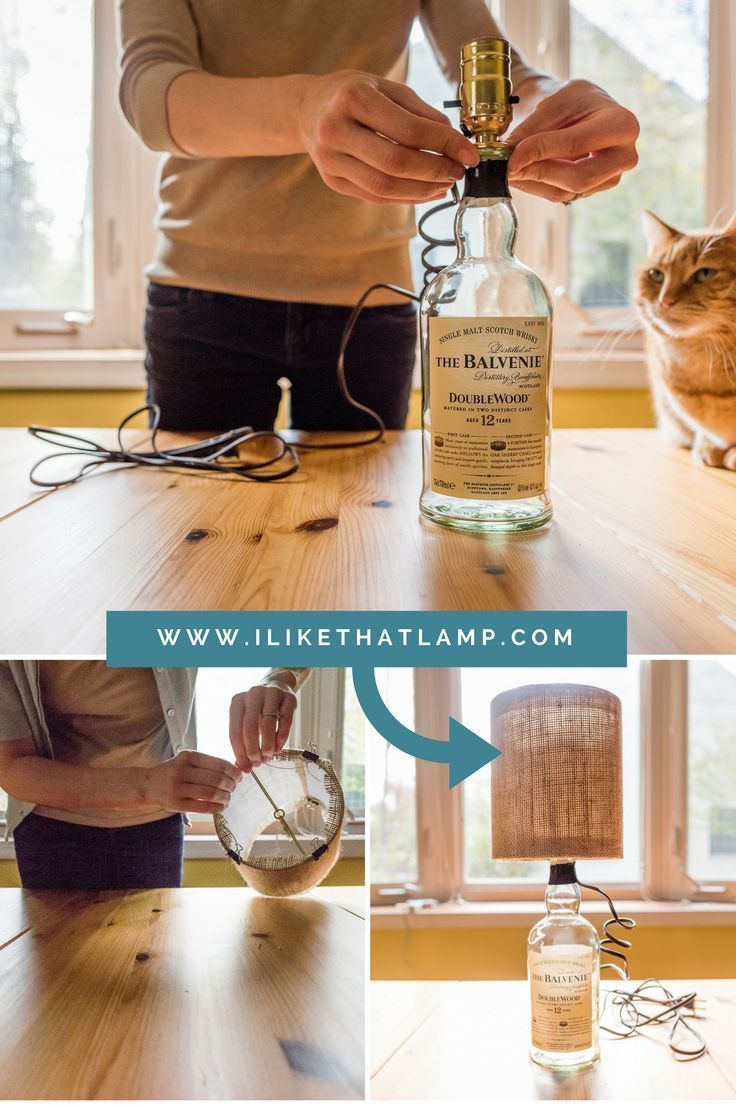
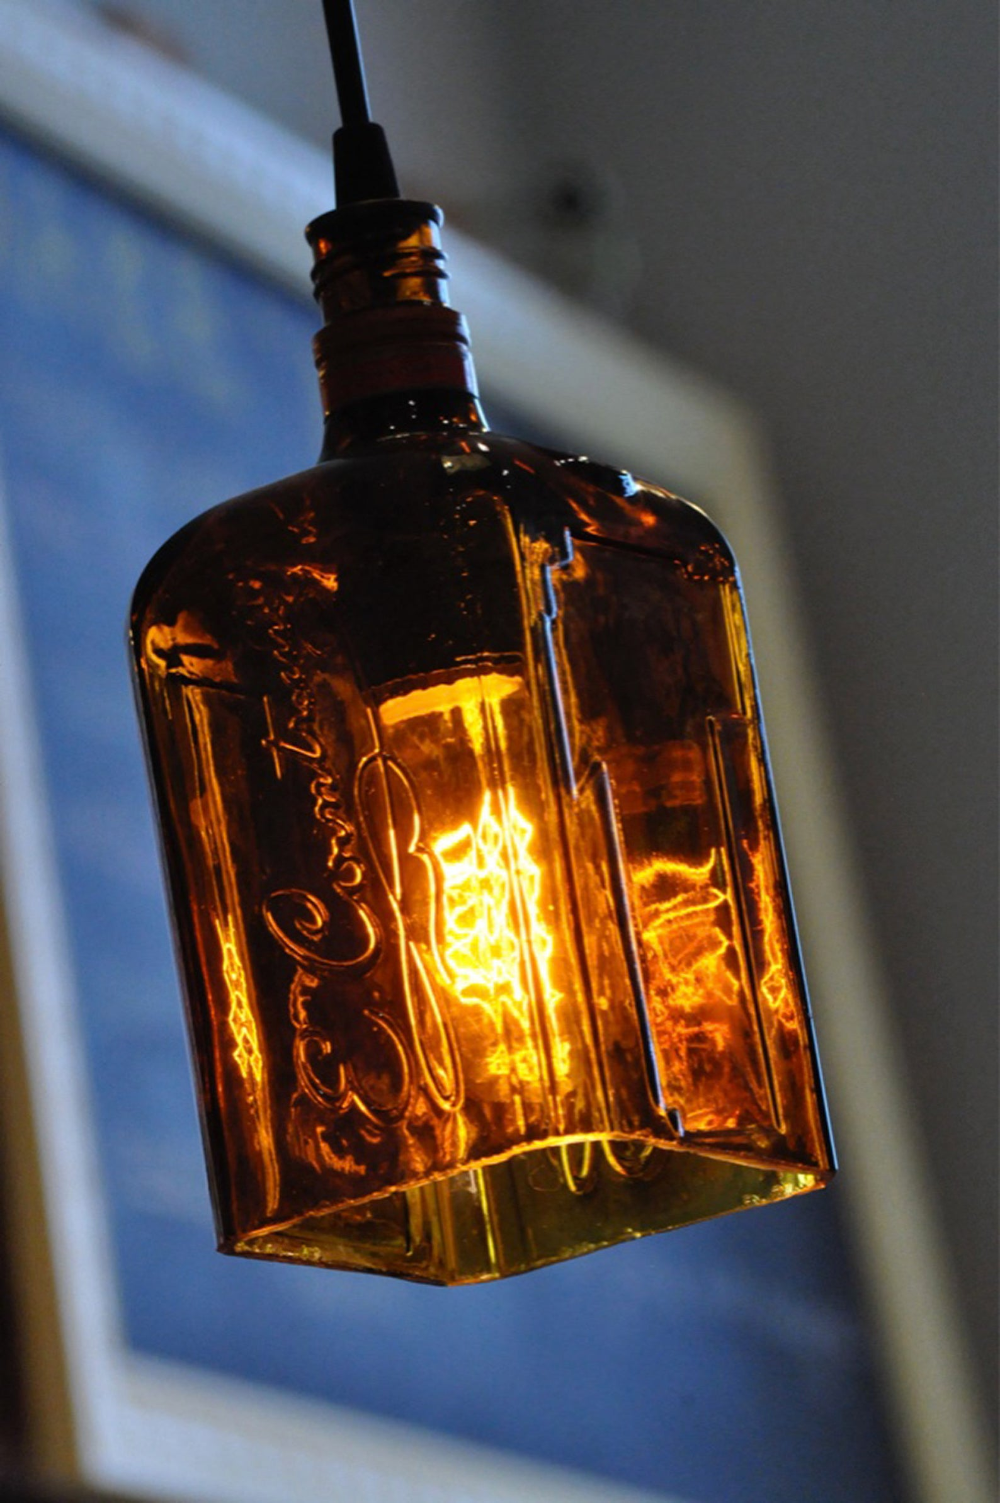
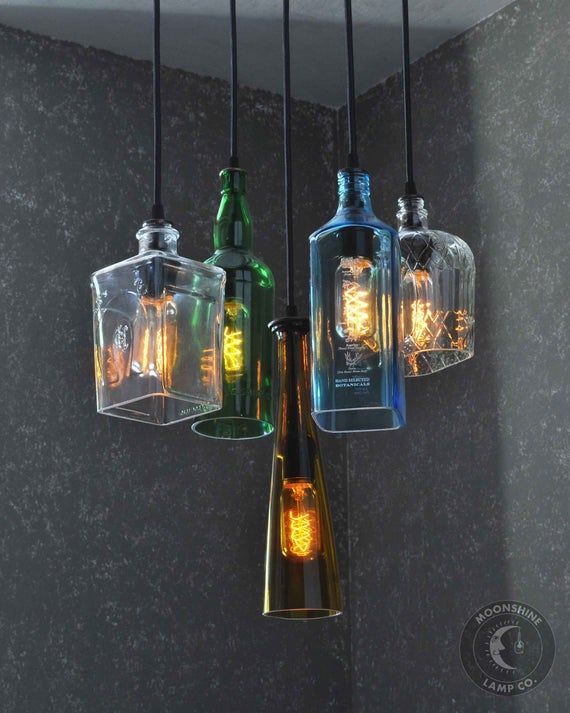
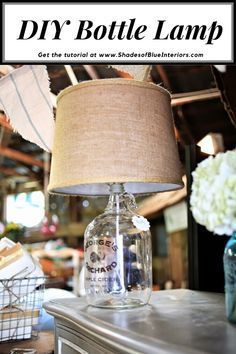
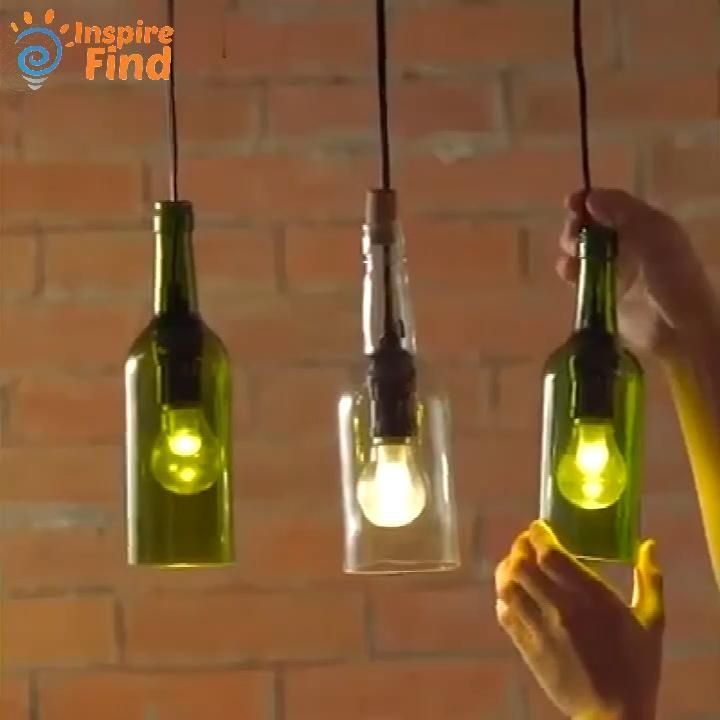
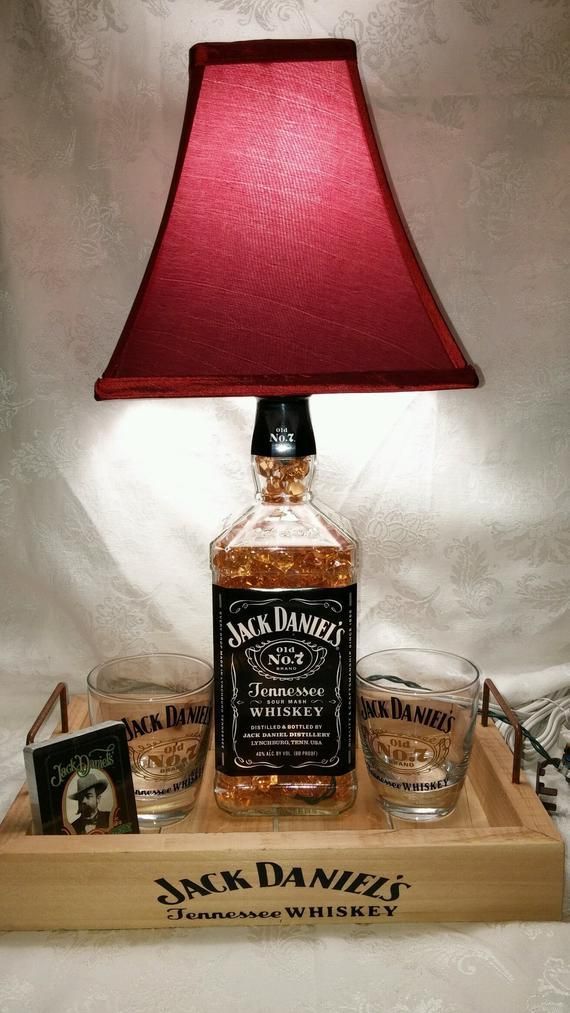
18 diy Lamp bottle ideas
Page 1 of 18
Glass Bottle Cutter DIY Tools Creative Handicrafts

via: galideals.com
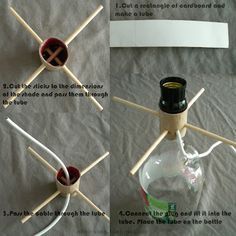
Have some old wine bottles or mason jars? This kit will let you unleash your inner artist and turn them into cool and functional art masterpieces! Our Glass Bottle Cutter Kit Turns Old Bottles and Jars Into Functional Pieces of Artwork! Create your own vases, glasswares, different kind of holders, ashtrays, lamps & aquariums, etc. The tool is so simple to use that anyone can have fun with it! Just take an old wine bottle, put it on the holder, apply pressure, and rotate. Give the bottle subsequent baths of cold and warm water and you got yourself a perfect cut bottle with a smooth edge! FEATURES ADJUSTABLE LENGTH and WITHD – Adjustable hole design provides you cut both from the top or the bottom of the glass bottles and mason jars. Suitable with All beer/wine/drinking glass round bottles. CUTS YOUR OWN STLE BOTTLES – Direction adjustable bade can make your own style bottles. The powerful blades score the bottle well for smooth edges. STABILITY and Durable – Increase friction make it more stability. Made of high-quality metal, lightweight but also handy and sturdy. Easy to keep and clean. EASY TO USE – Just place your bottle on the cutter, rotate the bottle constant moderate pressure, heat the score over boiled water and cold water alternately bathe three times. ECONOMY and ENVIRONMENT – By your creative recycle ideas and handmade practice, decorate your exclusive beautiful life and help you do your bit for the environment protection. Recycle Your Glass Bottles create your own artwork. HOW TO USE 1. Positioning Bottle The bottle is placed lengthwise on the cutter with a bottom flush against the backstop and resting on the rollers. The position of the backstop and rear rollers determines the point at which you cut the bottle. To adjust the length, loosen screw and slide backstop and rollers forward for a shorter cut and backward for a longer cut. 2. Etching the Glass A light etch is all that is required. Apply only slight pressure on the bottle while rotating the bottle toward you with your hand. To ensure an accurate cut, keep the bottle firm against the backstop. Do not allow the bottle to stop turning while scribing the etch. A slight crunching sound will signal the completion of the etch. One revolution of the bottle is all that is necessary. 3. Separating the Bottle Soak the bottle in boiled water(must cover the scoreline), slowly rotate the bottle in one direction for one to two minutes. Then soak it in cold water quickly, also rotate for one to two minutes. You may hear audible “clicks” indicating that the etch is cracking, you can separate the bottle. Sometimes, it’s necessary to repeat the boiled and cold water soaking steps several times depending on the thickness of the glass. 4. Smoothing the Edge To prevent chipping, rub the inside and outside edges lightly with the polishing paper. After a short time, the edge of the glass will become perfectly flat and have a dully gray appearance. SPECIFICATIONS Color: Transparent Cutting Length: 20mm-320mm Cutting Diameter: 20mm-230mm Cutter Size: 20cm*15cm*7.3cm CUSTOMER QUESTIONS & ANSWERS: Question:Can this product be used to cut bottles into drinking glasses? Answer:Yes?Suitable with most of beer/wine/drinking glass round bottles? provide you cut both from the top or the bottom of the glass bottles and mason jars. Question:What does the little silver piece with the grooves do and how do you use it? I didn’t see anything in the instruction booklet. Answer:The silver piece with the grooves is the cutter itself and you’ll be better off to YouTube it because it’s a lot to explain Question:When I cut it, I was worried that the edge of the glassware was very rough. How can this be solved? Answer:When you have finished cutting, you can wipe the glass slag with matte