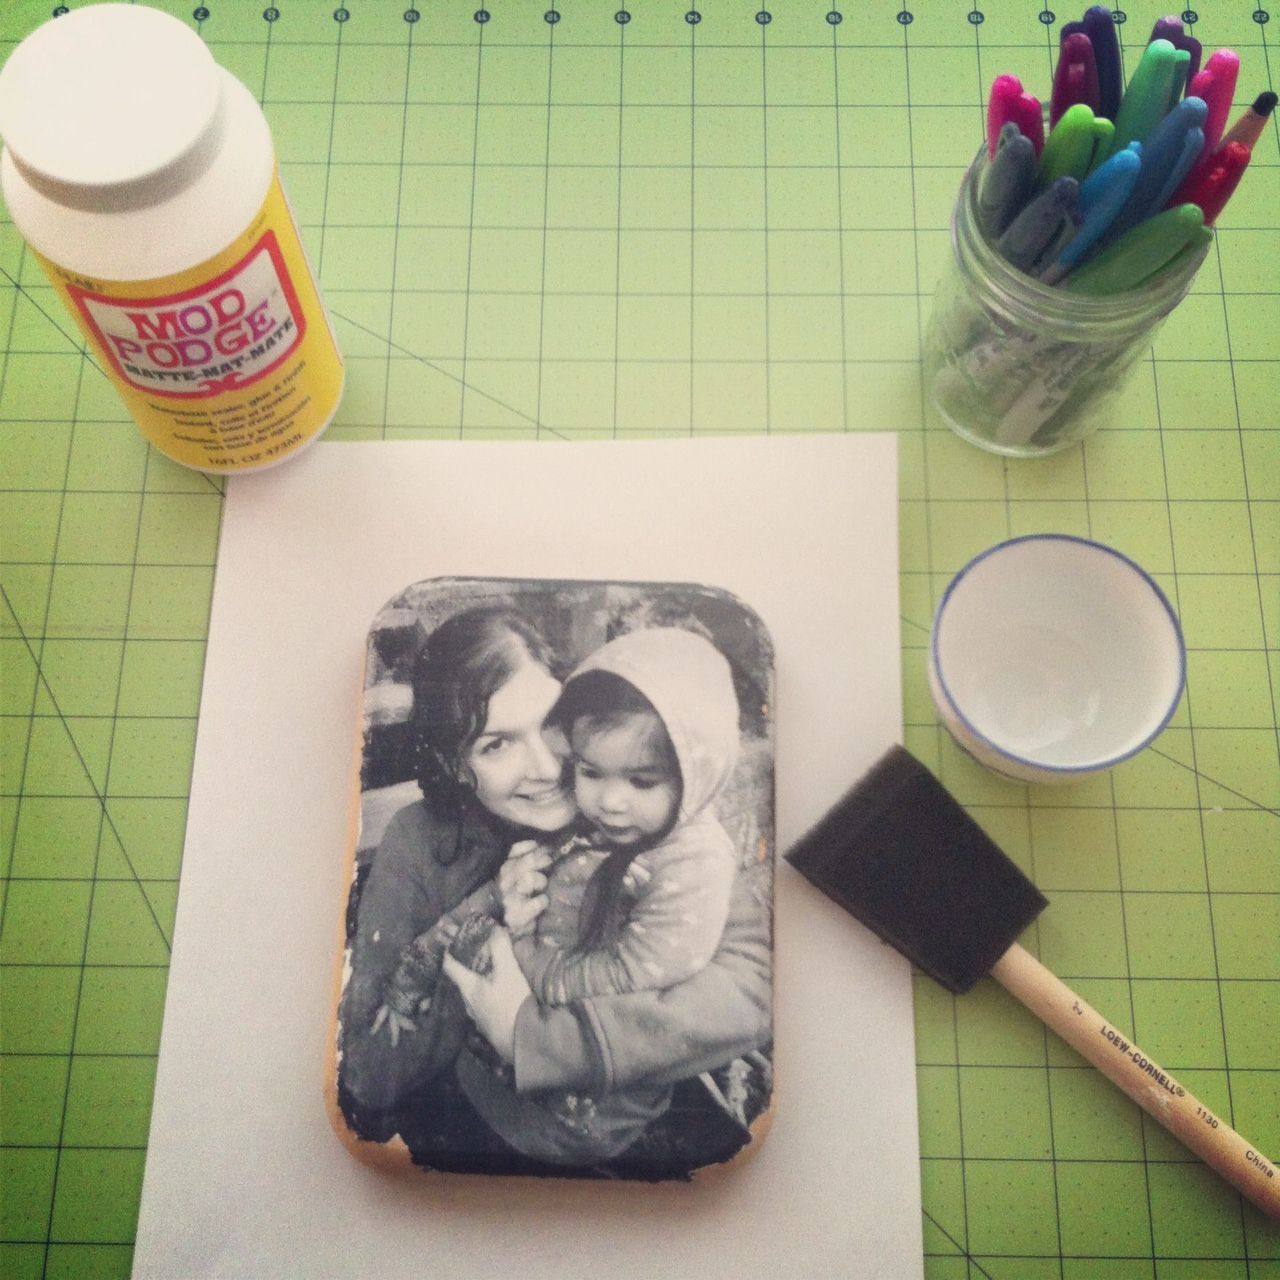
Transfer a photo on wood. DIY tutorial.
Step 7: Leave your project to dry for about an hour then look at it to see if you are satisfied. Grab your boning tool and rough up the edges a bit if you like. You can take a gray sharpie marker and lightly dot in areas where the transfer doesn’t look quite right. If you need to you can wet it down and “sand” down some more if there are bits of paper that you missed. In my case I decided that I would prefer if my photo filled the entire front of the wood so I wet the wood down, scraped the project off and redid it.
