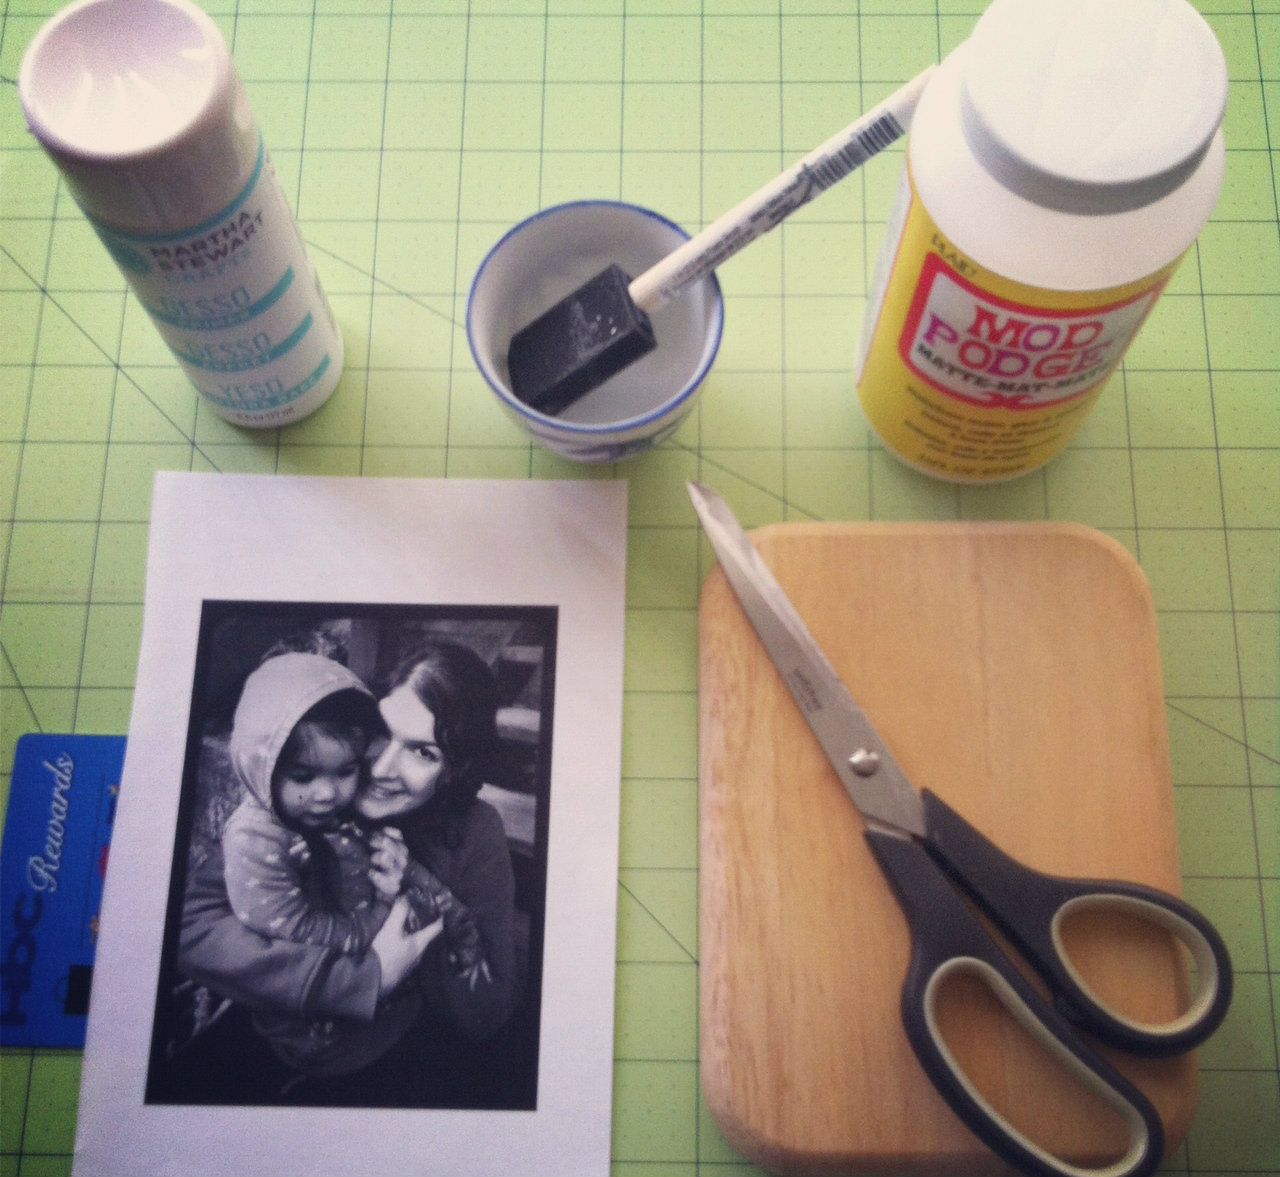
Transfer a photo on wood. DIY tutorial.
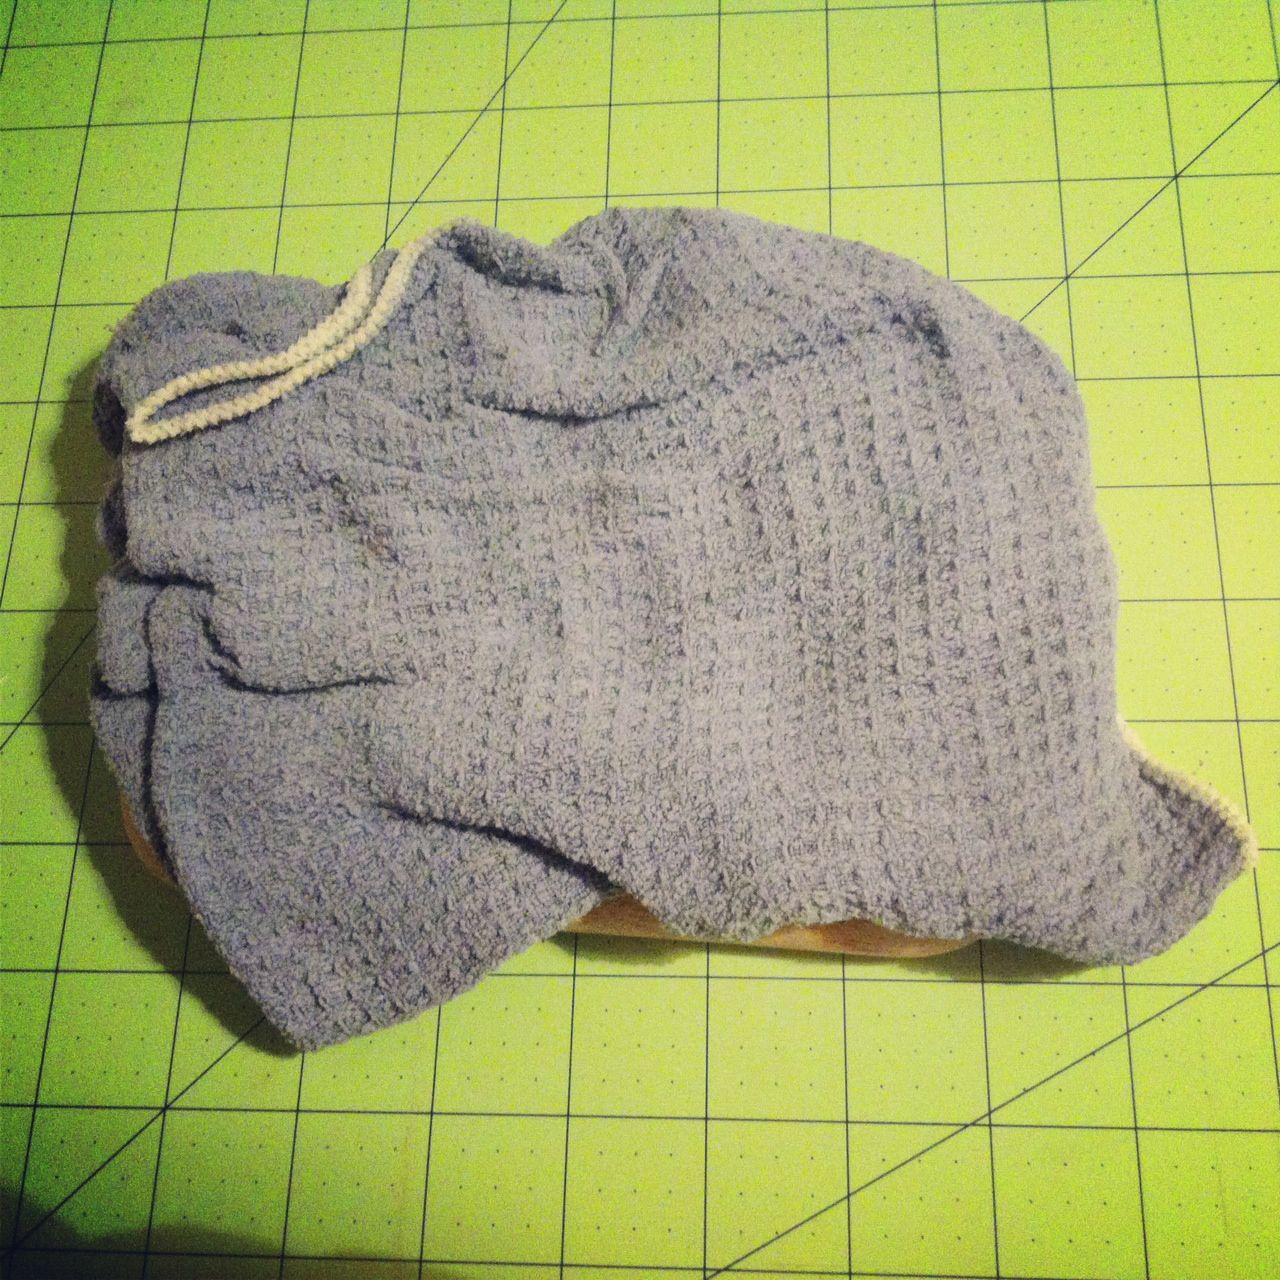
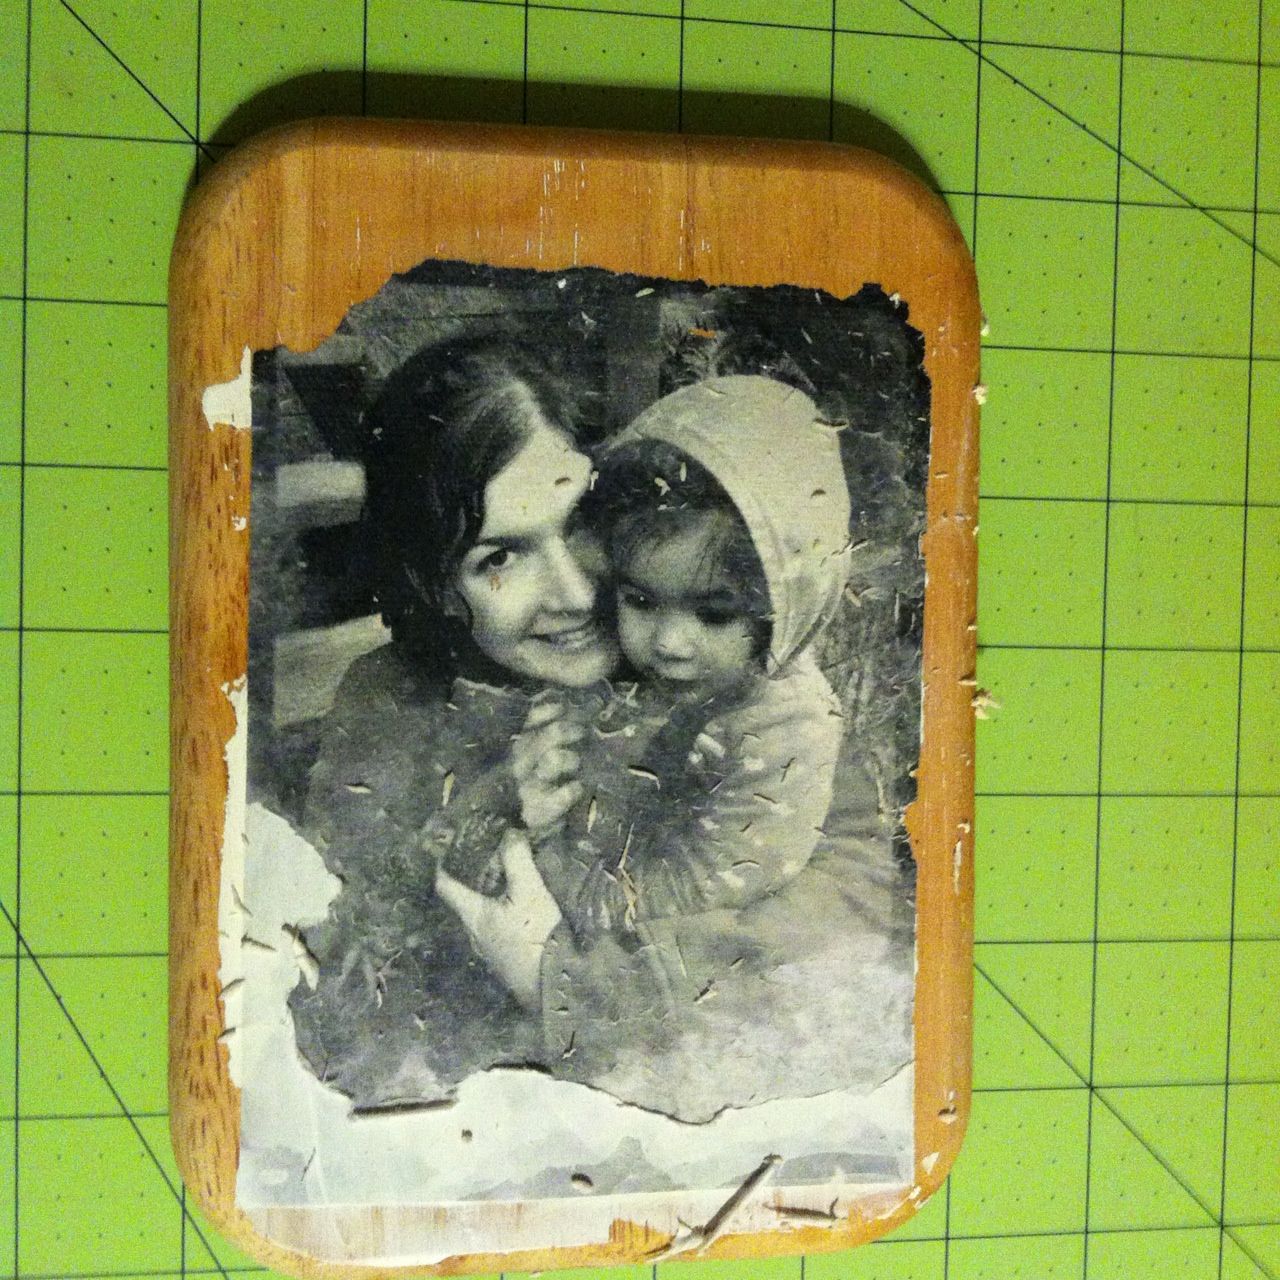
Step 7: Once the paper is damp comes the fun, but time intensive part of this project. Stand over a sink, wet your fingers and slowly start rubbing your finger over the paper, almost using your finger like sand paper. The photo copy is going to appear to split in half. The white part of the paper will start to lift away and the paper with the ink will stick to the wood. Take this part very, very slow. If you go to fast the ink will lift away from the wood and you will be left with bare patches.
*Note- having done this step several times now I have come up with the following technique. I stand at the sink and slowly remove the top layer of paper using circular motions with my fingers. I am constantly wetting my fingers and lightly rinsing the wood under the sink to wash off clumps of paper. Once I think I have the first layer of paper off I set the wood down for a couple of minutes and clean up all of the paper bits. This will give the transfer time to dry. When you look at it you will probably see that there are still places where there is a thin layer of paper left, the image will look cloudy. Wet down your fingers and start “sanding” away again. When you can’t see any white cloudy bits anymore set aside again, clean up a bit while it dries, pick it up again and “sand” some more. I wet down and let me project dry 5-10 times before I was done.