19 diy Paper succulents ideas
Page 14 of 19
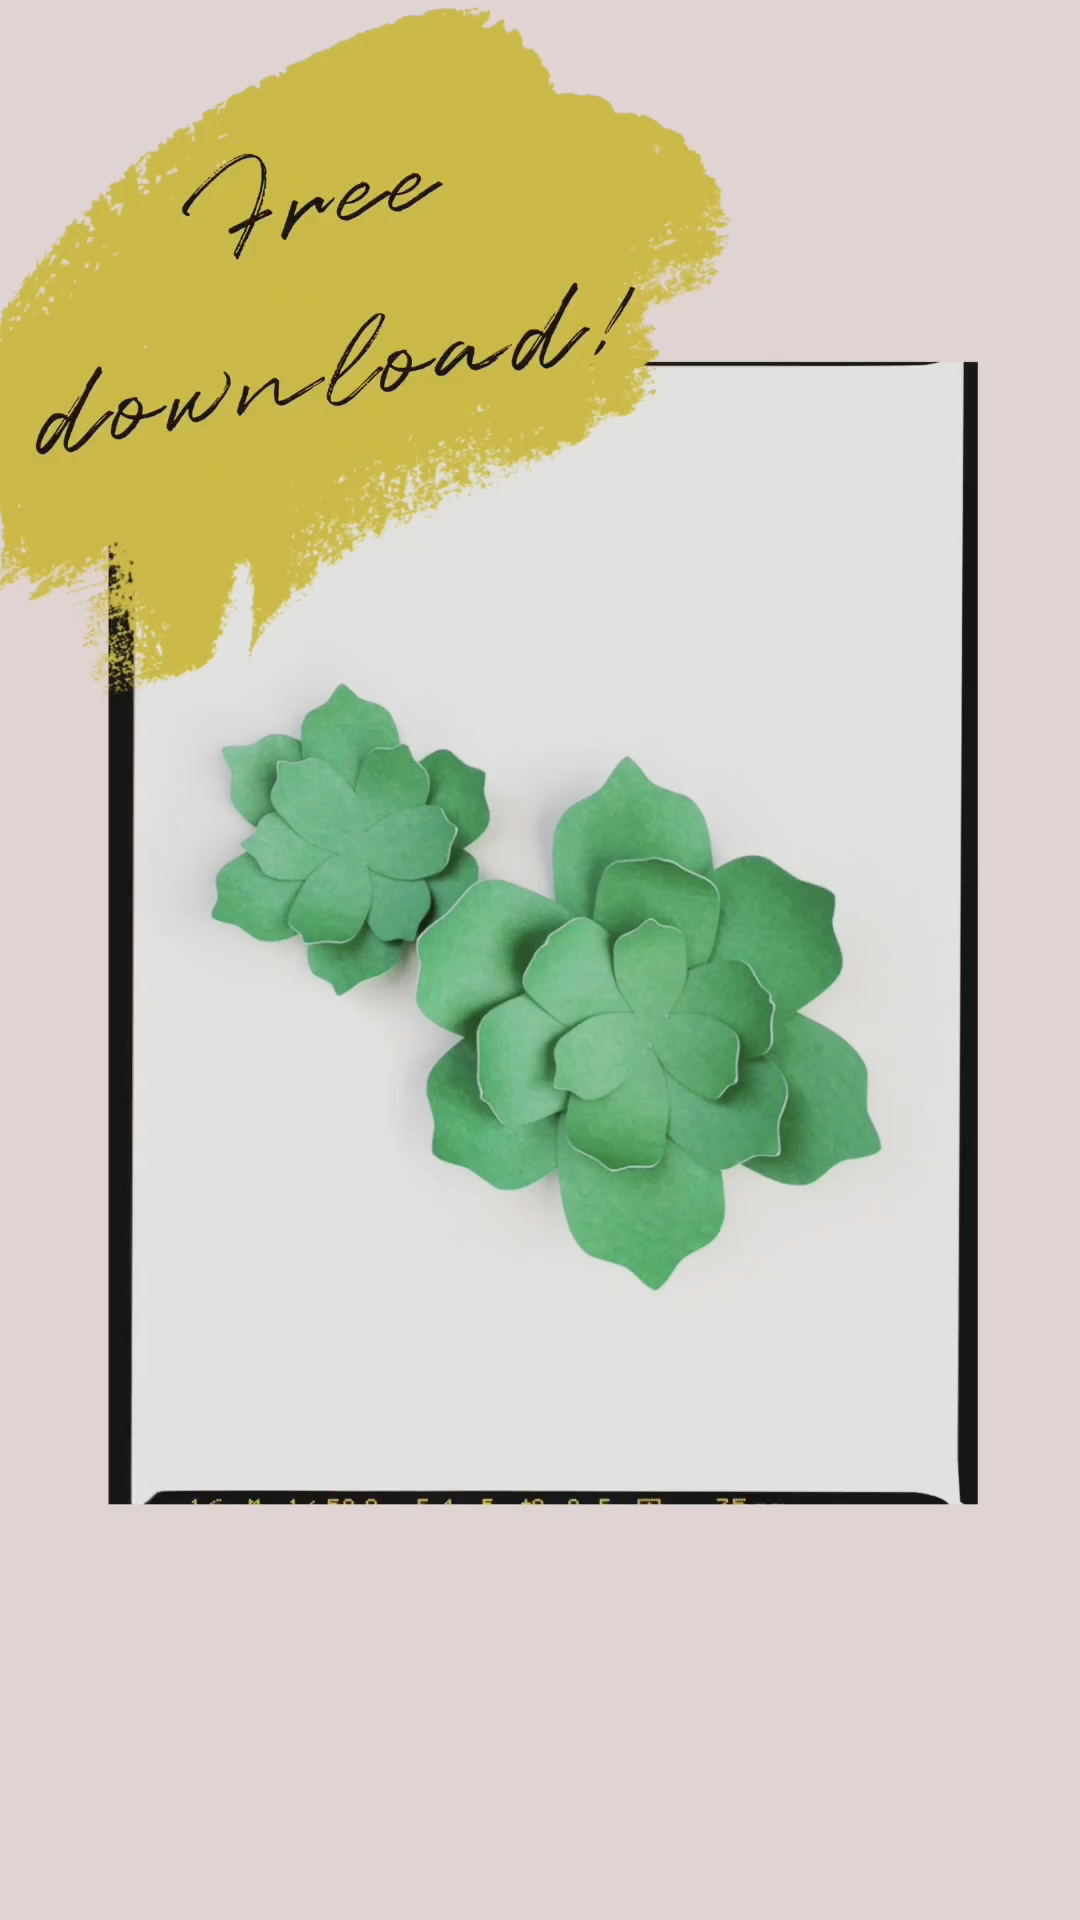
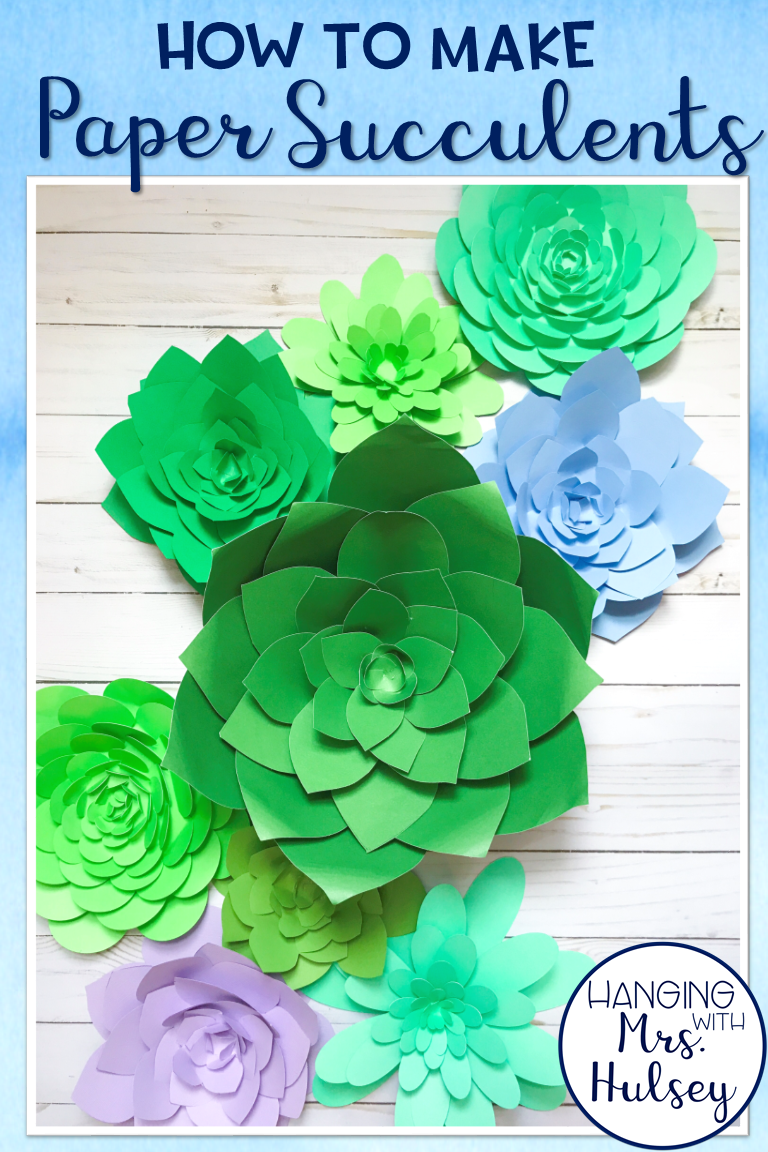
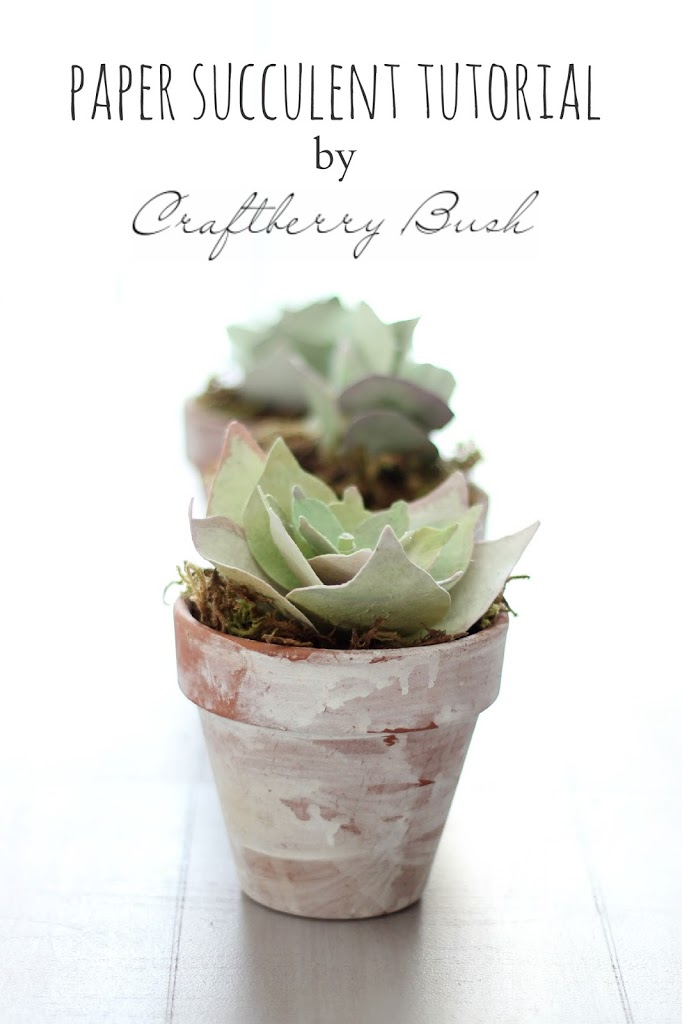
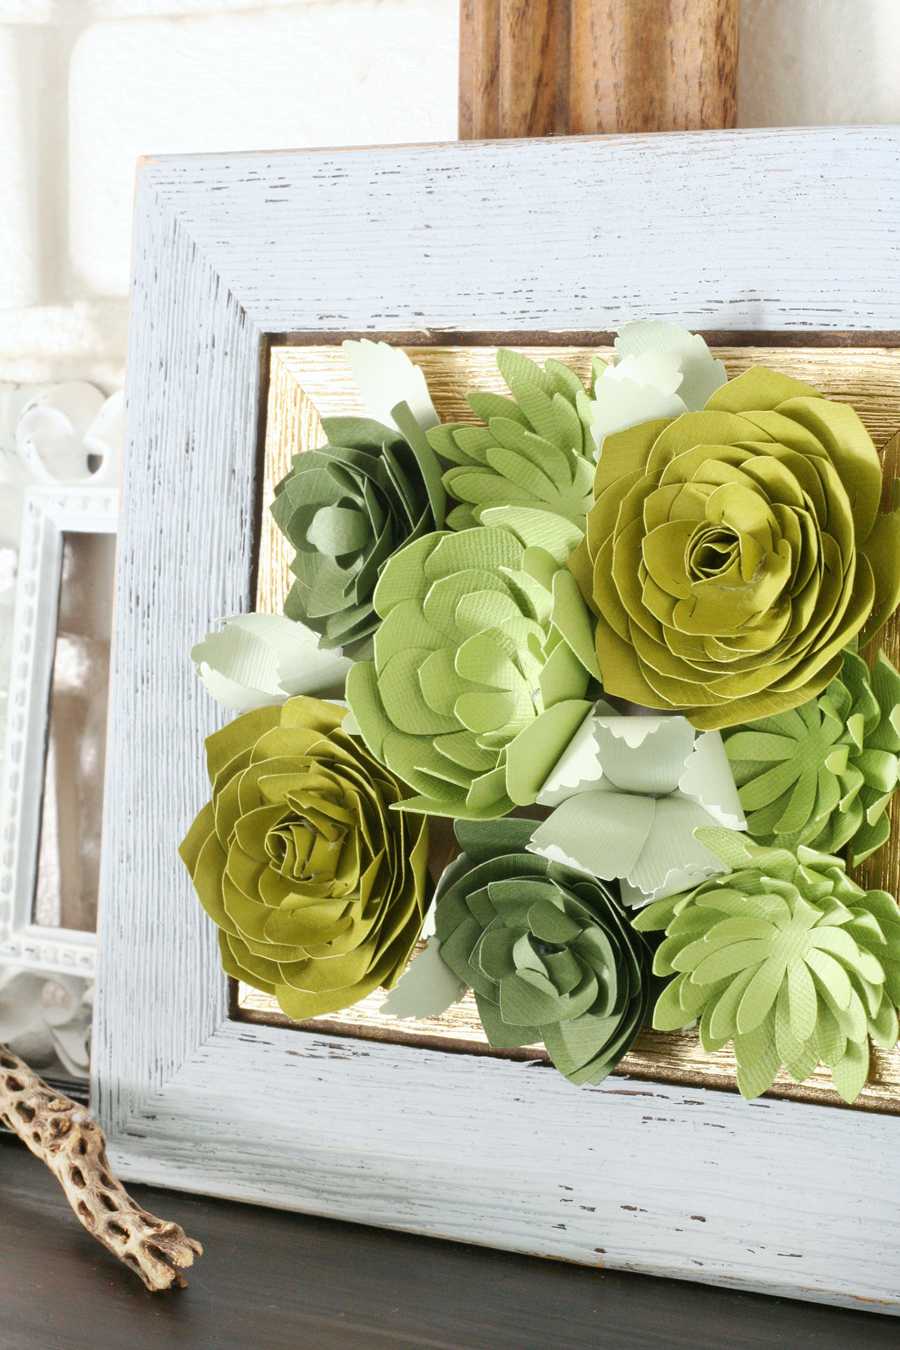
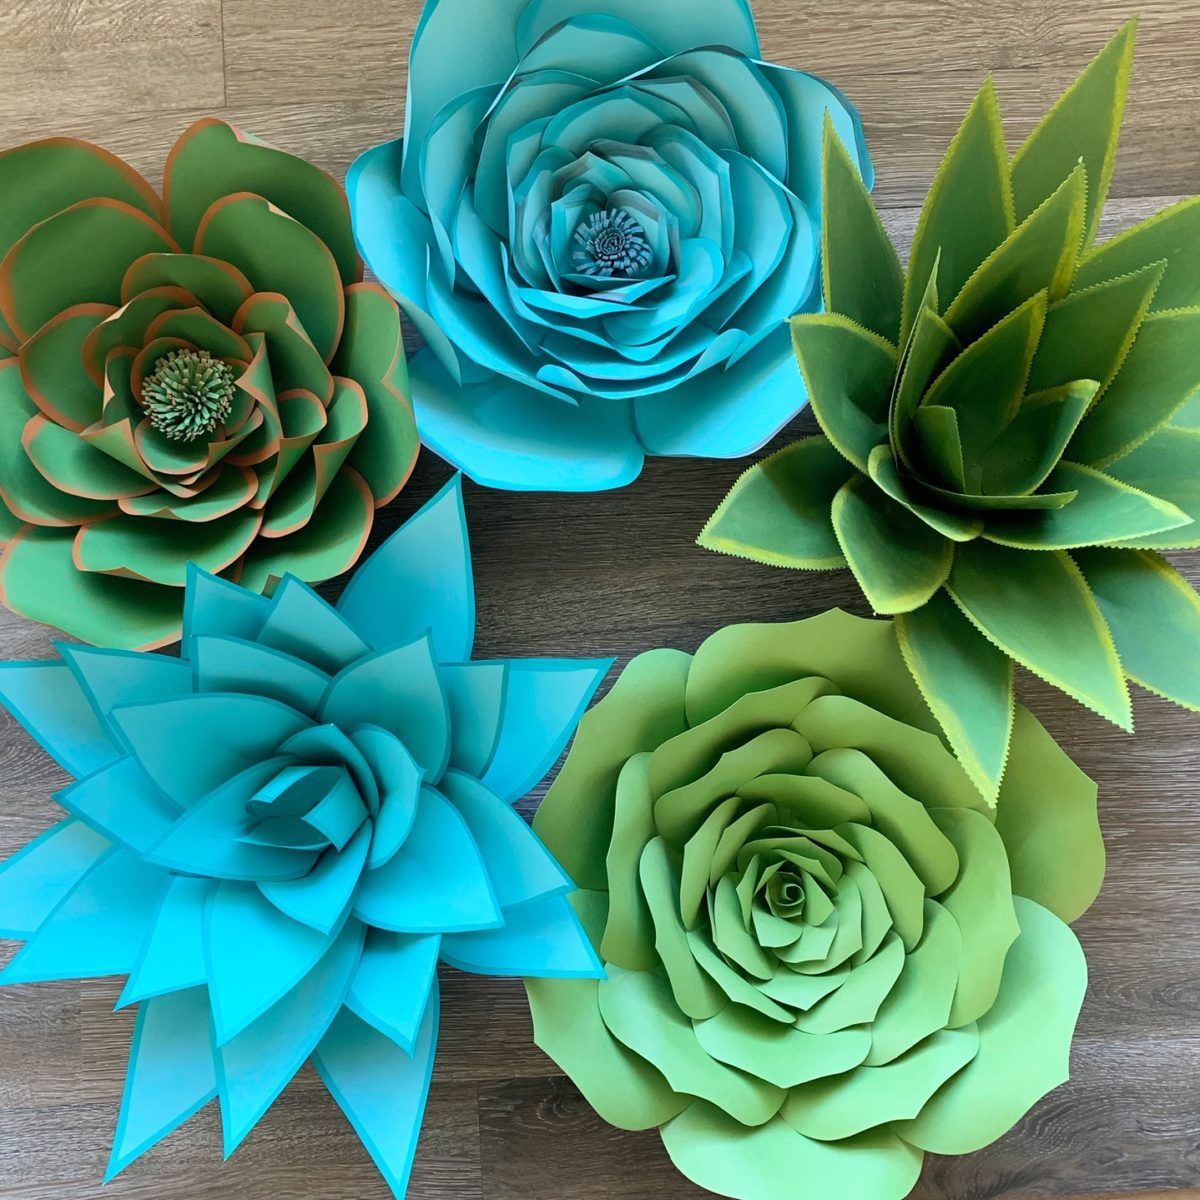
DIY Paper Succulents

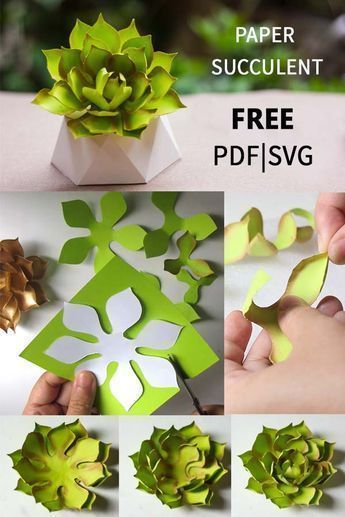
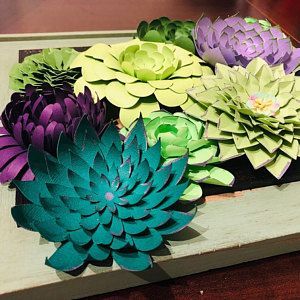
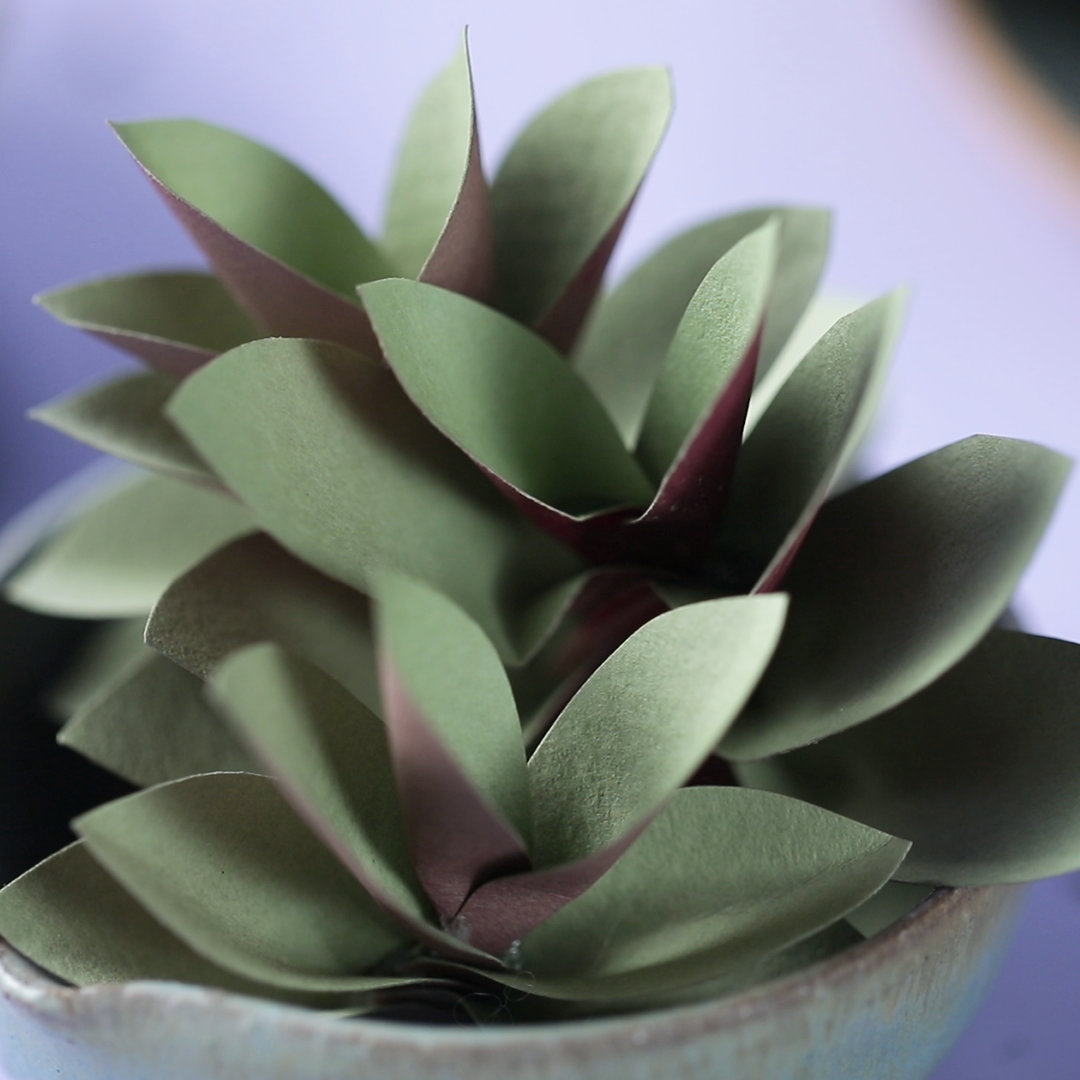
DIY Paper Succulents – Hanging with Mrs. Hulsey Hey everyone! So as I’ve been prepping for my classroom this summer– I’ve absolutely fallen in love with succulents! Not the cacti type– but the fat, round, and colorful type. As a result every piece of decor I’ve been making lately has a shiplap and succulent theme! Take a look below: Most of the items pictured above can be found in my TPT store– you can find them by clicking here. Now on to to the real reason you’re here. Paper succulents. I’m not going to lie to you– it is time consuming. And if you have a cutting machine like a Cricut or Silhouette– you can save yourself some serious time (plus you can make larger sized plants). So here we go! Here are the supplies you need: Cardstock (I bought 2 packs of green cardstock from Walmart for $5 each), scissors, pencil (if tracing), and hot glue. Each larger succulent took about three 12×12 pieces of cardstock, and the smaller ones took two 8.5×11″ pieces. This first succulent was made from a template I found online for free. I didn’t really follow their directions– so you can make them either way. First, I printed the 2 pages onto the color of cardstock I wanted. Next, I cut out the pieces. I laid the largest piece aside as a base. Next, I cut all the other pieces in half (and I also cut an extra piece of the smallest size). Cutting them in half let me make a small slit along the bottom– where I used a small dot of hot glue to press the flaps together (giving them more of a standing look). You can see my process below… After that I began assembling my succulent: I tried to make sure the petals were overlapping in each layer as I glued the pieces together. The very middle is the hardest to explain because I usually played it by ear– bending and gluing the smallest pieces (sometimes even trimming them) until I was satisfied. Succulents 2 & 3 were created using my Cricut– but I was able to trace a template for any lovers of the “trace and cut” method. If you want to make them larger– you could always set the largest piece down on some paper and trace a larger figure around it. Basically for succulent #2, I used the largest piece as the base and bent all the other pieces upward at the petals. Then you glue and stack, glue and stack– and make sure the petals alternate (so you should see the previous layer in between). Here is my finished result with my original: The last succulent is my personal favorite! Also the easiest (in my opinion). It’s the same process as above: Cut out shapes, bend the petals, and stack and glue the layers. Here is my original and the new one side by side: Hope that helped inspire you in your paper succulent making quest! If you have any questions or suggestions please leave them in the comments below– and I will try my hardest answer them ASAP. Hope you have a blessed day!