19 diy Paper frame ideas
Page 8 of 19
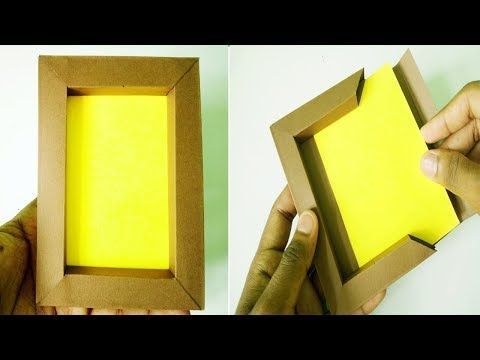
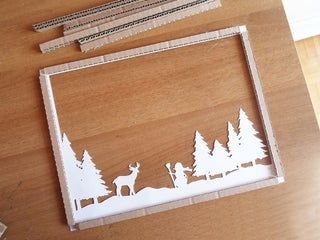
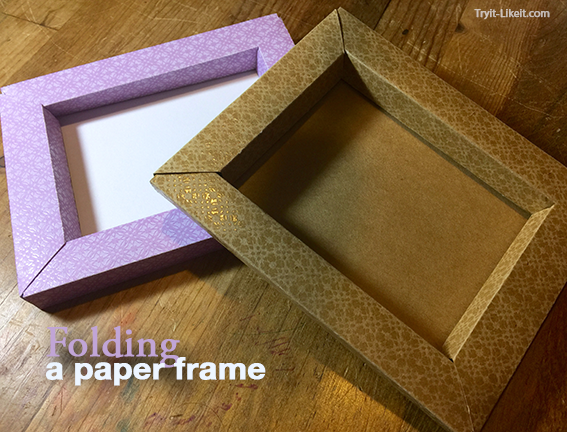
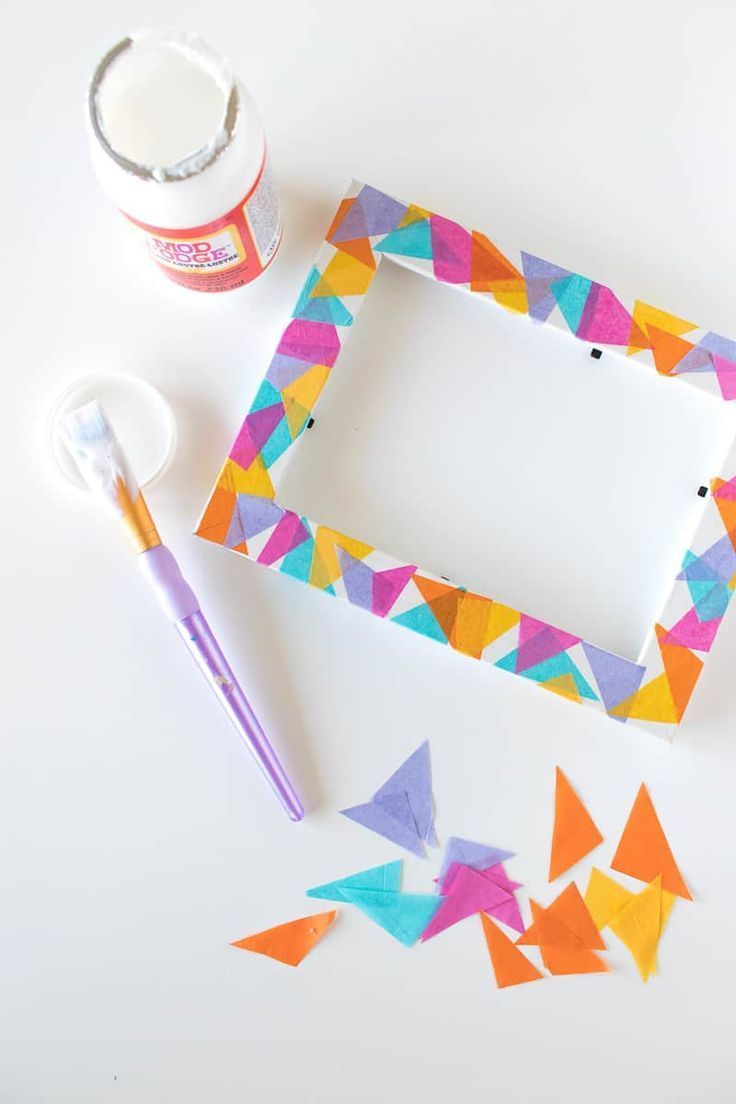
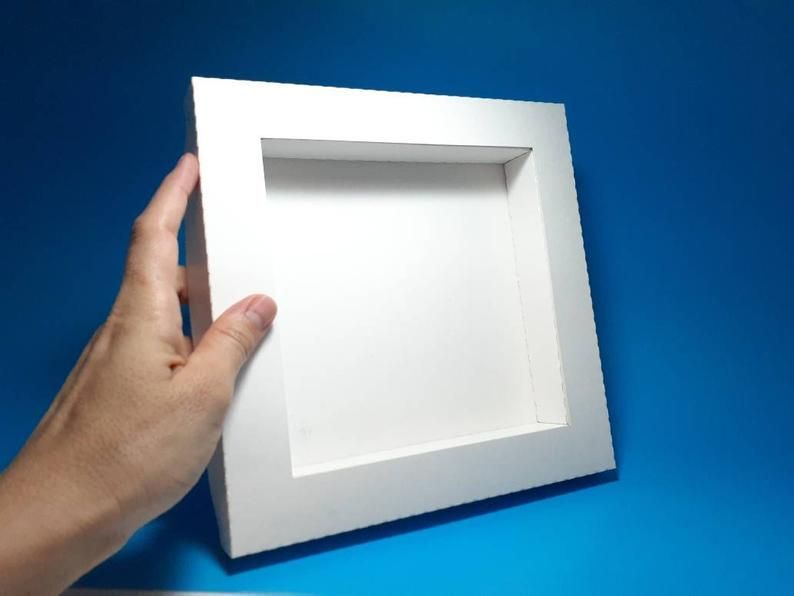
How to make a cardboard frame

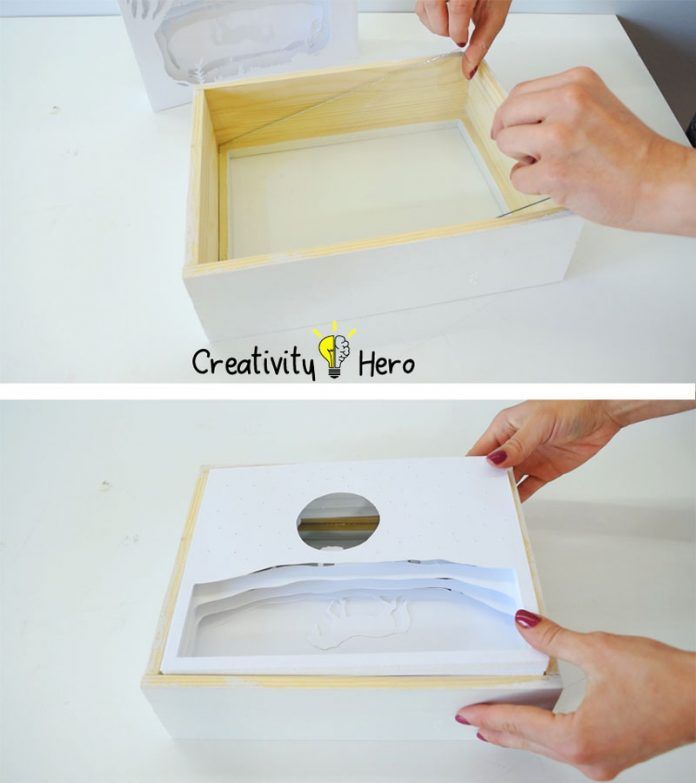
diy cardboard frame 6 A frame is the most classical way to decorate and it’s still the best option to highlight a nice picture or drawing. Unfortunately it’s quite expensive, especially if you need a large format with specific dimensions. Thrift stores can be a good option. And if you can not find the frame you need, you will just have to make it with cardboard. It’s not complicated but it does take time and a lot of accuracy.The amounts of materials vary according to the frame size. The size of the frame made here is 25 x 32 inches. The material list is: 3 gray cardboard sheets (5mm), a glass, a nice paper to cover the frame, a white paper sheet for the back, a piece of rope, white glue, tape, craft tape, utility knife, scissors, pencil, ruler and square.Take the picture you want to frame, place it on the cardboard sheet and draw a frame around it. The frame width must be at least 2.5 inches. Use a ruler and a square to trace straight lines. Then use the utility knife to cut out the frame. Help yourself using a metallic ruler to cut straight and following the lines.You need to make a ledge where the glass and the picture are gonna fit in. Cut several strip of 2 inches width in the cardboard. Glue 3 layers on top of each other on the edge of the frame. Pressure all the piece to have a perfect adherence between all of them.Take an other sheet of cardboard and cut a rectangle in it. This will be the back of your frame. The rectangle must fit inside the frame ledge.Take the paper sheet you choose and glue it on the frame, cut the paper at the frame dimension leaving 1 inch extra all around. Turn the frame, fold the paper and glue it on the back. Make small cut on every corner to fold the paper properly.You can decor the front frame the way you like. I made a second frame, a little smaller, and glue it on top of the first one.Take the back cardboard piece, measure 8 inches from the top and make two holes at the same distance. You can use your scissors tip to do so. Pass the rope thought them and glue it with the cardboard. Add some masking tape…just be sure to make it strong enough to hold the frame weight.Almost done, it only remains to put everything in place. Place the frame wrong side up, put the glass, then the picture, followed by a white sheet and to finish the back cardboard. I get a custom cut glass. Do not forget to clean it before placing it in your frame.Finish the frame and fix everything with craft tape all around.And done, hang it and enjoy your new frame. If you like working with cardboard, you may want to give a try making a small photo frame.