19 diy Kitchen on a budget ideas
Page 9 of 19
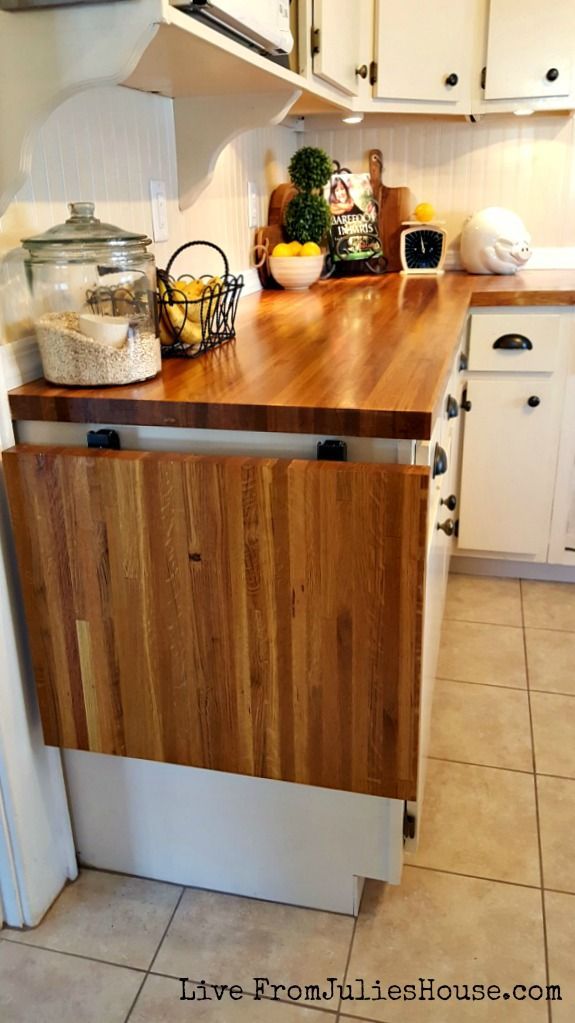
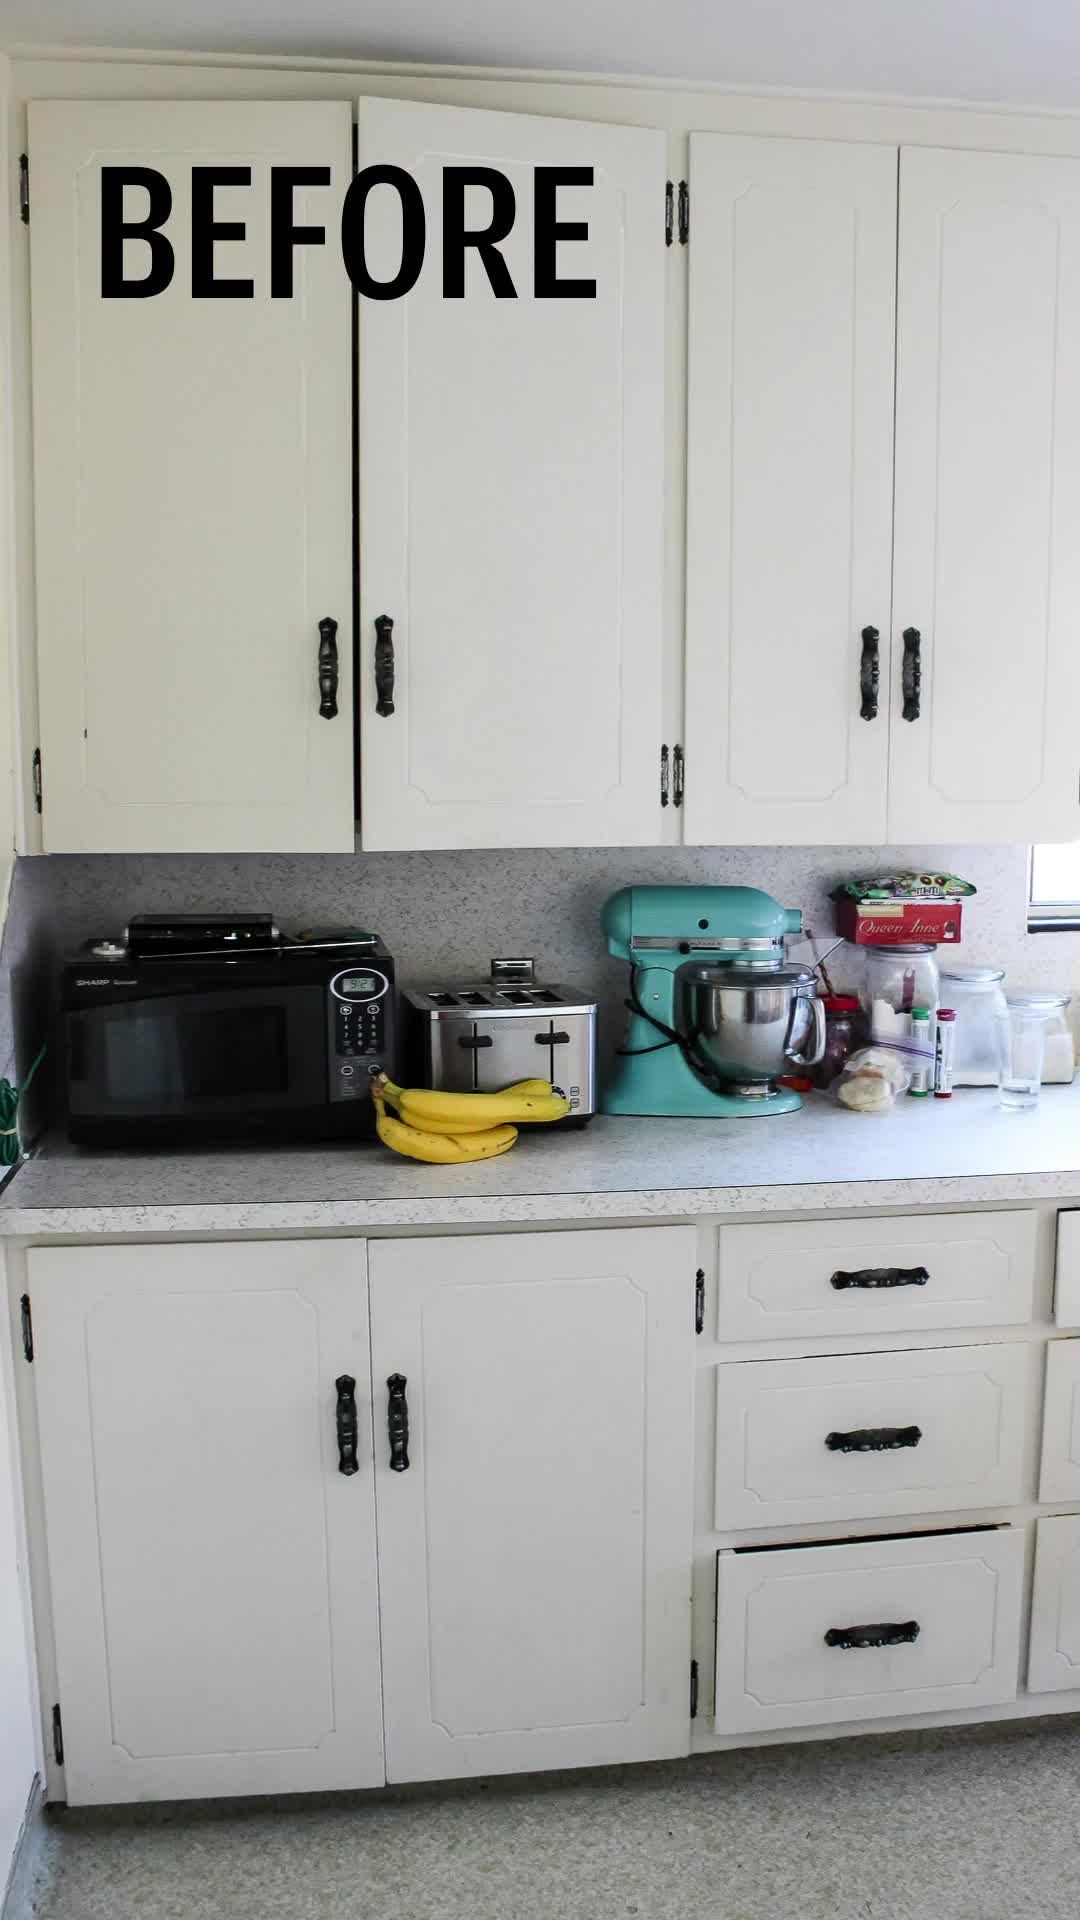
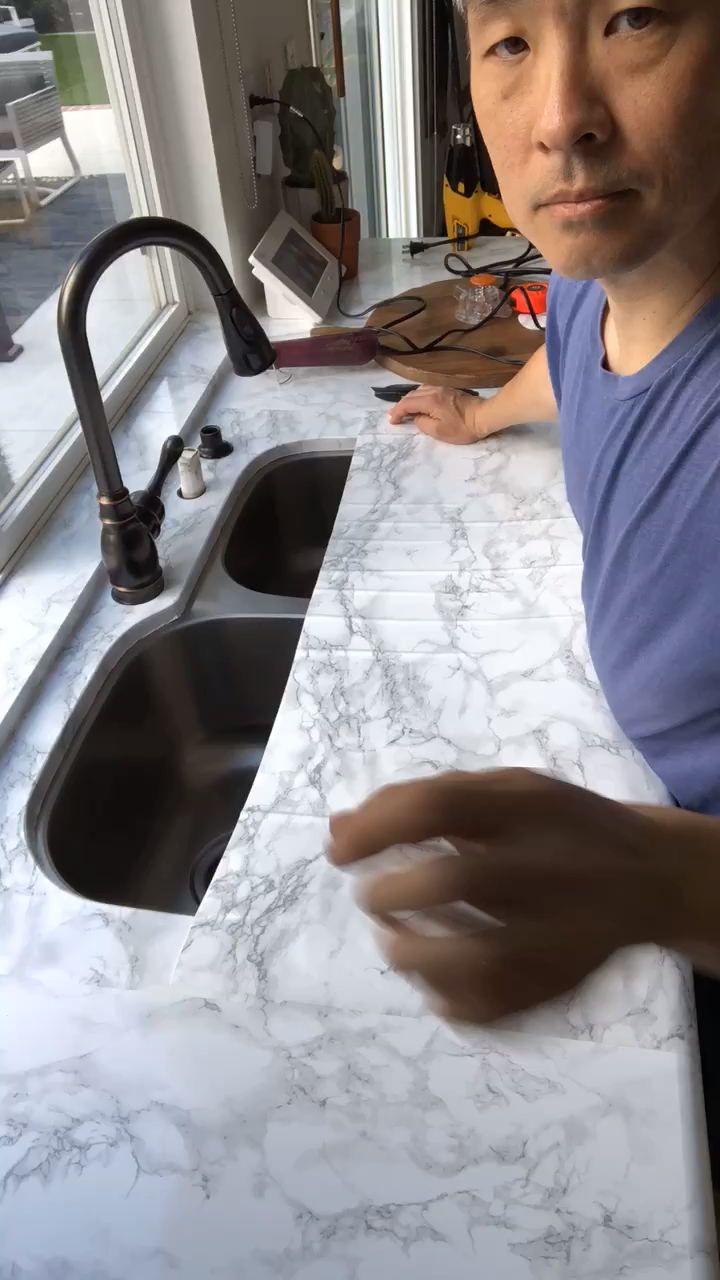
It all began with the benchtop

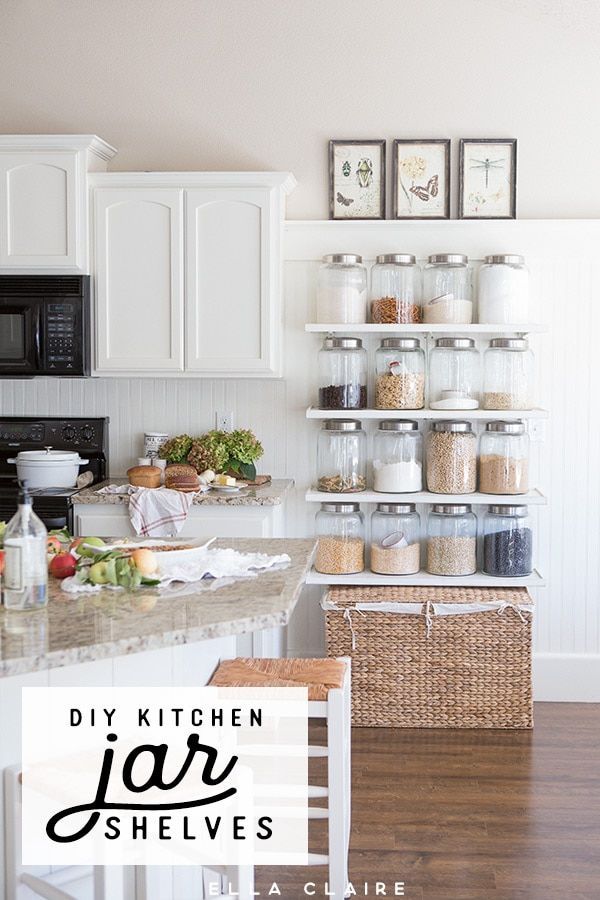
Hey there! So I’ve never written a blog before, but I figured that it was time to start doing some sharing. It all started a month ago – I had a week off from work and was trying to make sure I had a project to keep me busy. For a while I’d been thinking about resurfacing my kitchen benchtop, but had put it off. I rent the house and even though the landlord doesn’t really mind what I do, I still wasn’t ready to commit to big changes. But then a friend started renovating his kitchen and I suddenly caught the reno bug! After some serious research, I decided to use Giani Granite Paint in the Chocolate Brown kit. I ordered it online, then, while I was waiting for it to arrive, I got some acrylic paints and bits of cardboard and practiced and practiced and practiced and kept on practicing. To be honest, I wasn’t really happy with any of the practice pieces, but by the time my week off arrived, I decided I had to just do it for real. Here’s my kitchen bench before I started. Then after the primer – wow, this was scary! Totally past the point of no return once you start seeing that black going on! Then, after applying the chocolate brown paints. Those veins just sort of happened. I didn’t really have a plan, but I was pretty pleased with the result. Then after the topcoat. This made me even happier because it toned everything down a little and seemed to make it feel more blended somehow. Awesome. And who can resist that lovely mirror finish? Here’s a link to the faux granite paint I used: http://gianigranitepaint.com.au/ So you may notice with the last photo, apart from Molly’s dinner being included, the cabinet doors are different. I didn’t start out with any intention to do them, but when I looked at how good the benchtops came out, the old cabinet doors just looked so shabby in comparison. And seeing as I had the week off, and the benchtops were done in one day, I thought, “why not?” So I started a mission to update them too. One by one, I took each door off, sanded, cleaned, filled holes from the removed handles, added wooden trim, painted, then added new handles. I really like them now! It was hard getting them back on with the extra thickness added from the trim, but after much hinge fiddling, I got there in the end. And absolutely love them. This was the first door I completed, before the handle: (I know the floor looks pretty feral, but I refused to clean it until after I had finished working in there.) I managed to finish all the lower cabinets in my week off, but it took another 3 weekends to finish all the overheads. Two of the middle doors I decided to not put back on – it took me so long to finish, that I kind of fell in love with having open shelving over the bench. So I moved my plates and glasses in there and now it seems like a feature. 🙂 The finishing touches were the Ikea rails bolted underneath the cabinets to hang my pots and an Ikea magnetic knife rack on the wall (sorry, not in this photo).