19 diy Jewelry hanger ideas
Page 12 of 19
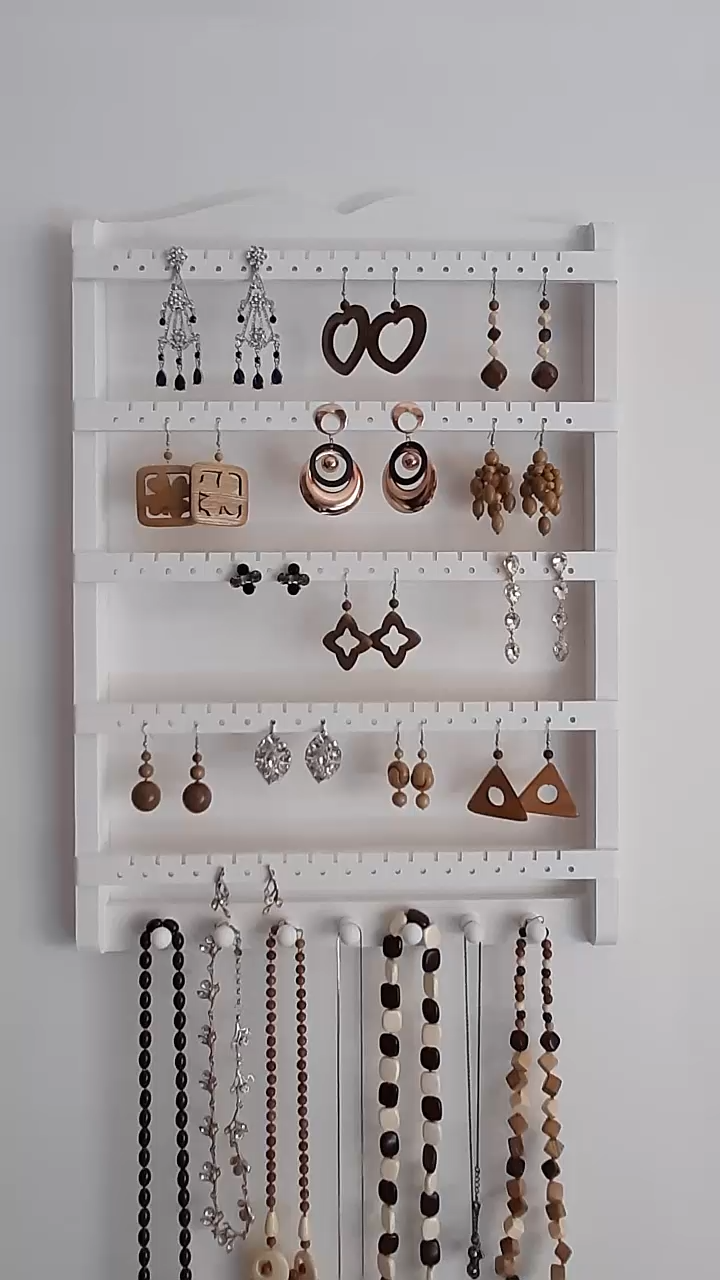
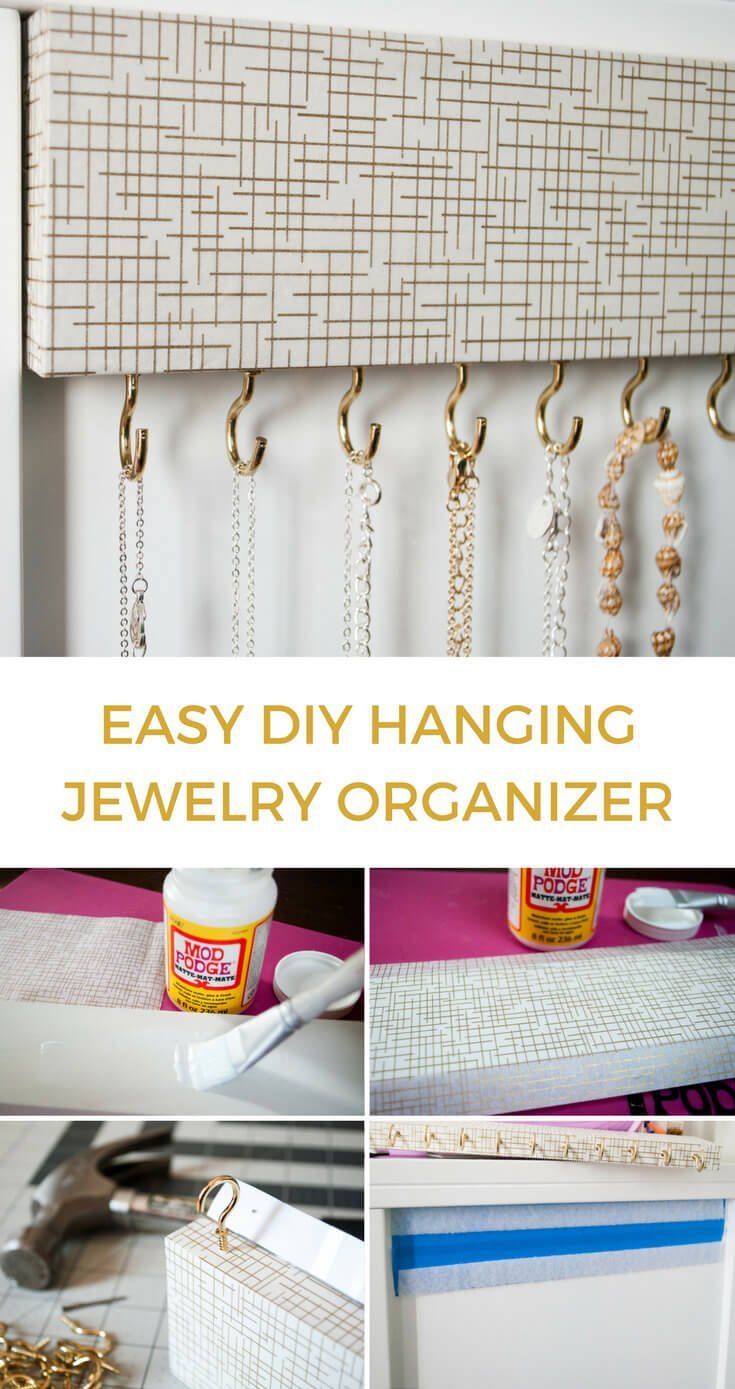
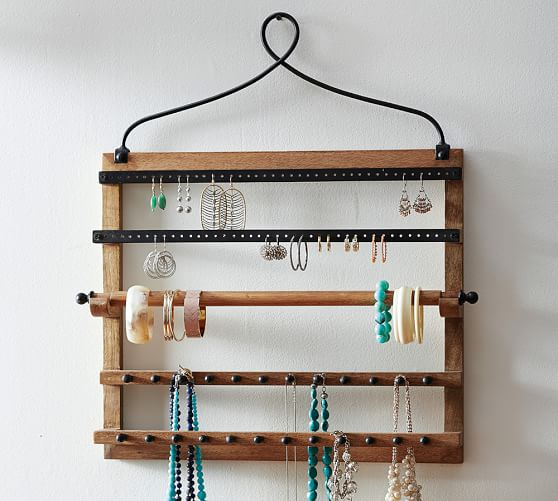
DIY wall jewelry organizer

You searched for wall jewelry organizer ? Dream a Little Bigger No matter how much jewelry pieces you own, storage is always a big issue. I’ve got them in small boxes, which works pretty good for bracelets and rings. I had to find an other way to organize the necklaces (they were all tangled to each others) and the earrings (I needed like 15 minutes to find a pair!!). So, a wall organizer seems like the perfect option. This modern jewelry holder is very simple to make and you can organize all your jewelry in one place.You will need a piece of 10mm plywood, 4 dowels (18′), wooden glue, sanding paper, wood stain or paint, a frame hook, a hammer and a handsaw.Cut the plywood to have a rectangle of 18 inches long of 2 1/2 inches width. Cut each end at a 30 degree angle. Sand it, insisting on the edges to remove all splinters.On the back, nail an alligator hook or a frame hook to be able to hang your jewelry organizer on the wall. Be sure to center it. Stain or paint the plywood the way you like. I use a Early American shade.Take measurements to place the dowels, and trace five lines on the plywood. One in the center and two others on each side at a 3 inches distance from each other. Cut one dowel in half and shorten two at 13 inches. So you will have 2 dowels of 9′ – 2 dowels of 13′ and one of 18′.Put a little wooden glue on plywood, following the marks, and glue the dowels. Place the dowels horizontally and wait for the glue to dry. No worries the glue become transparent when drying…but you can apply less than me!Hang your organizer on the wall and display your jewelry! You will have everything on hand and easy to find! The tutorial for the pasta necklace is HERE and the tassels earrings is HERE.