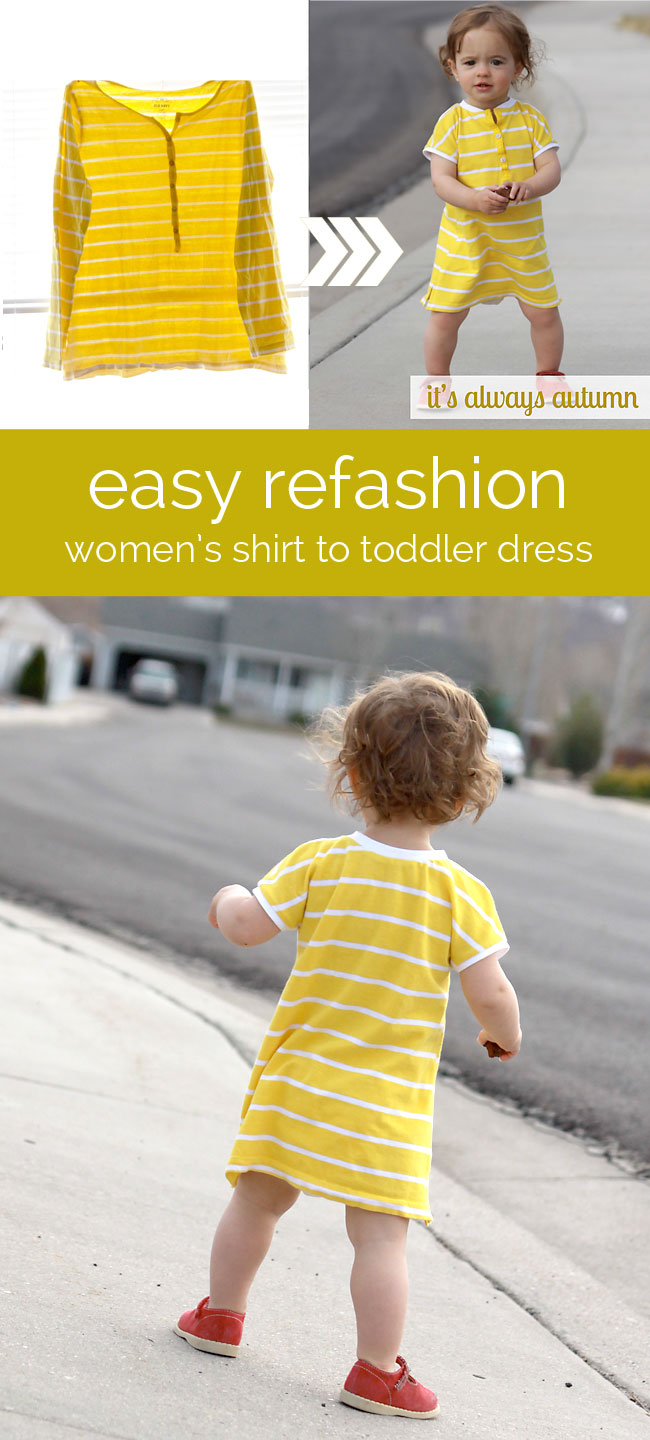
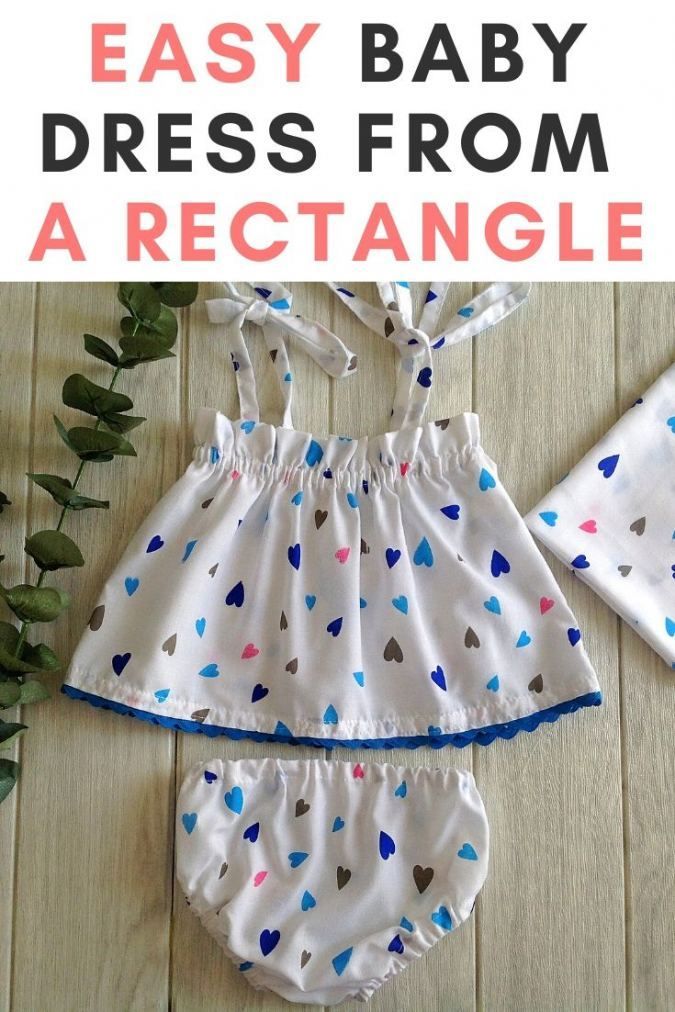
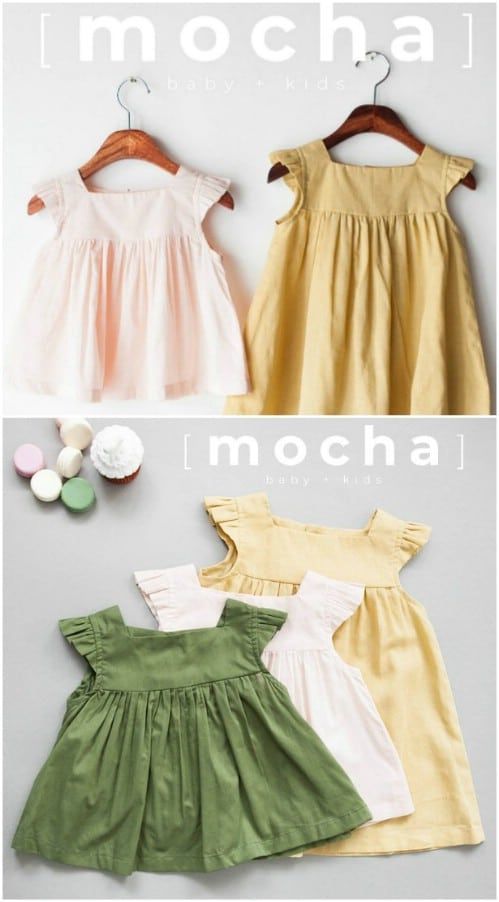
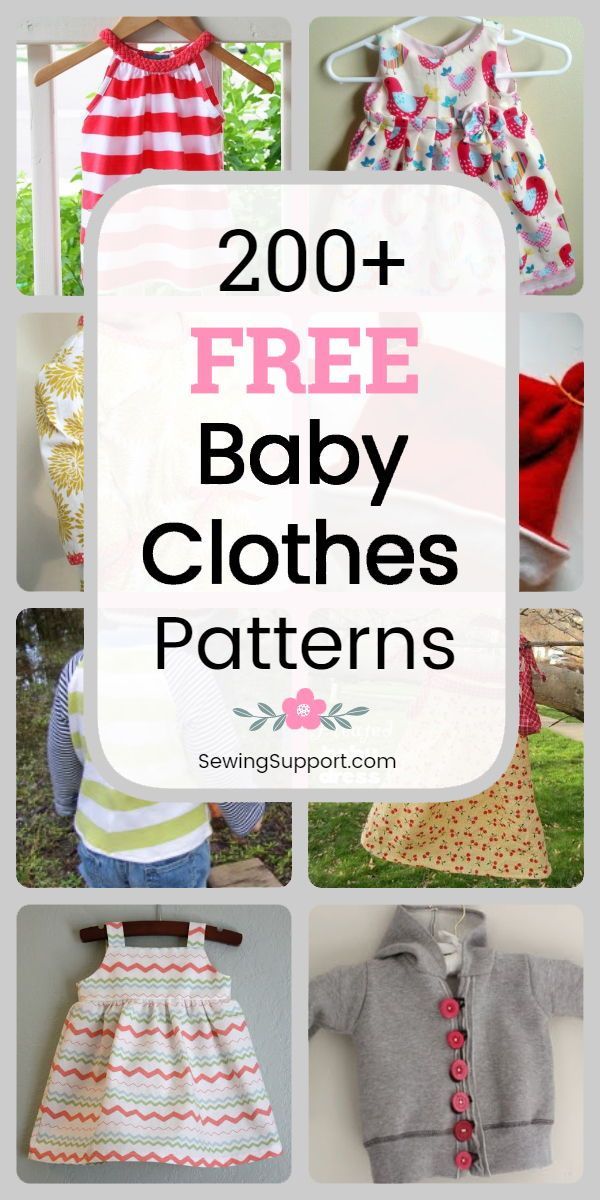
19 diy Baby dress ideas
Page 2 of 19
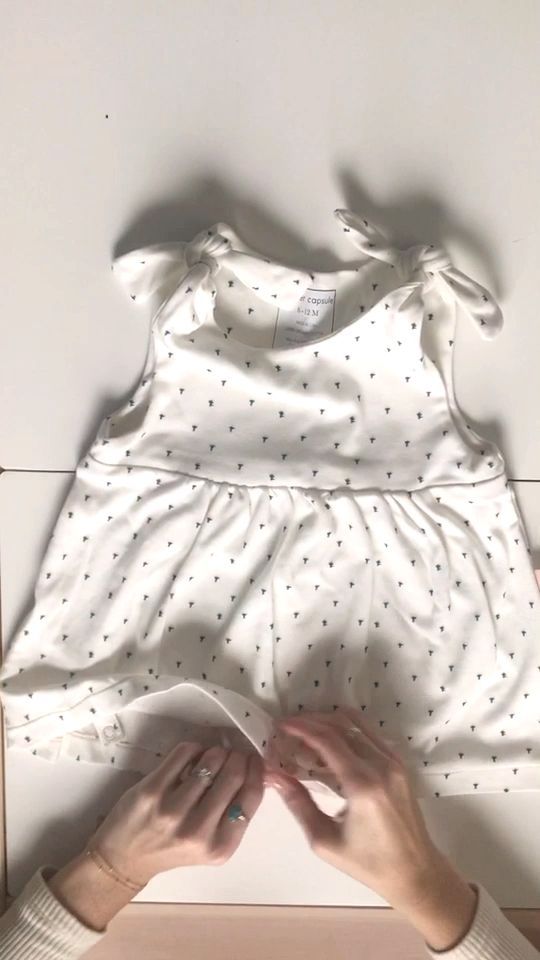
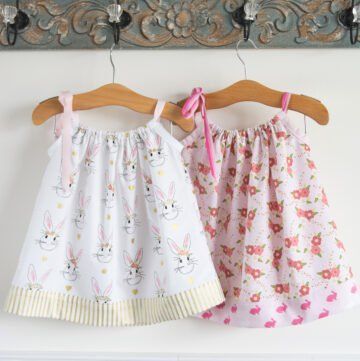
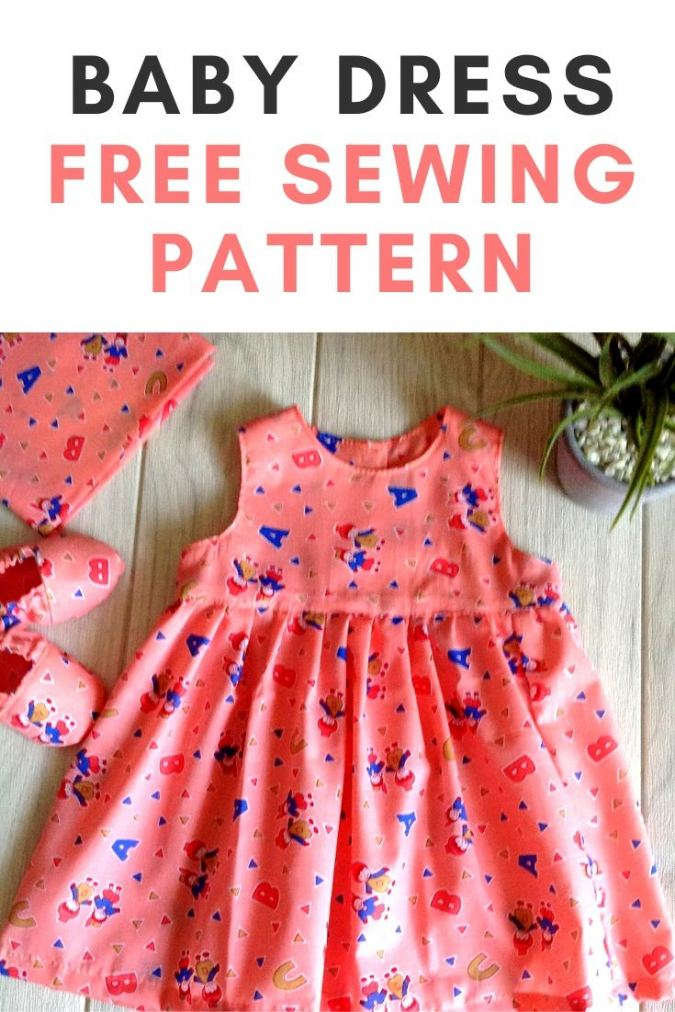
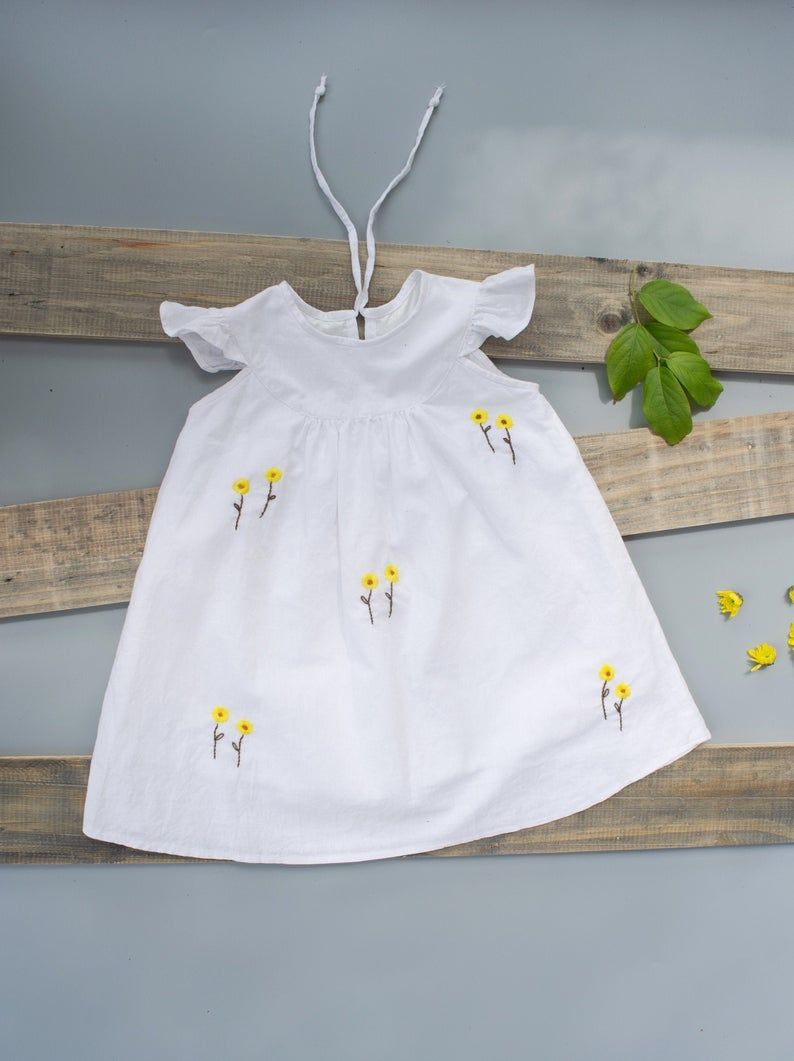
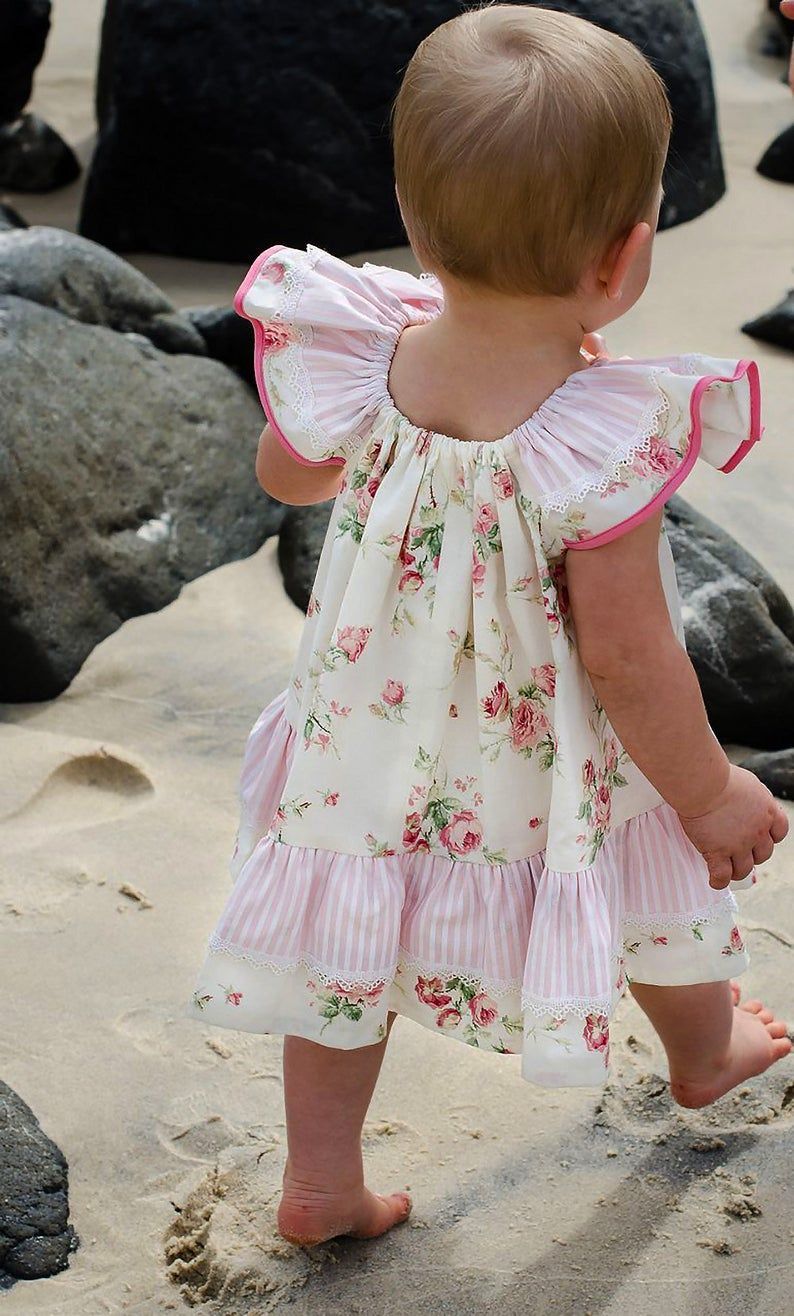
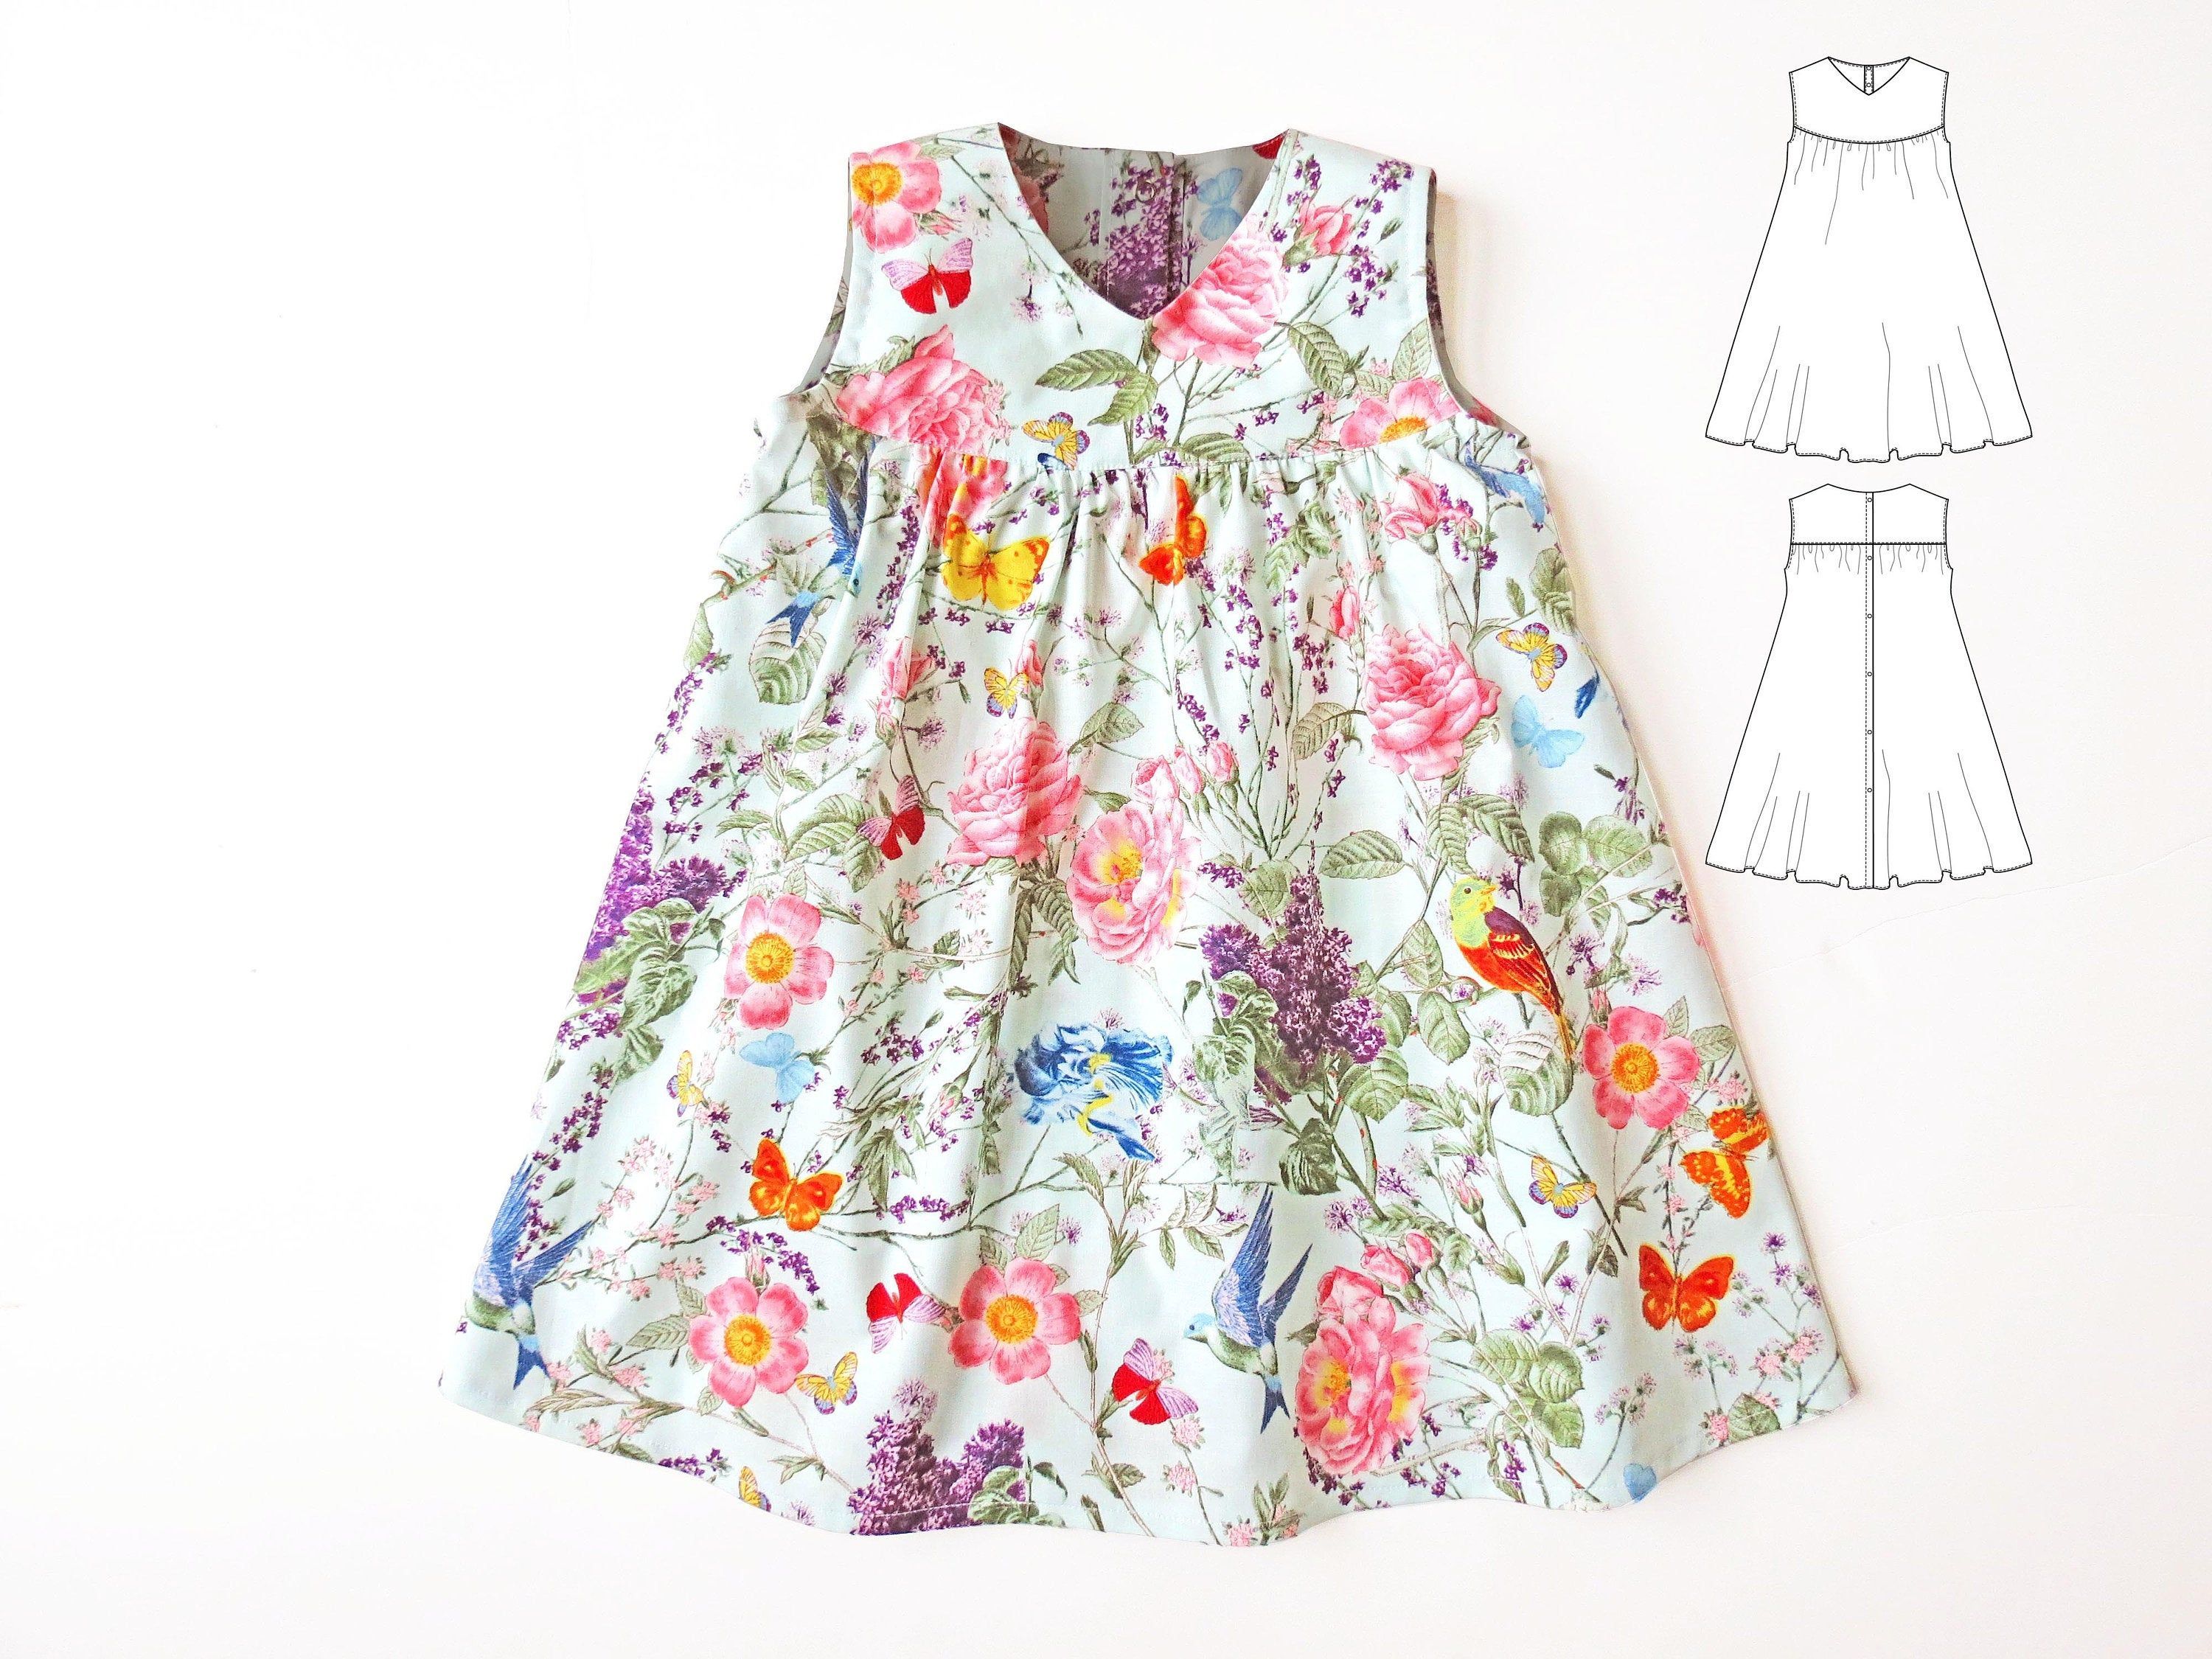
How to Make the “Best Dress Ever” – A Tutorial

Welcome back! When I think about Dress A Girl Around the World I think about pillowcase dresses. It is a great little dress patternthe length can be adjusted with the ties, and the width has plenty of ease. This tutorial includes step by step instructions for making the standard pillowcase dress with ties on the shoulders. This is a chart of the finished dress lengths. Sometimes it is difficult to make a dress the correct number of inches so here is a range. Do you know what size dress you would like to make? Take a look at the chart below. Size/years old Finished Dress Length Infant 14-16 inches 1-2 years 17-19 inches 3-4 years 20-22 inches 5-6 years 23-25 inches 7-8 years 26-28 inches 9-10 29-30 inches 11 31-33 inches 12-14 34-35 inches There is one quick thing you need to do before we get started. You need to draw a template for the arm opening. Here is a photo of my templates in S, M, and L. Get out a piece of paper or cardboard to draw your template on. I am going to give you the measurements for the width and length. The curved line should go straight down for about 3 inches and then curve in a J shape. No matter how your curve looks it will work out as long as you have the length width measured correctly. Template measurements: (width then length) Small 1 1/2″ x 4 1/2″ to fit infant to size 4 Medium 2″ x 5″ to fit child size 5 to 9 Large 2 1/4″ x 6″ to fit child 9 to 14 Let’s get started! For those of you that bought a pillowcase, choose the length of the dress that you wish to make and add one inch. Take into consideration the width of your pillowcase particularly if it is large or king size. Some king size pillowcase are pretty narrow and you don’t want to make a dress too narrow to run or play in. If you are more of a visual person (like me) take a tape measure and measure the width of the pillowcase x 2 and put the tape around your own legs just below the knee. What do you think? Is it too narrow? If so make a smaller size and you can use the leftover fabric to make pockets. Lay your pillowcase flat on a flat surface. With a yard stick measure from the hem to the desired length + 1 inch. Cut across the closed end. Pillowcase people skip the following paragraph and pick up at the pink sentence below. (scroll down) For those of you that bought fabric, choose the length of dress that you wish to make and add two inches to the length the width will be whatever the width of the fabric is we’re going to take advantage of those selvages. Go ahead and cut your dress the length you’ve chosen. Put the selvages together and seam the length of the dress. If you do not have selvages zig zag from top to bottom to make sure that this seam does not come apart. Now let’s put in a hem. On one end of the fabric tube turn up ?” all the way around the dress, pressing as you fold. After you’ve completed this go around again folding up another ?”. Stitch close to the edge of your hem with your machine. We should ALL have a tube of fabric with a hem on one end. Lay your tube out flat with the seam on the side rather than down the back. It will be much less noticeable and both the front and back will appear seamless. Trace and cut your arm openings. Your fabric should look like this. It’s starting to look a little like a dress isn’t it? On the top front fold over ?” and press. Now fold over ?” and press firmly. Flip the dress over and do the same thing on the top of the back of the dress. Stitch close to the edge along the fold on the front and the back. After you finish, press the casing one more time. Dress Size Elastic Length 6 mo to 5 6” 6 to 9 7” 10 to 12 8′ Select the size dress you are making. You will need to cut two pieces of 3/8 or ? inch elastic. (If you prefer you can leave the elastic in once piece for example if you are making a size 6 dress you will cut the elastic 14 inches and mark the center with a pin or marker. (I like to do this because it is easy for short pieces of elastic to get away). Put a safety pin on the end of the elastic and push it through the casing. When the center of your elastic reaches one end, pin or secure with a few stitches, clip the end of the elastic and continue across. While the safety pin is still attached fasten the end securely with a stitch or pin. Do not stretch out to distribute the gatherswe’ll do that later. Turn the dress over and repeat on the other side. If you used pins to hold the elastic tack all four of the elastic ends using a zig zag stitch. Make sure that you can see the ends of elastic so they will be well secured. This is what your dress should look likeif it does give yourself a pat on the back. Now for the ties. Find the length of ties that correspond to the size dress that you are making and cut two. It will take one package to make one dress unless you are making an infant size dress. If you buy 2 packages you will have enough tape to make 3 dresses. Size Tie Length Infant 24 Small 30 Medium 36 Large 38 If you look very closely at most bias tape while it is folded, one edge will appear to be a little wider. You can see it pretty well on the tape edge on the left. The wider side will go to the inside of the dress that way when you sew the tape about the arm opening you won’t have to worry about catching the edge of the tape that is out of sight. Fold in and press the ends of the ties. Fold you ties in half and mark with a pin. With the right side of the fabric facing out pin the center of the bias tape to the center of the underarm. Remember the widest edge of the bias tape needs to go on the inside of arm opening. Make sure the dress fabric is all the way in to the fold. Pin every inch or so to make sure that the fabric doesn’t slip out. Lay your dress out with ties laid up like this. You start sewing on the top of the left tie. Sew the edges together with a straight stitch. When you get to the dress fabric keep sewing removing the pins one at a time and then continue sewing up to the end of the tie. You will be sewing a giant U. Repeat on the other side. *If it is easier you can sew around the U with a zig zag stitch. Look on the inside of the arm opening and make sure that you caught all of the edges. Turn your dress inside out and clip all the threads, check your seams and the hem. You are finished! Flip your dress right side out, tie you ties and hang your dress up and admire your work. GOOD JOB! Now it is time to embellish your dress and make it your own!