18 diy Jewelry rings ideas
Page 9 of 18
Metalsmith Society’s Guide To Purchasing Metal For making Jewelry

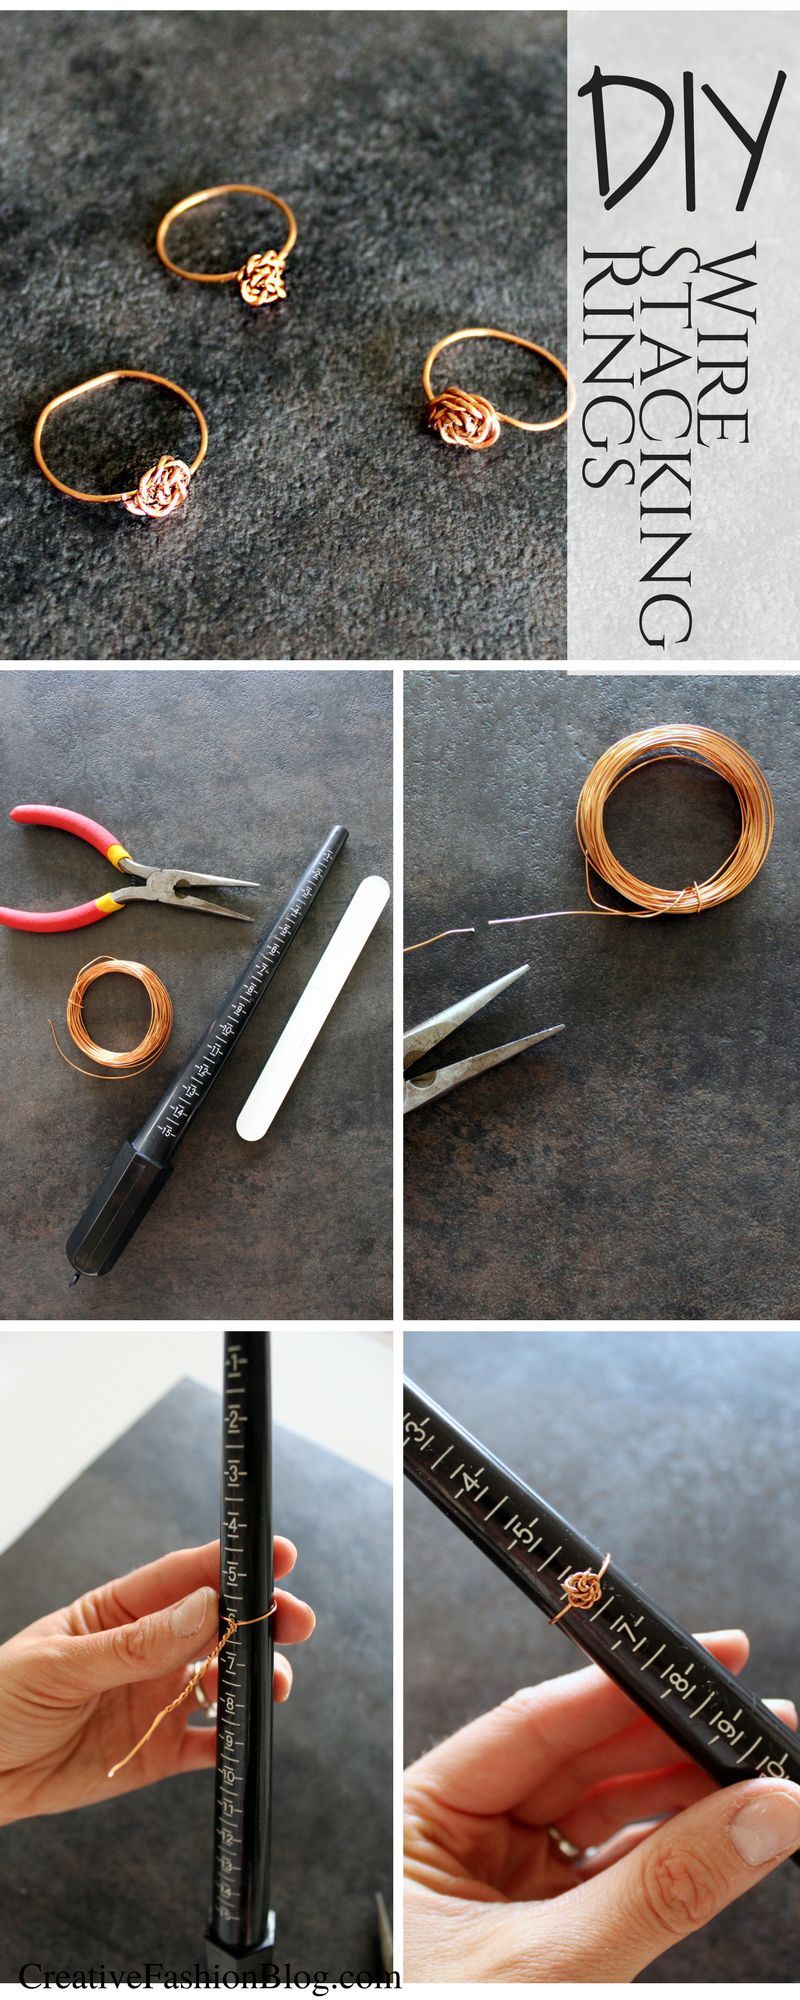
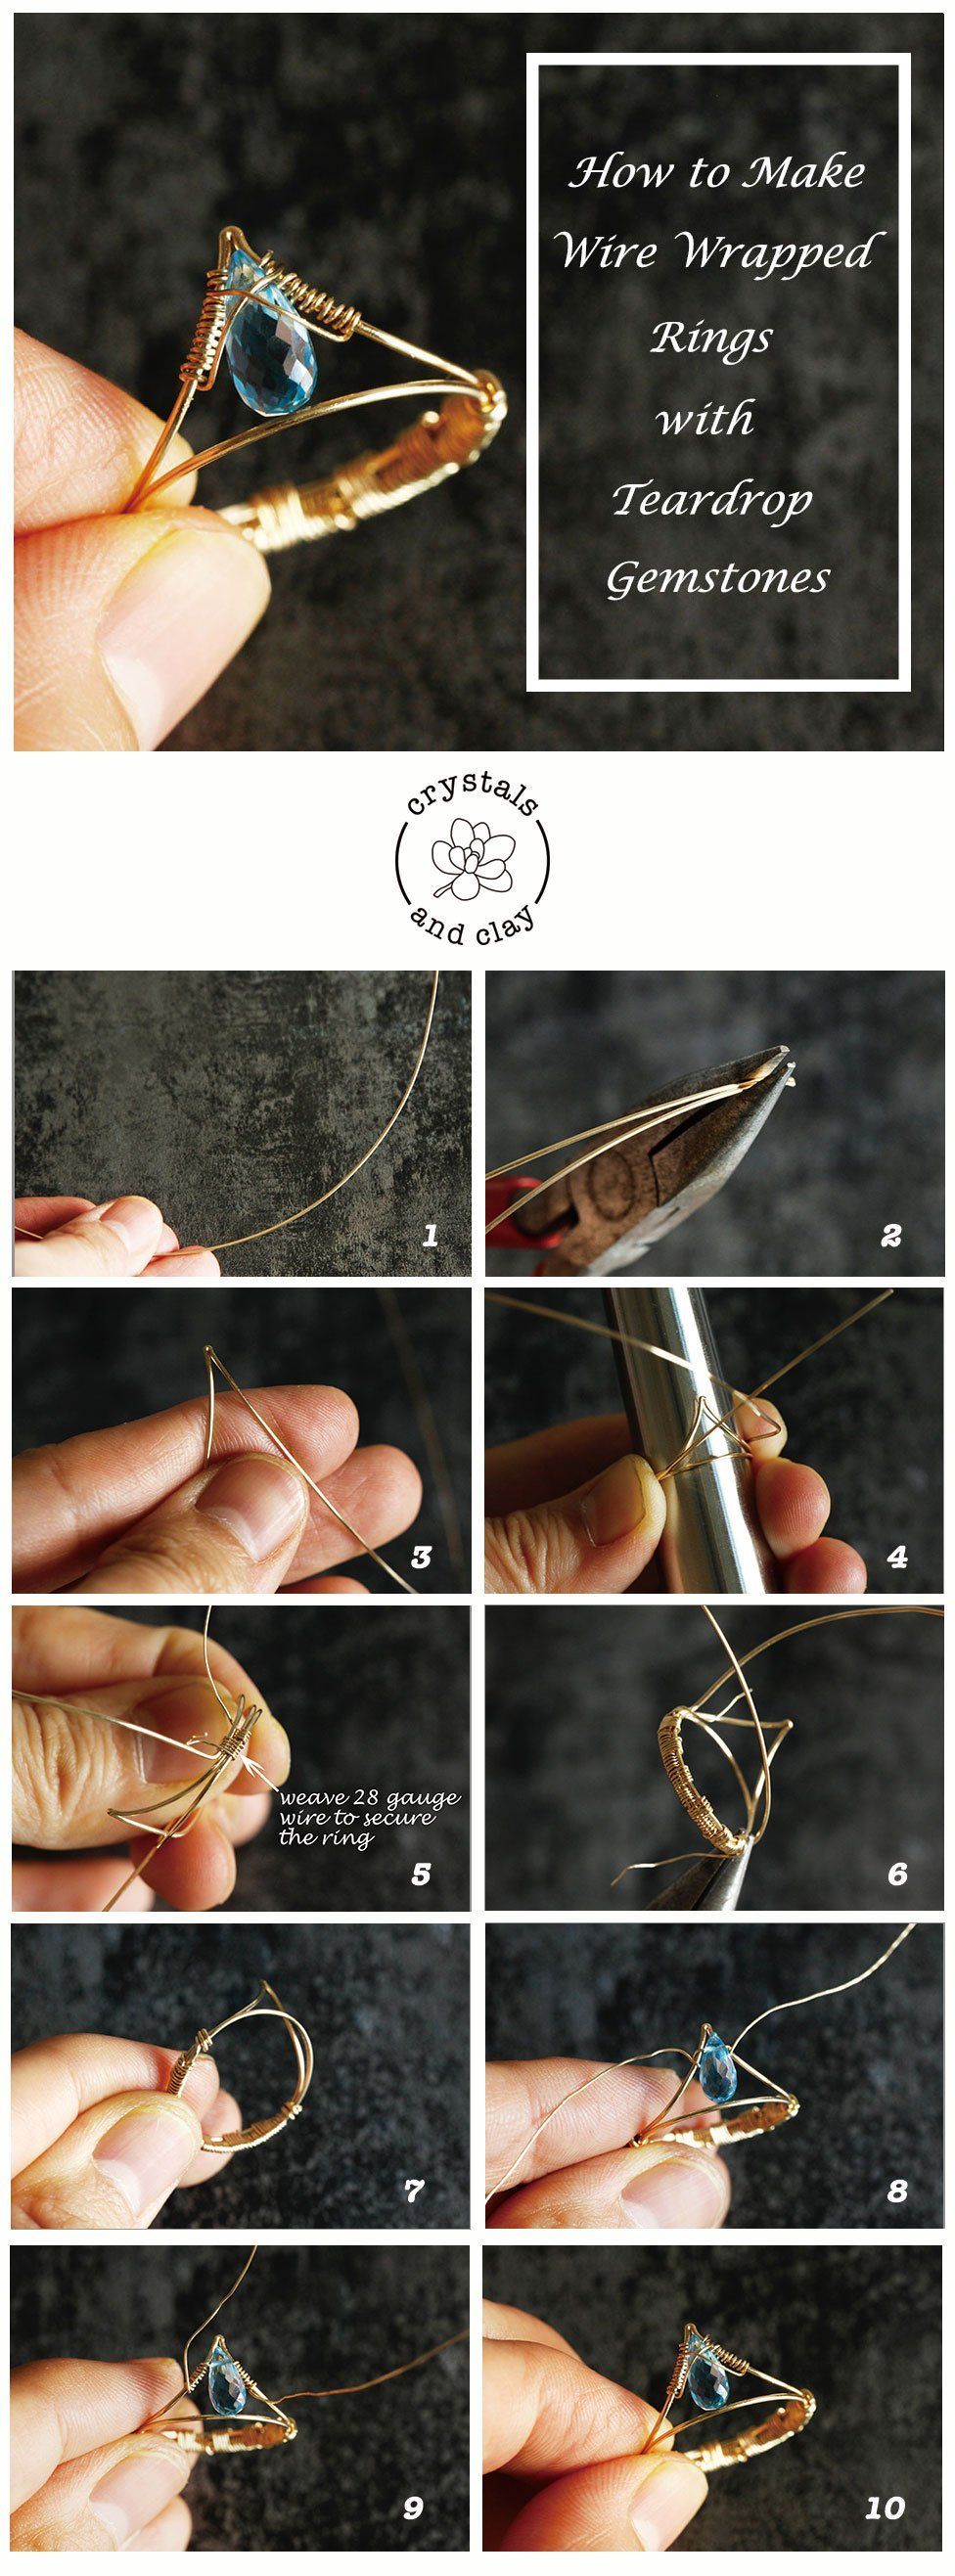
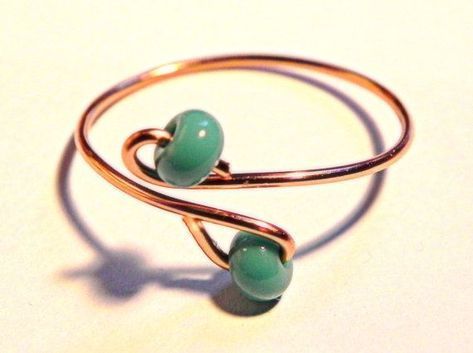
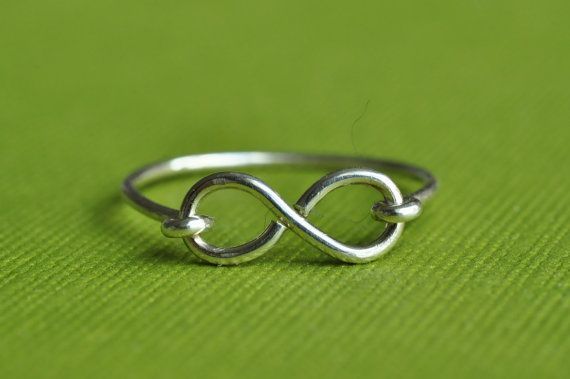
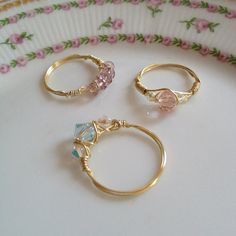
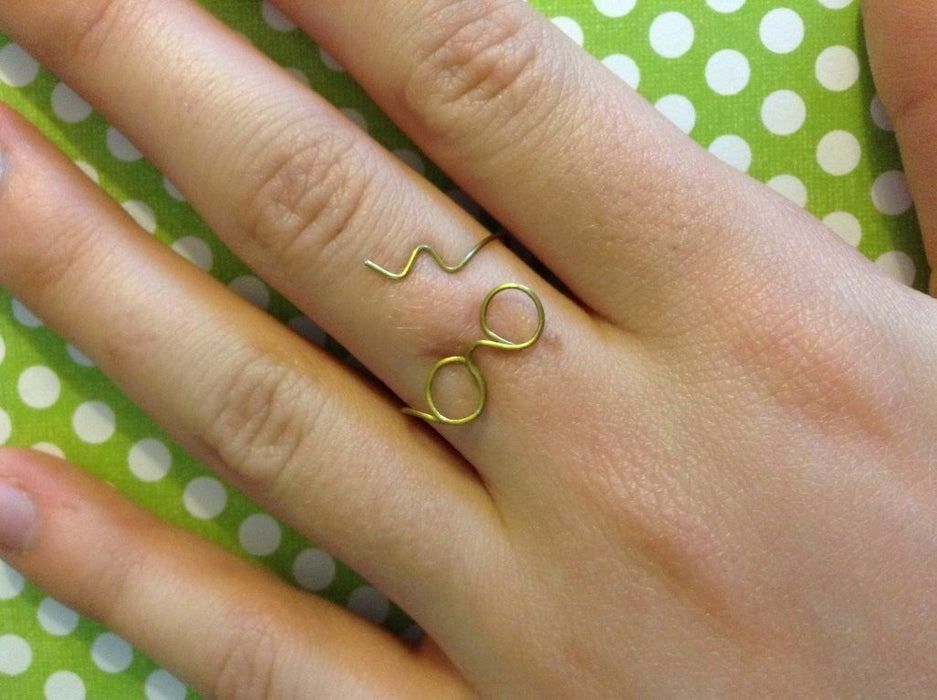
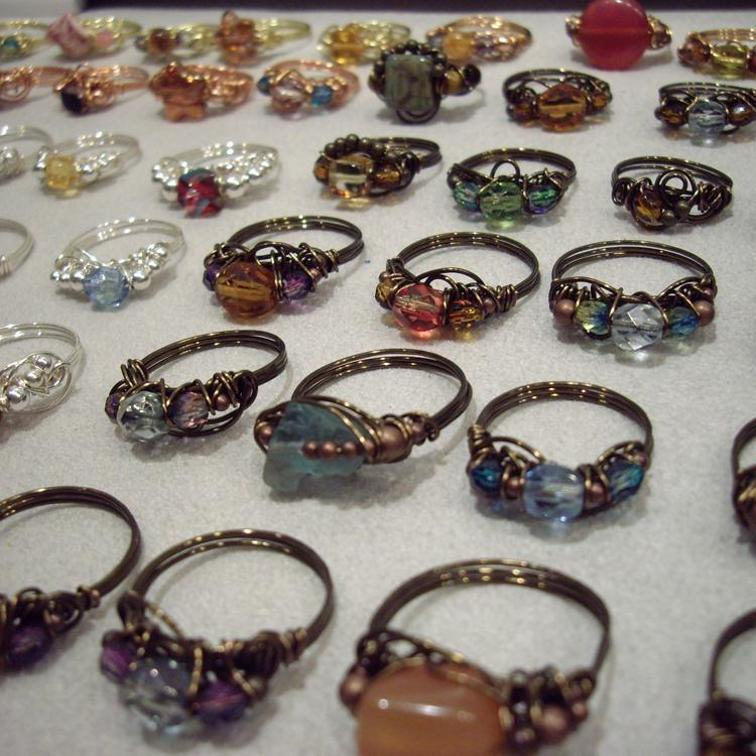
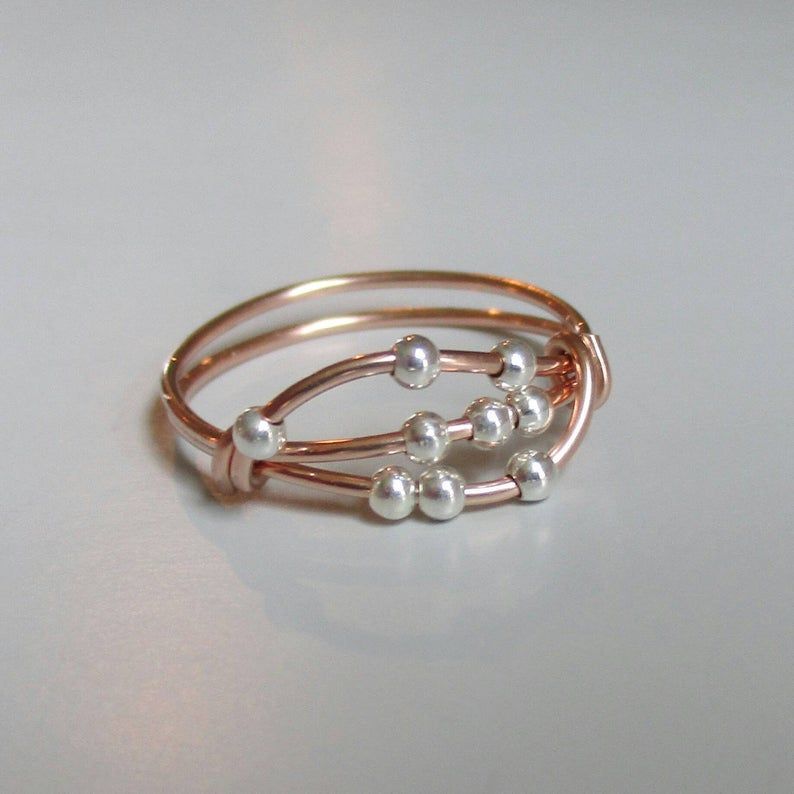
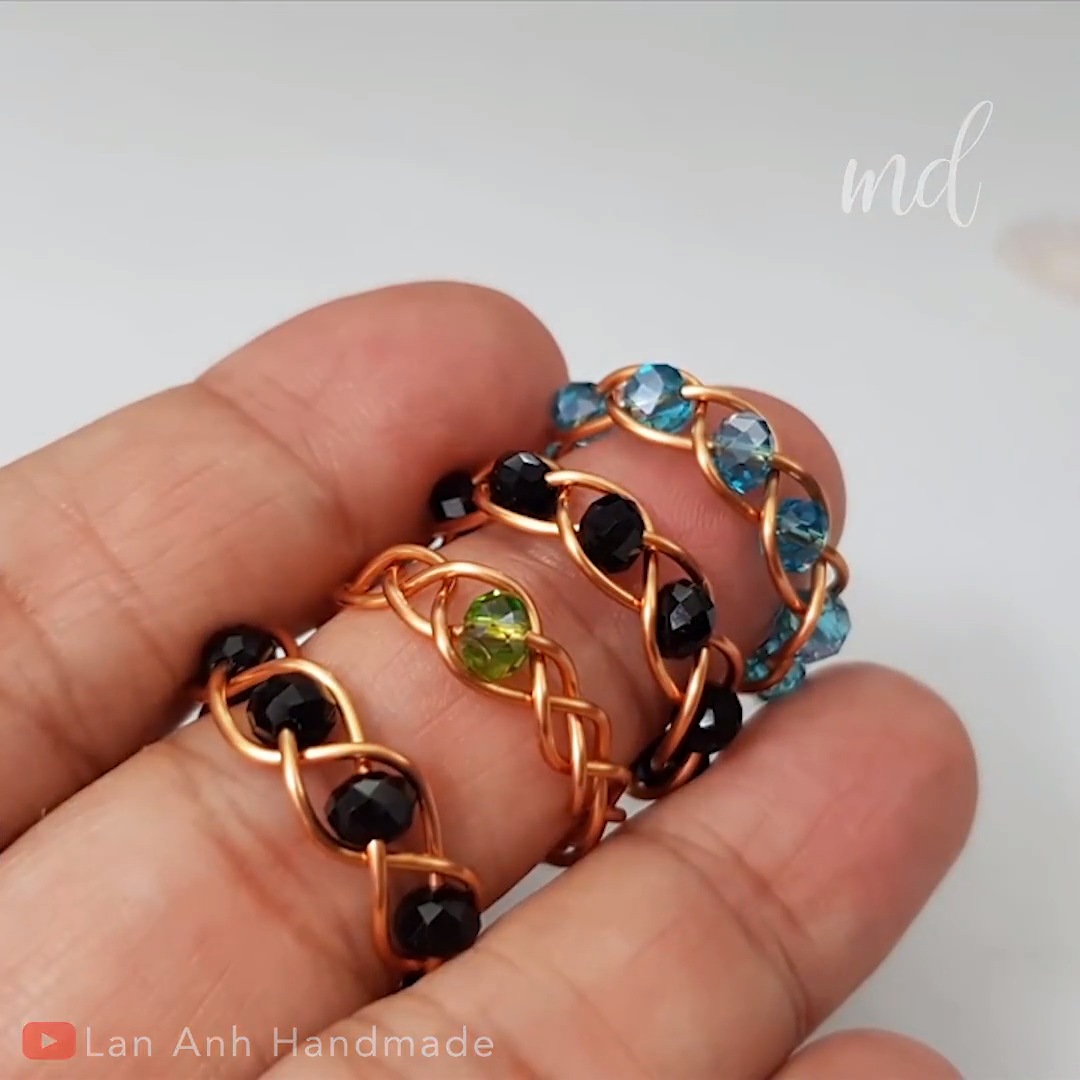
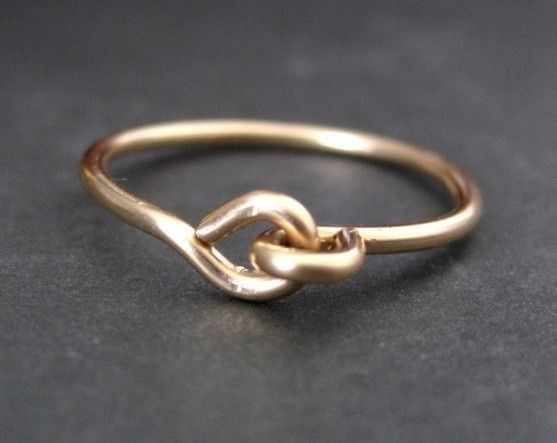
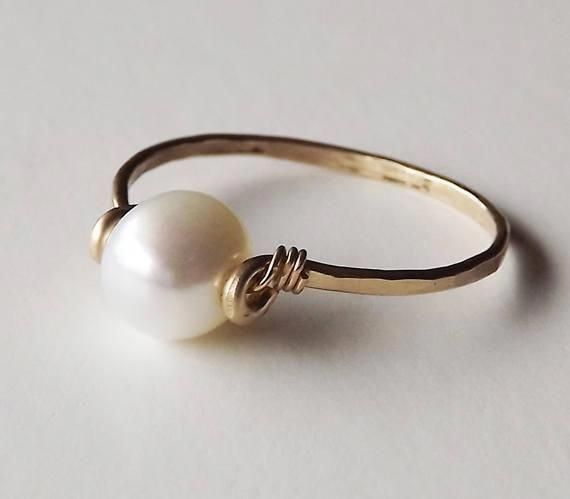
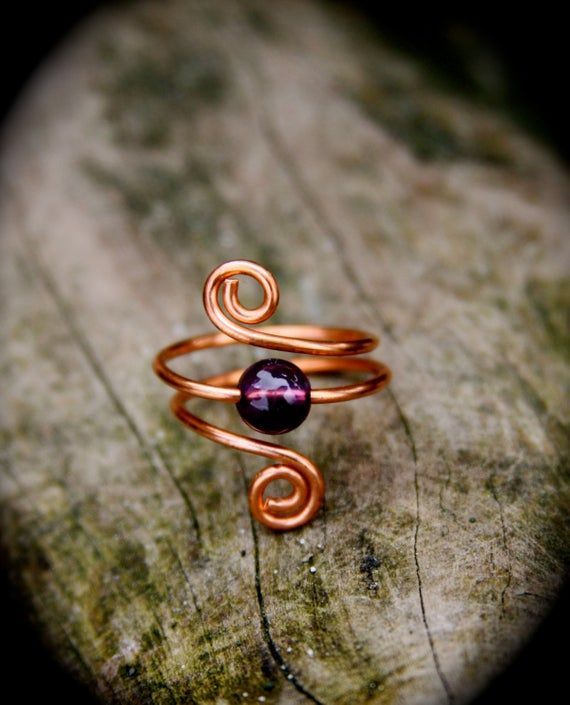
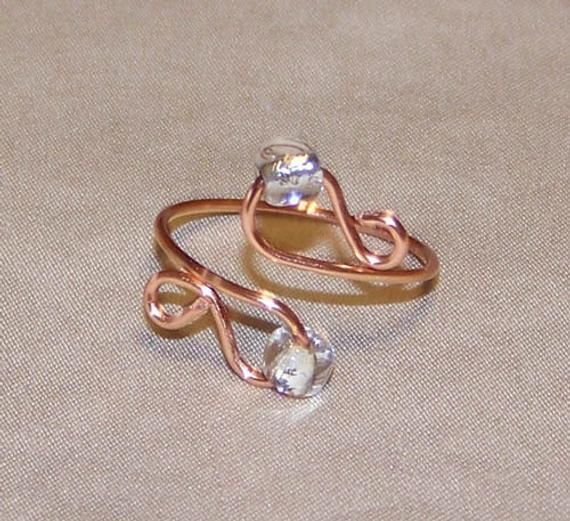
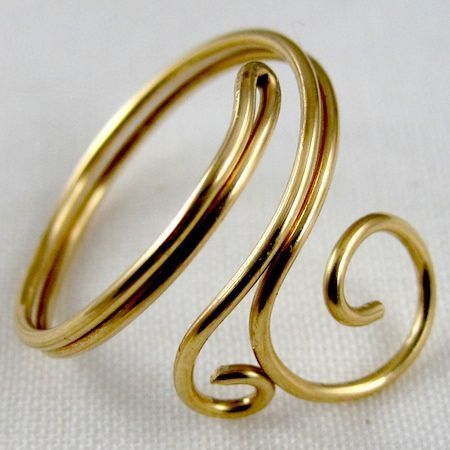
It can be hard to figure out what gauge wire you need for a ring, or which bezel is appropriate for your stone setting project. This blog article helps break down the various hardnesses as well, like the difference between soft and half-hard metals. When it comes to ordering metal for jewelry making all the different options can often become overwhelming. So I partnered with Rio Grande to provide a guide with some helpful tips and considerations for confidently buying materials for your next project! SHEET METAL Here are some tips for purchasing silver SHEET METAL from Rio Grande. All the choices can be overwhelming, so I thought I’d break down what some of the options are and how they differ. The most common is sterling silver (.925) It is stronger than fine silver, more prone to fire scale and tarnishes more easily. The other main option is fine silver (.999) It’s significantly softer than sterling, has a whiter appearance and is way less prone to tarnishing. The next consideration is gauge. Most of the sheet options come in a range of 6 gauge (4.11mm) to 30 gauge (0.26mm). You then have the options for dead soft (annealed), ? hard (a bit resistant to bending but readily takes shape) , ? hard (has been worked a bit, tightening the grain at the molecular level. You can still bend the metal a bit, with force), and spring hard (thoroughly hardened and has basically no malleability.) So with those options in mind, here are a few questions you can ask yourself: Is the project I’m making going to get a lot of wear and tear (like a ring or a bracelet?) If the answer is yes, sterling is your best choice (since fine silver is softer). Next you need to choose a gauge heavy enough to experience the wear and tear but light enough to be comfortably. Heavy earrings for example can be uncomfortable and a very delicate ring can get squished in our hands. On average 20-14 gauge are well within that range, but that depends on the size and specifics of your design. Lastly which hardness should we buy? In most applications you will want to order dead soft. If you will be soldering on the piece you’re making, you may as well start with dead soft because it’s easy to work with and any hardness the metal may have will be lost when you apply heat to solder. Here is an example of when to order a harder sheet: Let’s say all I’m doing is sawing out a design and cold connecting it, a harder option gives strength to my piece, and that strength will be maintained since i’m not soldering. BEZEL WIRE One of the most common questions is: what gauge bezel wire should I purchase? Here are some tips for ordering BEZEL WIRE from Rio Grande. It typically comes in gauges 24 (.51mm) – 30 (.25mm) and in various heights. First, let’s focus on gauge. If you are newer to bezel setting, consider 28-30g because it’s easier to push over, especially if you’re doing it all by hand using a bezel rocker tool and a burnisher. If you’re hammer setting, either with a hammer handpiece or manually, you can use a thicker gauge bezel wire. Next, consider the stone you plan to set and look up the stone’s hardness (MOH scale). If the stone is delicate you should set by hand (as opposed to hammer) and therefore can use a thinner gauge (28-30g). Aesthetics is also another consideration; I just enjoy thicker bezels! They are more forgiving and can take more sanding and polishing with less risk of damaging the bezel by over working it! Regarding bezel height, take the shape and height of your cabochon into consideration. Order a few heights of bezel wire so you have options, if it’s too tall you can always trim it down or sand it. If you like to use a variety of cabochons in your work you’ll find having a variety of bezel wire on hand very helpful. There is also fine silver or sterling wire. Fine is brighter and more resistant to tarnish, sterling is more durable. I typically use sterling for that reason. There are also tons of gallery wire options available at Rio Grande. Gallery wire should be annealed (carefully) prior to forming! After it’s shaped and when you are ready to solder, you must be careful (they love to melt) heat from below using a trivet, tripod or bricks. Once you have soldered gallery wire and it’s time to set, take extra care so you don’t crack or break it. When you initially push down at four sides only bring it down about 50% and then push the rest in as uniformly as you can! WIRE Here are some tips for ordering WIRE from Rio Grande, particularly what gauge and hardness! First you need to ask yourself: what kind of project are you making and where on the body will it be worn? If we use the image of rings as an example we can see that the 12g wire will provide us with more strength than the 18g. So choosing the gauge wire you will need for a project definitely depends on the amount of wear and tear (i.e a bangle gets more wear and tear than an earring). For earring posts and wires I have found that 20g (0.80mm) is good for most customers. The hardness of the wire you choose is all about application, if you are soldering the wire it becomes annealed so you might as well purchase dead soft. If you are making an earring wire which will simply be formed and cold connected, you could in this case benefit from working with half-hard or hard since it will maintain that hardness and give the earring wire strength! You can also use hard wire for wrapping wire or creating rivets. When it comes to decorative wires Rio Grande has an amazing selection! When working with the more fragile options like full bead (item #100916) or half bead (item #101314), always anneal prior to bending to avoid it snapping. I know that melting is definitely an issue many people experience so when you work with decorative wire try to give yourself as many connection points to the baseplate you are soldering to. Heat from below instead of putting the flame directly onto the decorative wire. Titanium clips and soldering clay can be useful for keeping design elements in place while soldering! I also wanted to showcase some of the amazing patterned options and they even have slotted wire (item #101984) this wire has a slot for sheet, so you can create a beautiful edge! When working with the patterned wires try to place your solder in an area which won’t cause it to run into the pattern! I love using Ronda Coryell’s Masking Mud (# 504099) to paint onto the decorative side to prevent solder from flowing onto it! Ronda Coryell’s Masking Mud (item # 504099) Now that you understand the difference between the various gauges and hardnesses you can make your selections with more confidence! You can always call Rio Grande and speak to a member of the tech team should you need further assistance! Their number is 1-800.545-6566. Thank you @riogrande for sponsoring this blog post! Be sure to follow them on Instagram! If you haven’t already join our community @metalsmithsociety! If you found this article helpful, be sure to share it on Pinterest! HOW TO CHOOSE A TORCH FOR JEWELRY MAKING SUPPORT METALSMITH SOCIETY If you’d like to support the page (and represent) you can check out the Society Shop! The Metalsmith Society mug, perfect for enjoying a hot beverage in your studio. Available for fulfillment in Europe, making it a great option for international orders. Design on both sides Dishwasher + microwave safe Available in 11oz or 15oz Ethically made BUY NOW The Society Pin is the perfect addition to your work apron or denim jacket! Also available in white! 1.25