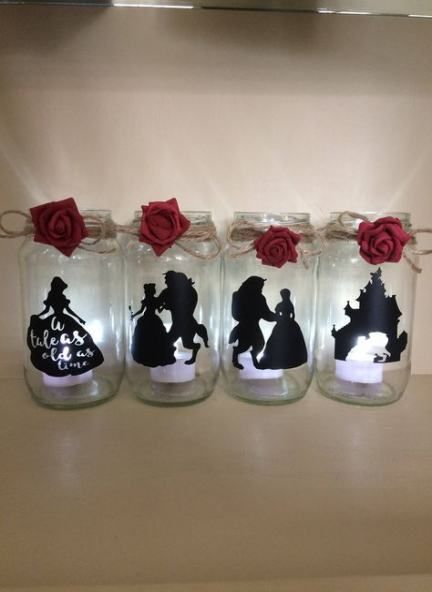
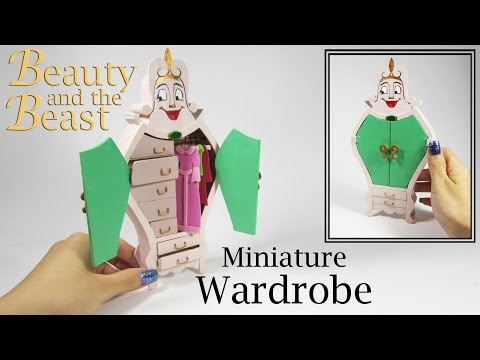
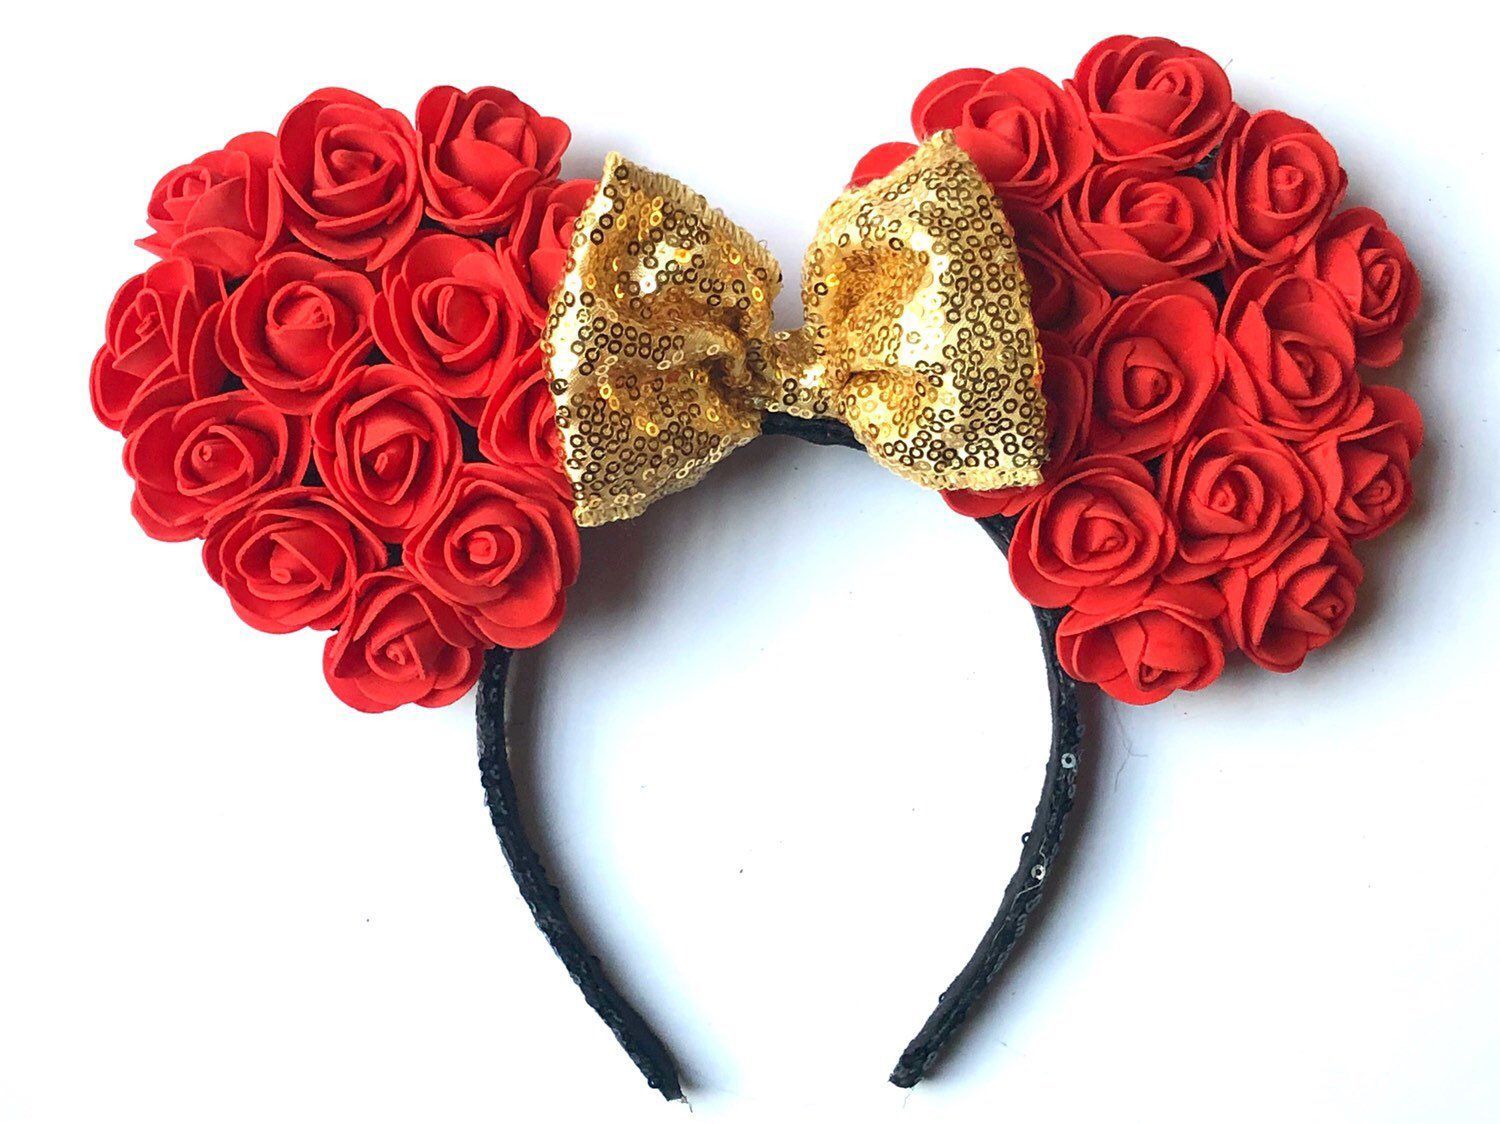
14 beauty And The Beast diy ideas
Page 2 of 14
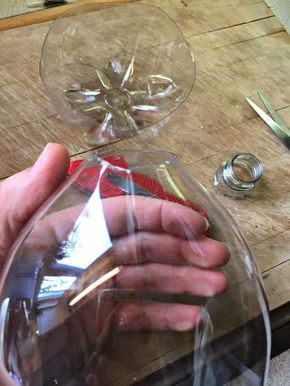
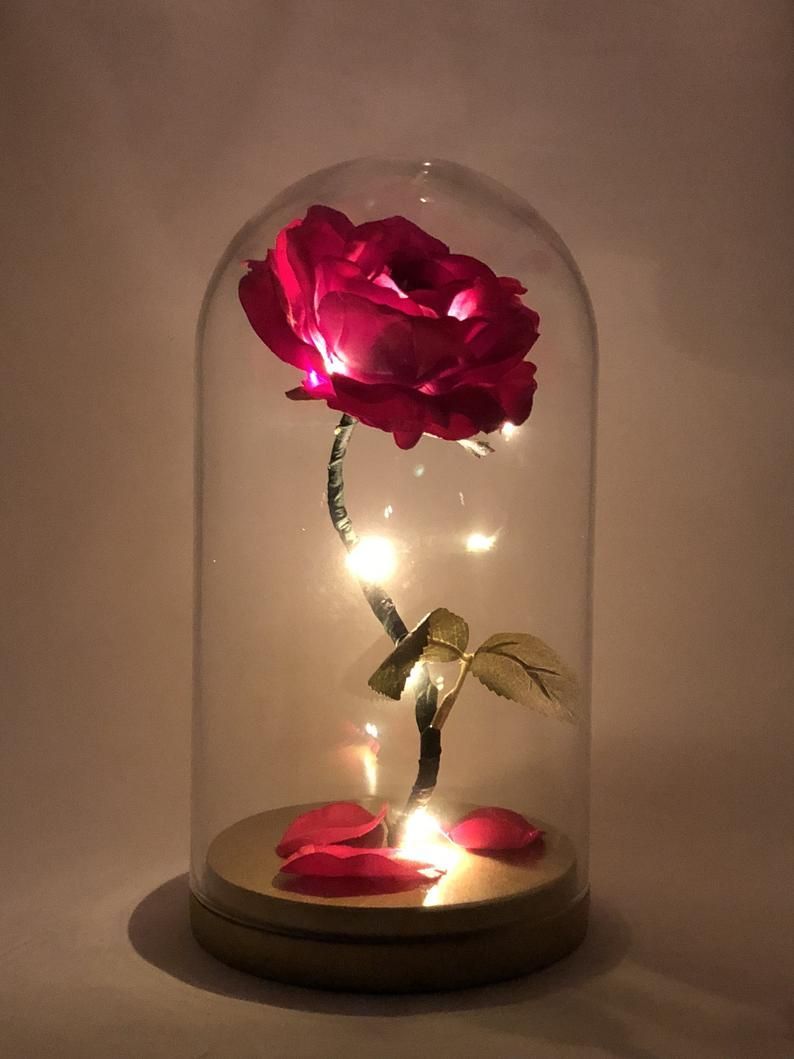
Creating the Beauty and the Beast Floating Rose

via: paulpape.tumblr.com
Paul Pape Designs – Creating the Beauty and the Beast Floating Rose – Creating the Beauty and the Beast Floating Rose I was commissioned to create the floating rose from Beauty and the Beast for a client. He wanted the rose to look magical and as close to the movie/cartoon as possible. The client provided the bell jar and the rose blossom and the rest was fabricated by me. I started by crafting the base from poplar plywood. I drilled a centered hole for the stem to “float” above and then roughed in the shape of the stem using a tube of brass. The rose “floats” on a clear plexi rod inserted into the brass tube. Dry fitting the rose blossom. I crafted the stem out of a brass rod. I soldered the thorns and the leaf branch for added realism. Checking the overall look of the rose. It’s pretty close to the source material. I ended up applying heat to the plexi rod and bending it so the rose sat at more of an angle. A look at the rose outside the glass. Next I welled out a space for the two AA batteries needed to run the grain of rice lights in the blossom. I create all my own switches and battery packs. It’s easier than trying to make a prefab one fit. This is the blossom after I added some sparkle to it. Also the base is glued and clamped. I use incandescent grain of lights that you purchase from the hobby store. I like them over LEDs as they have a softer glow to them. A bit pricey, but worth it for the effect. After placing all the lights inside the blossom, I trimmed all the lead wires and soldered them to just two wires that I ran along the stem through the base. The client was in my studio watching the process, so I forgot to take photos of that step. Here I am wrapping the stem and wires in floral tape to make it look more realistic. Twisting the wires around the stem as it is being wrapped makes it appear more lifelike. Overall look of the rose with lights. Finishing up the wrapping of the stem. Next I faux finished the base (after wrapping the exposed plywood edges in Pop-Out Woodies veneer) to look like white marble like the movie. Here you can see the switch that I create. It’s a simple rotating switch that makes contact with the other exposed brass contact. Finished look at the rose.